


 本文深入讲解SpringBoot的配置方式,包括命令行参数、properties文件、yaml文件及类型安全的配置方法。通过实战演示如何使用@Value和@ConfigurationProperties注解进行属性注入。
Spring Boot 允许使用properties文件、yaml文件或者命令行参数作为外部配置。
6.2.1命令行参数配置
Spring Boot可以是基于jar包运行的,打成jar包的程序可以直接通过下面命令运行:
java -jar xx.jar
可以通过以下命令修改Tomcat端口号:
java -jar xx.jar --server.port=9090
6.2.2 常规属性配置
在2.2节我们讲述了常规Spring 环境下,注入properties 文件里的值为方式,通过@PropertySource 指明properties文件的位置,然后通过@Value注入值。在Spring Boot里,我们只需在application.properties定义属性,直接使用@Value注入即可。
1.实战
在上例的基础上,进行如下的修改。
(1)application.properties增加属性:
book.author=admin
book.name=spring boot
(2)修改入口类:
package com.wisely.ch5_2_2;
import org.springframework.beans.factory.annotation.Value;
import org.springframework.boot.SpringApplication;
import org.springframework.boot.autoconfigure.SpringBootApplication;
import org.springframework.boot.autoconfigure.jdbc.DataSourceAutoConfiguration;
import org.springframework.web.bind.annotation.RequestMapping;
import org.springframework.web.bind.annotation.RestController;
@RestController
@SpringBootApplication(exclude = {DataSourceAutoConfiguration.class})
public class Ch522Application {
@Value("${book.author}")
private String bookAuthor;
@Value("${book.name}")
private String bookName;
@RequestMapping("/")
String index() {
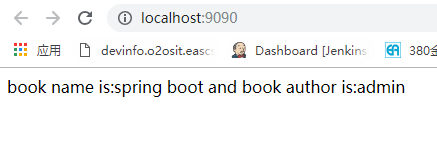
return "book name is:"+bookName+" and book author is:"+bookAuthor;
}
public static void main(String[] args) {
SpringApplication.run(Ch522Application.class, args);
}
}
(3)运行,访问http://localhost:9090/helloboot/,效果如图
6.2.3 类型安全的配置(基于properties)
上例中使用@Value注入每个配置在实际项目中会显得格外麻烦,因为我们的配置通常会是许多个,若使用上例的方式则要使用@Value注入很多次。
Spring Boot还提供了基于类型安全的配置方式,通过@ConfigurationProperties将properties属性和一个Bean及其属性关联,从而实现类型安全的配置。
1.实战
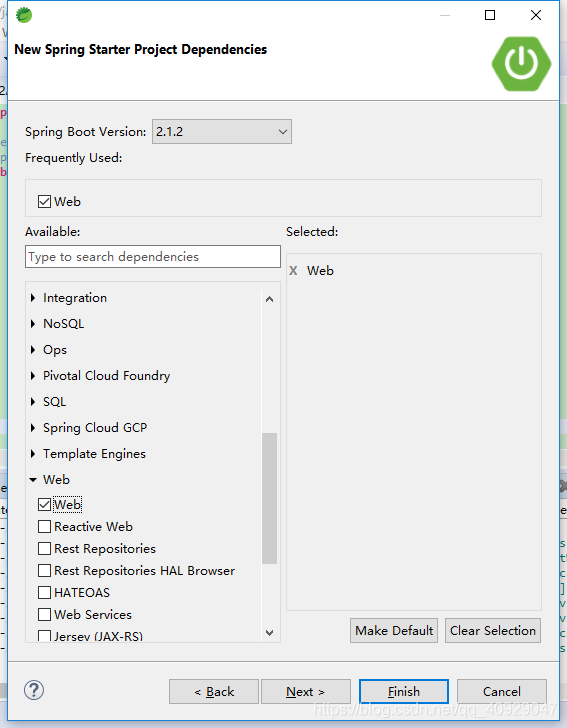
(1)新建Spring Boot 项目,如图

(2)添加配置,即在application.properties上添加:
author.name=admin
author.age=32
当然,我们也可以新建一个properties文件,这就需要我们在@ConfigurationProperties的属性locations里指定properties的位置,且需要在入口类上配置。
(3)类型安全的Bean,代码如下
package com.wisely.ch6_2_3.config;

import org.springframework.boot.context.properties.ConfigurationProperties;
import org.springframework.stereotype.Component;

@Component
@ConfigurationProperties(prefix="author")  //通过@ConfigurationProperties加载properties文件内的配置,通过prefix属性指定properties的配置的前缀,通过locations指定properies文件的位置
public class AuthorSettings {
	private String name;
	private Long age;
	public String getName() {
		return name;
	}
	public void setName(String name) {
		this.name = name;
	}
	public Long getAge() {
		return age;
	}
	public void setAge(Long age) {
		this.age = age;
	}


}
(4)检验代码:
package com.wisely.ch6_2_3;
import org.springframework.beans.factory.annotation.Autowired;
import org.springframework.boot.SpringApplication;
import org.springframework.boot.autoconfigure.SpringBootApplication;
import org.springframework.web.bind.annotation.RequestMapping;
import org.springframework.web.bind.annotation.RestController;
import com.wisely.ch6_2_3.config.AuthorSettings;
@RestController
@SpringBootApplication
public class Ch623Application {
@Autowired
private AuthorSettings authorSettings; //可以用@Autowired直接注入该配置
@RequestMapping("/")
public String index() {
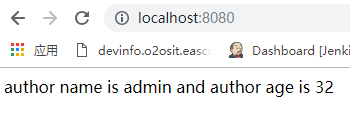
return "author name is "+ authorSettings.getName()+" and author age is "+ authorSettings.getAge();
}
public static void main(String[] args) {
SpringApplication.run(Ch623Application.class, args);
}
}
(5)运行,访问:http://localhost:8080/ ,效果如图


 2487
2487

 被折叠的 条评论
为什么被折叠?
被折叠的 条评论
为什么被折叠?
 到【灌水乐园】发言


