


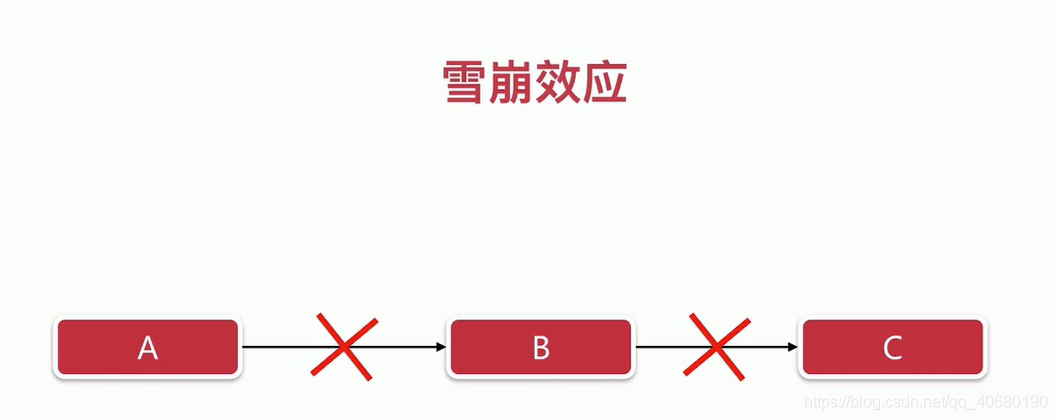
 博客介绍了Spring Cloud相关配置,可引入依赖并在启动类添加注解,也可用@SpringCloudApplication替代。还阐述了服务降级、依赖隔离的配置,如@HystrixCommand注解使用、熔断器参数设置等。此外,说明了feign - hystrix的使用及hystrix - dashboard仪表板的配置与访问。
引入依赖
<!--spring-cloud-hystrix 服务保护-->
		<dependency>
			<groupId>org.springframework.cloud</groupId>
			<artifactId>spring-cloud-starter-hystrix</artifactId>
		</dependency>
启动类上面添加注解
@EnableCircuitBreaker
package com.hx.order;

import org.springframework.boot.SpringApplication;
import org.springframework.boot.autoconfigure.SpringBootApplication;
import org.springframework.cloud.client.circuitbreaker.EnableCircuitBreaker;
import org.springframework.cloud.client.discovery.EnableDiscoveryClient;
import org.springframework.cloud.openfeign.EnableFeignClients;

@SpringBootApplication
@EnableDiscoveryClient
@EnableFeignClients(basePackages="com.hx.order.client")
@EnableCircuitBreaker
public class OrderApplication {

    public static void main(String[] args) {
        SpringApplication.run(OrderApplication.class, args);
    }

}
其实也可以用@SpringCloudApplication来代替上面的三个注解:
package com.hx.order;

import org.springframework.boot.SpringApplication;
import org.springframework.cloud.client.SpringCloudApplication;
import org.springframework.cloud.openfeign.EnableFeignClients;

@EnableFeignClients(basePackages="com.hx.order.client")
@SpringCloudApplication
public class OrderApplication {

    public static void main(String[] args) {
        SpringApplication.run(OrderApplication.class, args);
    }

}
@SpringCloudApplication源码(已经包含了这三个注解)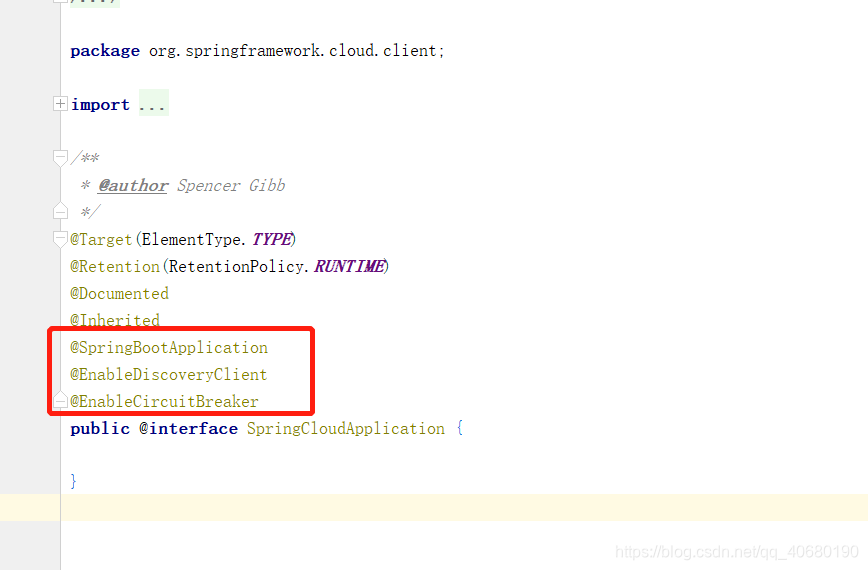
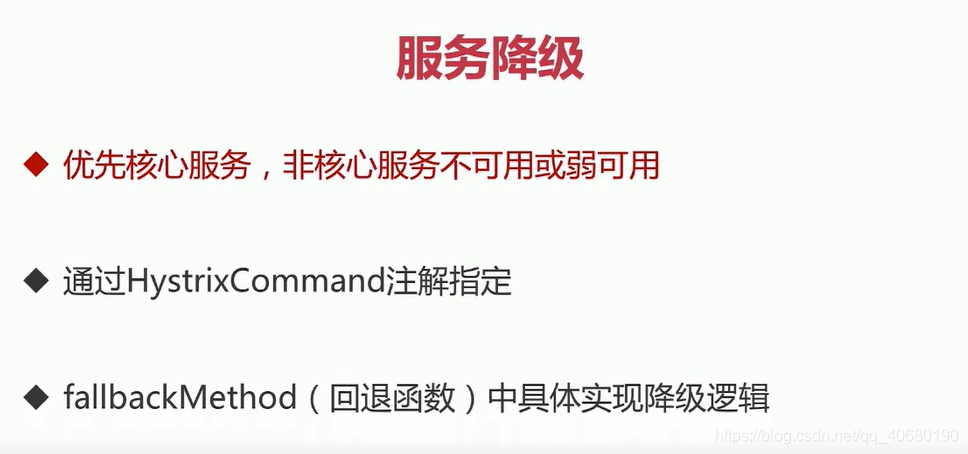
- 服务降级
package com.hx.order.controller;

import com.netflix.hystrix.contrib.javanica.annotation.DefaultProperties;
import com.netflix.hystrix.contrib.javanica.annotation.HystrixCommand;
import com.netflix.hystrix.contrib.javanica.annotation.HystrixProperty;
import org.springframework.web.bind.annotation.GetMapping;
import org.springframework.web.bind.annotation.RestController;
import org.springframework.web.client.RestTemplate;

import java.util.Arrays;

/**
 * 服务管理----熔断限流降级
 */
@RestController
@DefaultProperties(defaultFallback = "defaultFallback")
public class HystrixController {


    /**
     * RestTemplate  发起的http请求
     * 降级就是捕捉异常(自定义可以抛出异常,就会降级)
     * 超时时间设置为3秒
     * @return
     */
    @HystrixCommand(commandProperties = {
            @HystrixProperty(name = "execution.isolation.thread.timeoutInMilliseconds",value = "3000")
    })
    @GetMapping("/getProductInfoList")
    public String getProductInfoList() {
        RestTemplate restTemplate = new RestTemplate();
        return restTemplate.postForObject("http://127.0.0.1:8052/product/listForOrder",
                Arrays.asList("123"),
                String.class);
    }

    @HystrixCommand
    @GetMapping("/get")
    public String get() {
        throw new RuntimeException("error");
    }

    @HystrixCommand(fallbackMethod = "fallback")
    @GetMapping("/query")
    public String query() {
        throw new RuntimeException("error");
    }

    private String fallback() {
        return "太拥挤了,请稍后再试~~";
    }

    private String defaultFallback() {
        return "默认提示:太拥挤了,请稍后再试~~";
    }
}
1.@HystrixCommand(fallbackMethod = "fallback") 有属性fallbackMethod的时候就会查找定义的失败方法进行降级。 2.如果没有,也就是直接加@HystrixCommand,注解就需要再在类的上面添加@DefaultProperties(defaultFallback = "defaultFallback") 3.超时设置:3秒 ,如果在调用的接口上面添加线程阻塞2秒,就会调用失败,因为Hystrix默认调用时间时1秒。
@HystrixCommand(commandProperties = { @HystrixProperty(name = "execution.isolation.thread.timeoutInMilliseconds",value = "3000") }) - 依赖隔离
@HystrixCommand(commandProperties = {
            @HystrixProperty(name = "circuitBreaker.enabled",value = "true"),
            @HystrixProperty(name = "circuitBreaker.requestVolumeThreshold",value = "10"),
            @HystrixProperty(name = "circuitBreaker.sleepWindowInMilliseconds",value = "10000"),
            @HystrixProperty(name = "circuitBreaker.errorThresholdPercentage",value = "60")
    })
circuitBreaker.enabled=true 开启熔断器 circuitBreaker.requestVolumeThreshold=10 请求量保留10 circuitBreaker.sleepWindowInMilliseconds=10000 休眠10s circuitBreaker.errorThresholdPercentage=60 错误阈值百分比=60
- 使用配置
spring:
  application:
    name: order
  cloud:
    config:
      discovery:
        enabled: true
        service-id: CONFIG
      profile: dev
eureka:
  client:
    service-url:
      defaultZone: http://localhost:8761/eureka/
hystrix:
  command:
    default:
      execution:
        isolation:
          thread:
            timeoutInMilliseconds: 1000
    getProductInfoList: # commandKey = 单独配置的方法名称
      execution:
        isolation:
          thread:
            timeoutInMilliseconds: 3000
feign:
  hystrix:
    enabled: true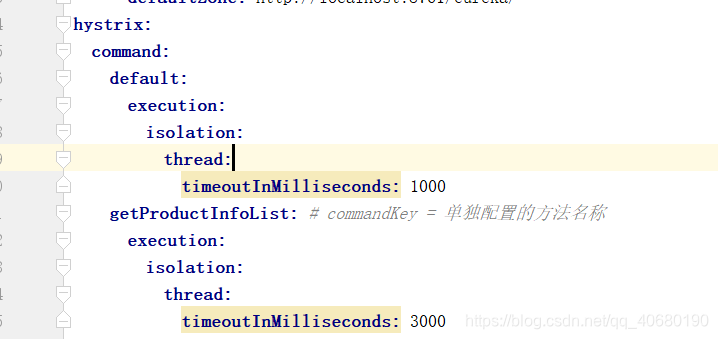
-
feign-hystrix的使用
1.因为feign内置了hystrix,所有直接配置就可以。
feign: hystrix: enabled: true
2.然后在@FeignClient注解添加属性 fallbac=xxx.class,自定义这个类现在这个接口,在接口上添加spring注解@Component,再在实现的方法里面实现你处理错误的逻辑。
这里是内部类案例 -ProductClientFallbackpackage com.hx.order.client; import com.hx.order.dataobject.ProductInfo; import com.hx.order.dto.CartDTO; import org.springframework.cloud.openfeign.FeignClient; import org.springframework.stereotype.Component; import org.springframework.web.bind.annotation.GetMapping; import org.springframework.web.bind.annotation.PostMapping; import org.springframework.web.bind.annotation.RequestBody; import java.util.List; import java.util.Map; @FeignClient(name = "product",fallback =ProductClient.ProductClientFallback.class) //添加此注解说明是服务调用 name是服务的名称 public interface ProductClient { @PostMapping("/product/listForOrder") //用来识别调用的接口 List<ProductInfo> listForOrder(@RequestBody List<String> productIdList); @PostMapping("/product/decreseStock") Boolean decreseStock(@RequestBody List<CartDTO> cartDTOList); /**内部类 * */ @Component static class ProductClientFallback implements ProductClient{ @Override public List<ProductInfo> listForOrder(List<String> productIdList) { return null; } @Override public Boolean decreseStock(List<CartDTO> cartDTOList) { return false; } } }
3.如果你当前服务是依赖的是别的服务,需要在你的启动类上添加包扫描的注解:
@ComponentScan(basePackages = "com") //此注解的作用就是把包扫描的范围扩大到com,也就可以把依赖过来的包也扫描上,如果就是当前服务就不需要添加。package com.hx.order; import org.springframework.boot.SpringApplication; import org.springframework.cloud.client.SpringCloudApplication; import org.springframework.cloud.openfeign.EnableFeignClients; import org.springframework.context.annotation.ComponentScan; @EnableFeignClients(basePackages="com.hx.order.client") @SpringCloudApplication @ComponentScan(basePackages = "com") //此注解的作用就是把包扫描的范围扩大到com,也就可以把依赖过来的包也扫描上 public class OrderApplication { public static void main(String[] args) { SpringApplication.run(OrderApplication.class, args); } } - hystrix-dashboard 仪表板
添加依赖<!--spring-cloud-hystrix-dashboard 服务熔断看板--> <dependency> <groupId>org.springframework.cloud</groupId> <artifactId>spring-cloud-starter-hystrix-dashboard</artifactId> <version>1.4.7.RELEASE</version> </dependency> <dependency> <groupId>org.springframework.boot</groupId> <artifactId>spring-boot-starter-actuator</artifactId> </dependency>如果引入过spring-cloud-starter-stream-rabbit,这个,下面的actuator就可以不需要引入了,因为stream里面引入过这个组件。
启动类上面添加注解@EnableHystrixDashboard 如果添加失败,再添加依赖
<!--由于是spring boot 2.0.X版本问题-->
		<dependency>
			<groupId>org.springframework.cloud</groupId>
			<artifactId>spring-cloud-starter-netflix-hystrix</artifactId>
		</dependency>
因为用的是boot2.0所有添加配置文件
management:
  endpoints:
    web:
      exposure:
        include: ["health","info","hystrix.stream"]
启动服务访问localhost:port[你的端口号]/hystrix

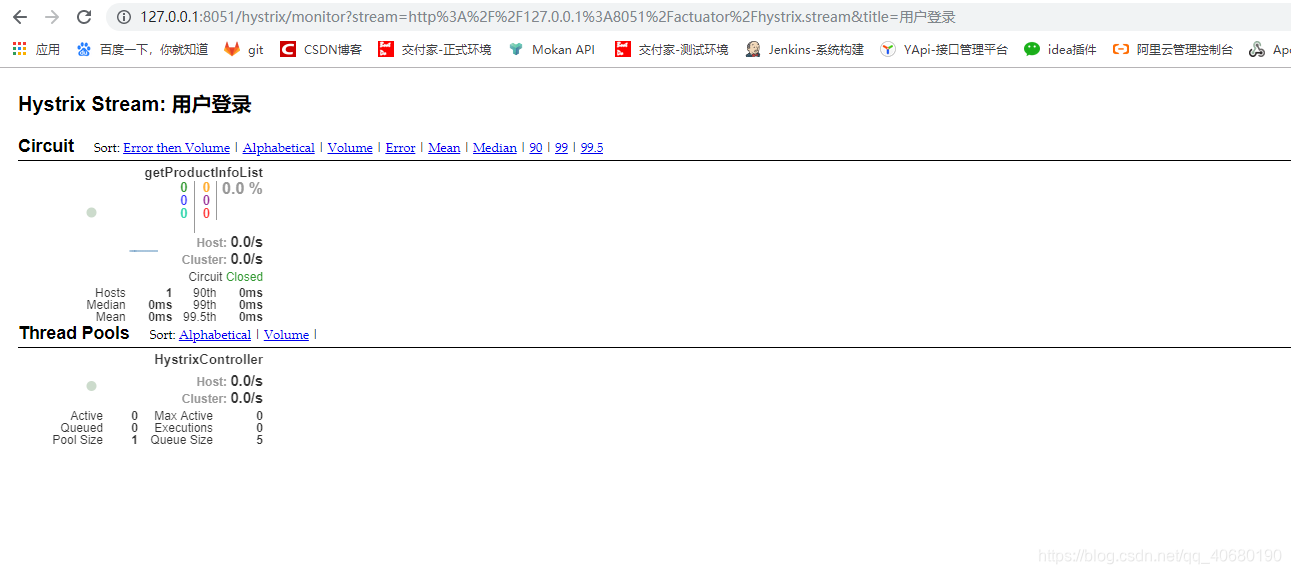
上面的0代表什么意思呢,就和页面上面的 ,颜色是一一对应的。


 934
934

 被折叠的 条评论
为什么被折叠?
被折叠的 条评论
为什么被折叠?
 到【灌水乐园】发言


