


1:SpringMVC入门案例
1.1:创建maven工程
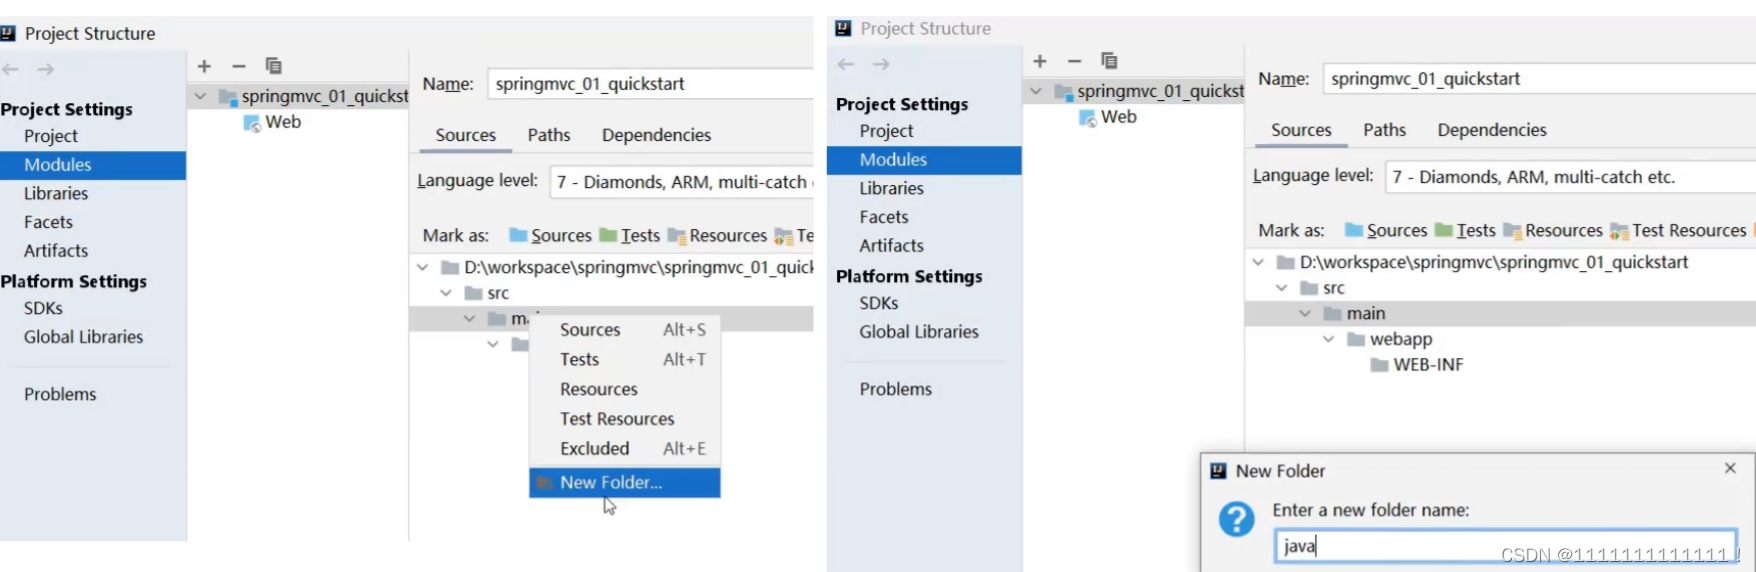
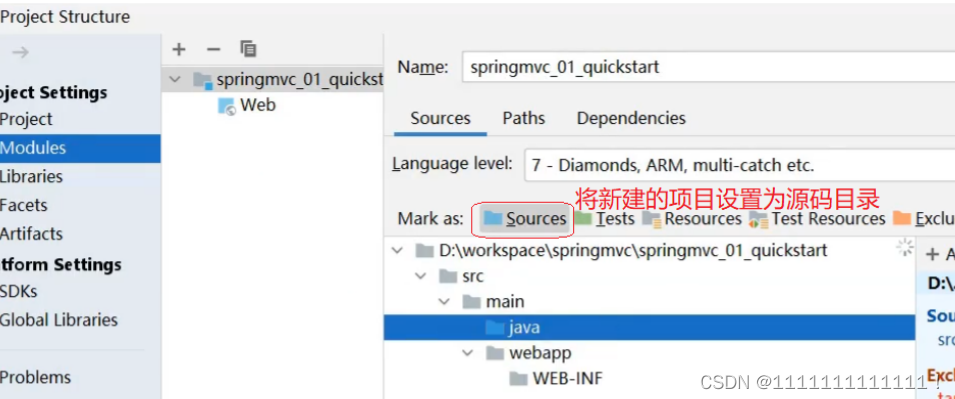
- 打开IDEA,创建一个新的web项目
- 补全目录结构
1.2:pom文件
  <dependencies>
    <dependency>
      <groupId>javax.servlet</groupId>
      <artifactId>javax.servlet-api</artifactId>
      <version>3.1.0</version>
      <scope>provided</scope>
    </dependency>

    <dependency>
      <groupId>org.springframework</groupId>
      <artifactId>spring-webmvc</artifactId>
      <version>5.2.10.RELEASE</version>
    </dependency>

    <!-- Spring和Thymeleaf整合包 -->
    <dependency>
      <groupId>org.thymeleaf</groupId>
      <artifactId>thymeleaf-spring5</artifactId>
      <version>3.0.12.RELEASE</version>
    </dependency>
  </dependencies>

  <build>
    <plugins>
      <plugin>
        <groupId>org.apache.tomcat.maven</groupId>
        <artifactId>tomcat7-maven-plugin</artifactId>
        <version>2.1</version>
        <configuration>
          <port>80</port>
          <path>/</path>
        </configuration>
      </plugin>
    </plugins>
  </build>
1.3:配置web.xml
注册SpringMVC的前端控制器DispatcherServlet
SpringMVC的配置文件默认位于WEB-INF下,默认名称为-servlet.xml,
<web-app>
  <!-- 配置SpringMVC的前端控制器,对浏览器发送的请求统一进行处理 -->
  <servlet>
    <servlet-name>springMVC</servlet-name>
    <servlet-class>org.springframework.web.servlet.DispatcherServlet</servlet-class>
  </servlet>

  <servlet-mapping>
    <servlet-name>springMVC</servlet-name>
    <url-pattern>/</url-pattern>
  </servlet-mapping>

</web-app>
②扩展配置方式
init-param标签设置SpringMVC配置文件的位置和名称
load-on-startup标签设置前端控制器DispatcherServlet的初始化时间
标签中使用/和/*的区别:
/所匹配的请求可以是/login或.html或.js或.css方式的请求路径,但是/不能匹配.jsp请求路径的请求
/*则能够匹配所有请求
  <!-- 配置SpringMVC的前端控制器,对浏览器发送的请求统一进行处理 -->
  <servlet>
    <servlet-name>springMVC</servlet-name>
    <servlet-class>org.springframework.web.servlet.DispatcherServlet</servlet-class>

    <init-param>
      <param-name>contextConfigLocation</param-name>
      <param-value>classpath:springMVC.xml</param-value>
    </init-param>
    <load-on-startup>1</load-on-startup>
  </servlet>

  <servlet-mapping>
    <servlet-name>springMVC</servlet-name>
    <url-pattern>/</url-pattern>
  </servlet-mapping>
1.4:springMVC.xml
<?xml version="1.0" encoding="UTF-8"?>
<beans xmlns="http://www.springframework.org/schema/beans"
       xmlns:xsi="http://www.w3.org/2001/XMLSchema-instance"
       xmlns:context="http://www.springframework.org/schema/context"
       xsi:schemaLocation="http://www.springframework.org/schema/beans http://www.springframework.org/schema/beans/spring-beans.xsd http://www.springframework.org/schema/context https://www.springframework.org/schema/context/spring-context.xsd">

    <!--扫描控制层组件-->
    <context:component-scan base-package="cn"></context:component-scan>

    <!-- 配置Thymeleaf视图解析器 -->
    <bean id="viewResolver"
          class="org.thymeleaf.spring5.view.ThymeleafViewResolver">
        <property name="order" value="1"/>
        <property name="characterEncoding" value="UTF-8"/>
        <property name="templateEngine">
            <bean class="org.thymeleaf.spring5.SpringTemplateEngine">
                <property name="templateResolver">
                    <bean
                           class="org.thymeleaf.spring5.templateresolver.SpringResourceTemplateResolver">
                        <!-- 视图前缀 -->
                        <property name="prefix" value="/WEB-INF/templates/"/>
                        <!-- 视图后缀 -->
                        <property name="suffix" value=".html"/>
                        <property name="templateMode" value="HTML5"/>
                        <property name="characterEncoding" value="UTF-8" />
                    </bean>
                </property>
            </bean>
        </property>
    </bean>


</beans>
1.5:创建Controller类
@Controller
public class UserController {

    @RequestMapping("/index")
    public String save(){
        //设置视图名称
        return "index";
    }
}
1.6:测试访问
在主页index.html中设置超链接
<!DOCTYPE html>
<html lang="en" xmlns:th="http://www.thymeleaf.org">
<head>
    <meta charset="UTF-8">
    <title>首页</title>
</head>
<body>
    <h1>首页</h1>
    <a th:href="@{/hello}">HelloWorld</a><br/>
</body>
</html>
在请求控制器中创建处理请求的方法
@RequestMapping("/hello")
public String HelloWorld() {
  return "target";
}
1.7:访问过程
- 浏览器发送请求,请求地址符合前端控制器的url-pattern,该请求就会被前端控制器DispatcherServlet处理
- 前端控制器会读取SpringMVC的核心配置文件,通过扫描组件找到控制器
- 将请求地址和控制器中@RequestMapping注解的value属性值进行匹配
- 处理请求的方法需要返回一个字符串类型的视图名称,该视图名称会被视图解析器解析
- 加上前缀和后缀组成视图的路径,通过Thymeleaf对视图进行渲染,最终转发到视图所对应页面
2:SpringMVC获取请求参数
2.1:get请求
2.1.1:get发送单个参数
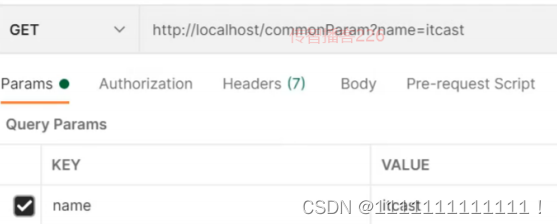
@RequestMapping("/commonParam")
@ResponseBody
public String commonParam(String name){
  System.out.println("普通参数传递 name ==> "+name);
  return "{'module':'commonParam'}";
}
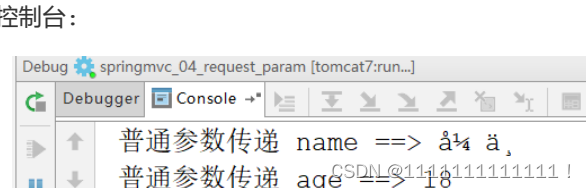
2.1.2:get发送多个参数
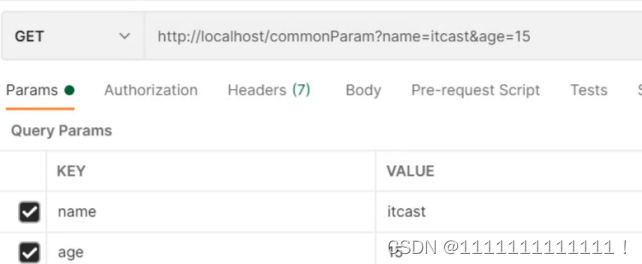
@RequestMapping("/commonParam")
@ResponseBody
public String commonParam(String name,int age){
	System.out.println("普通参数传递 name ==> "+name);
	System.out.println("普通参数传递 age ==> "+age);
	return "{'module':'commonParam'}";
}
2.1.3:get请求中文乱码
如果我们传递的参数中有中文,你会发现接收到的参数会出现中文乱码问题。
发送请求: http://localhost/commonParam?name=张三&age=18
Tomcat8.5以后的版本已经处理了中文乱码的问题,但是IDEA中的
Tomcat插件目前只到Tomcat7,所以需要修改pom.xml来解决GET请求中文乱码问题
  <build>
    <plugins>
      <plugin>
        <groupId>org.apache.tomcat.maven</groupId>
        <artifactId>tomcat7-maven-plugin</artifactId>
        <version>2.1</version>
        <configuration>
          <port>80</port>
          <path>/</path>
          <uriEncoding>UTF-8</uriEncoding><!--访问路径编解码字符集-->
        </configuration>
      </plugin>
    </plugins>
  </build>
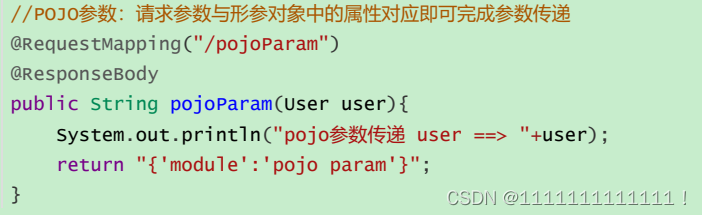
2.1.4:POJO参数
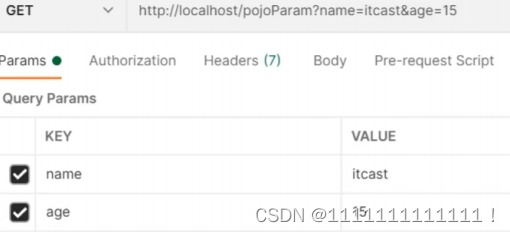
若浏览器传输的请求参数的参数名和实体类中的属性名一致,那么请求参数就会为此属性赋值
@RequestMapping("/testpojo")
    public String testPOJO(User user){
        System.out.println(user);
        return "success";
    }
    <form th:action="@{/testpojo}" method="post">
        用户名:<input type="text" name="name"><br>
        密码:<input type="password" name="password"><br>
        性别:<input type="radio" name="sex" value="男">男
              <input type="radio" name="sex" value="女">女<br>
        年龄:<input type="text" name="age"><br>
        邮箱:<input type="text" name="email"><br>
        <input type="submit">
    </form>
2.1.5:嵌套POJO类型参数
请求参数名与形参对象属性名相同,按照对象层次结构关系即可接收嵌套POJO属性参数

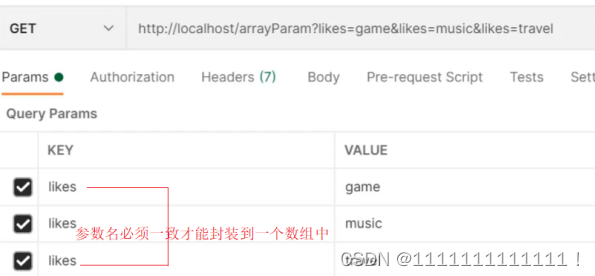
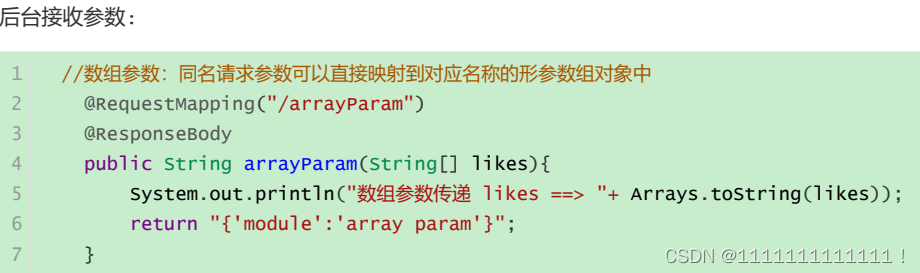
2.1.6:数组类型参数
数组参数:请求参数名与形参对象属性名相同且请求参数为多个,定义数组类型即可接收参数
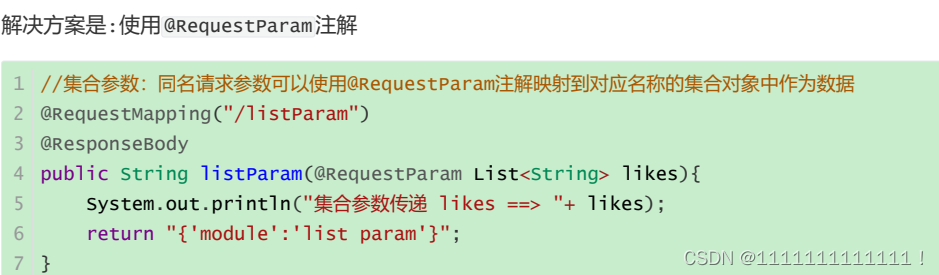
2.1.7:集合类型参数
集合保存普通参数:请求参数名与形参集合对象名相同且请求参数为多个,@RequestParam绑定参数关系
2.1.8:日期类型参数传递
SpringMVC默认支持的字符串转日期的格式为yyyy/MM/dd
解决方案也比较简单,需要使用@DateTimeFormat(pattern=“yyyy-MM-dd”)
2.1.9:JSON数据传输参数
接收:@RequestBody
响应:@ResponseBody
2.2.0 内部实现原理
在框架中,有一些类型转换接口,其中有: Converter接口
请求参数年龄数据(String→Integer)
日期格式转换(String → Date)
对象与JSON之间的转换:HttpMessageConverter接口
2.2:post请求
2.2.1:普通参数
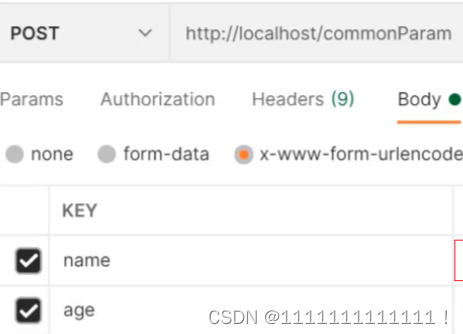
    @RequestMapping("/commonParam")
    @ResponseBody
    public String commonParam(String name,int age){
        System.out.println("普通参数传递 name ==> "+name);
        System.out.println("普通参数传递 age ==> "+age);
        return "{'module':'commonParam'}";
    }
2.2.2:post请求乱码
解决获取请求参数的乱码问题,可以使用SpringMVC提供的编码过滤器CharacterEncodingFilter,
但是必须在web.xml中进行注册
  <filter>
    <filter-name>CharacterEncodingFilter</filter-name>
    <filter-class>org.springframework.web.filter.CharacterEncodingFilter</filter-class>
    <init-param>
      <param-name>encoding</param-name>
      <param-value>UTF-8</param-value>
    </init-param>
    <init-param>
      <param-name>forceResponseEncoding</param-name>
      <param-value>true</param-value>
    </init-param>
  </filter>
  <filter-mapping>
    <filter-name>CharacterEncodingFilter</filter-name>
    <url-pattern>/*</url-pattern>
  </filter-mapping>
2.3:通过ServletAPI获取
http://localhost/testParam?username=admin&password=123456
    @RequestMapping("/testParam")
    public String testParam(HttpServletRequest request){
        String username = request.getParameter("username");
        String password = request.getParameter("password");
        System.out.println("username:"+username+",password:"+password);
        return "success";
    }
<a th:href="@{/testParam(username='admin',password=123456)}">测试获取请求参数testParam</a><br>
2.4:常用注解
2.4.1:@RequestParam
使用:形参与地址参数名不一致
- value:指定为形参赋值的参数名
- required:设置是否必须传输此请求参数,默认值为true
- defaultValue:默认值
http://localhost/commonParamDifferentName?name=张三&age=18

    @RequestMapping("/commonParamDifferentName")
    @ResponseBody
    public String commonParamDifferentName(String userName , int age){
        System.out.println("普通参数传递 userName ==> "+userName);
        System.out.println("普通参数传递 age ==> "+age);
        return "{'module':'common param different name'}";
    }
2.4.2:@RequestHeader
@RequestHeader是将请求头信息和控制器方法的形参创建映射关系
@RequestHeader注解一共有三个属性:value、required、defaultValue,用法同@RequestParam
2.4.3:@CookieValue
@CookieValue是将cookie数据和控制器方法的形参创建映射关系
@CookieValue注解一共有三个属性:value、required、defaultValue,用法同@RequestParam
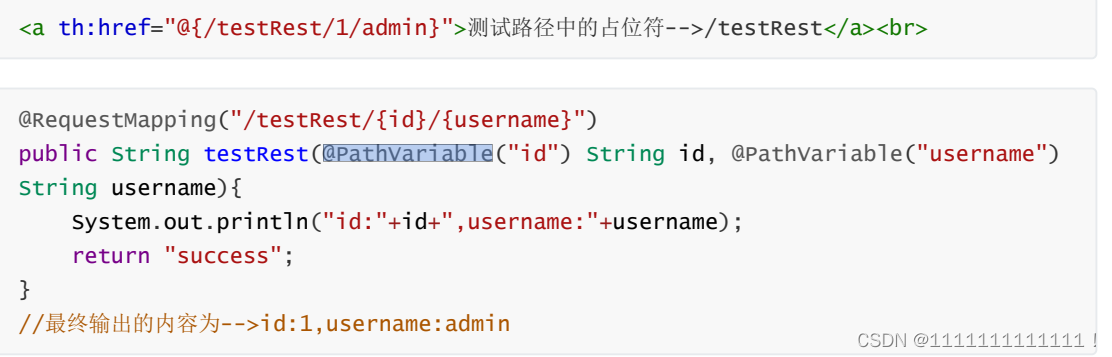
2.4.4:@PathVariable
2.4.4:@RequestMapping
- value属性
value属性是一个字符串类型的数组,表示该请求映射能够匹配多个请求地址所对应的请求
    @RequestMapping(value = {"/testRequestMapping", "/test"})
    public String testRequestMapping(){
        return "success";
    }
- method属性
 @RequestMapping(
            value = {"/testRequestMapping", "/test"},
            method = {RequestMethod.GET, RequestMethod.POST}
    )
    public String testRequestMapping(){
        return "success";
    }
- params属性
“param”:要求请求映射所匹配的请求必须携带param请求参数
“!param”:要求请求映射所匹配的请求必须不能携带param请求参数
“param=value”:要求请求映射所匹配的请求必须携带param请求参数且param=value
“param!=value”:要求请求映射所匹配的请求必须携带param请求参数但是param!=value
    @RequestMapping(
            value = {"/testRequestMapping", "/test"}
            ,method = {RequestMethod.GET, RequestMethod.POST}
            ,params = {"username","password!=123456"}
    )
    public String testRequestMapping(){
        return "success";
    }
- headers属性
“header”:要求请求映射所匹配的请求必须携带header请求头信息
“!header”:要求请求映射所匹配的请求必须不能携带header请求头信息
“header=value”:要求请求映射所匹配的请求必须携带header请求头信息且header=value
“header!=value”:要求请求映射所匹配的请求必须携带header请求头信息且header!=value


 被折叠的 条评论
为什么被折叠?
被折叠的 条评论
为什么被折叠?
 到【灌水乐园】发言


