


kvm 安装个图形化的机器
yum grouplist
yum groupinstall -y “Server with GUI” “Development Tools”
alt+f2 gnome-terminal 打开终端
sed -i ‘/^SELINUX/c SELINUX=disabled’ /etc/selinux/config
查看是否支持 cat /proc/cpuinfo | egrep ‘vmx|svm’
yum install qeme virt kvm librbd1-devel -y
》》
yum install qemu-kvm libvirt libguestfs-tools virt-install virt-mananger libvirt-python -y
qemu-kvm :KVM主程序,KVM虚拟模块
libvirt:虚拟化服务
libguestfs-tools:虚拟机系统管理工具
virt-install :安装虚拟机的实用工具(克隆)
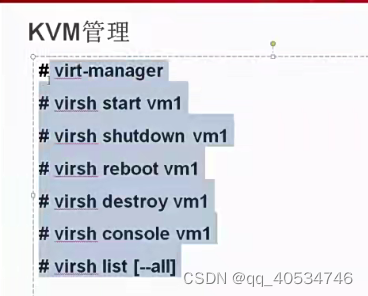
virt-mananger :KVM图形化管理工具
libvirt-python:python调用libvirt虚拟化服务的api接口库
<

启动
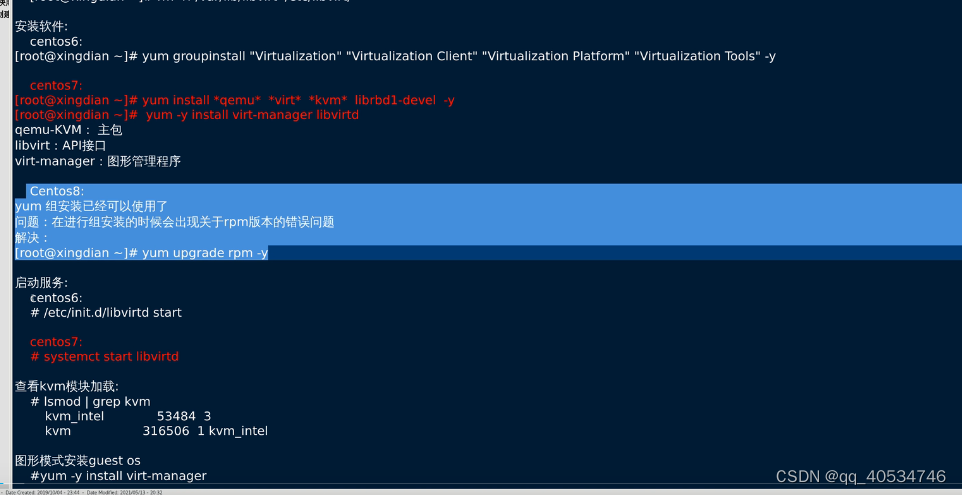
[root@gitlab kvm]# systemctl start libvirtd
[root@gitlab kvm]# systemctl enable libvirtd
[root@gitlab kvm]# lsmod | grep kvm
kvm_intel 188740 0
kvm 637289 1 kvm_intel
irqbypass 13503 1 kvm
存储池
virsh pool-define-as vmdisk --type dir --target /mnt/kvm/vmfs/

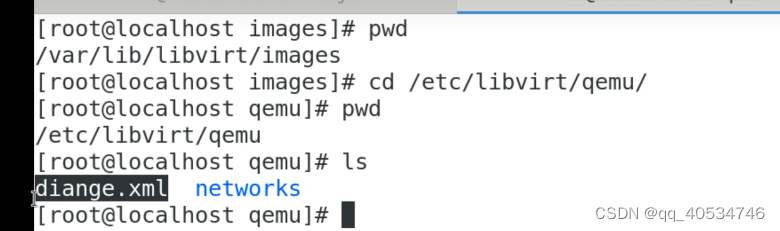
virsh dumpxml test > /etc/libvirt/qemu/test2.cml 导出配置文件
virsh start test 启动虚拟机
virsh shutdown test 停止
virsh suspend test 暂停虚拟机
virsh resume test 恢复虚拟机
virsh reboot test 重启
virsh undefine test 删除虚拟机
开机自启
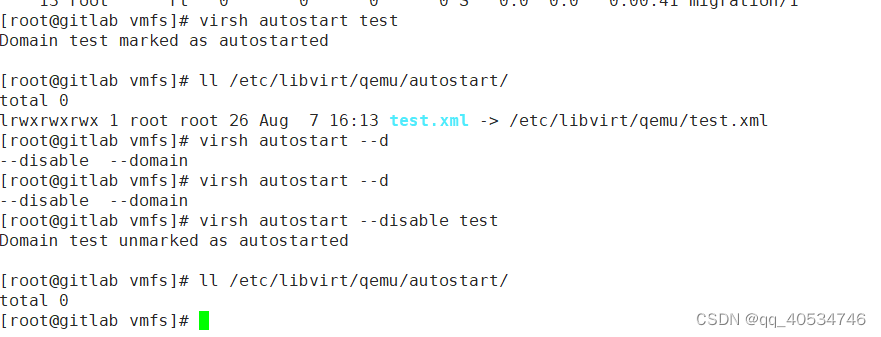
[root@gitlab vmfs]# virsh autostart test
Domain test marked as autostarted
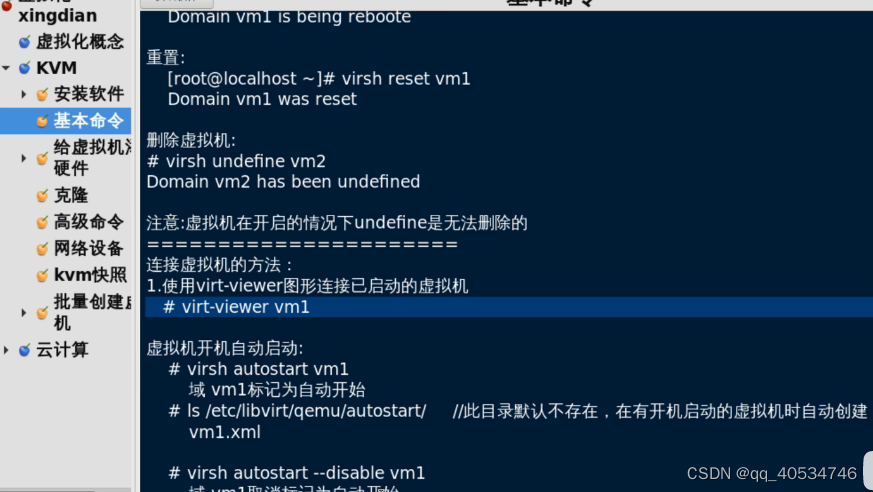
[root@gitlab vmfs]# ll /etc/libvirt/qemu/autostart/
total 0
lrwxrwxrwx 1 root root 26 Aug 7 16:13 test.xml -> /etc/libvirt/qemu/test.xml
[root@gitlab vmfs]#
virsh autostart --disable test 取消开机自启
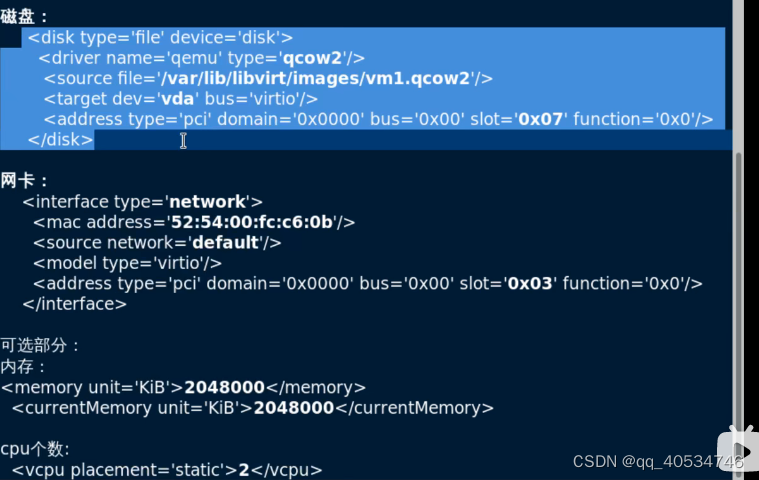
添加硬件
修改配置文件
virsh define /etc/libvirt/qemu/test2.xml 使用配置文件生成虚拟机
注意的是
<name>test2</name> 虚拟机名字
<uuid>747172c5-aaa8-4fb5-b62a-ad1f72b3455e</uuid> uuid 修改一下
<memory unit='KiB'>1048576</memory> 内存
<currentMemory unit='KiB'>1048576</currentMemory>
<vcpu placement='static'>2</vcpu> cpu
<disk type='file' device='disk'>
<driver name='qemu' type='qcow2'/>
<source file='/mnt/kvm/vmfs/huweiqi1.qcow2'/> 这个位置 硬盘的镜像文件
<target dev='hda' bus='ide'/>
<address type='drive' controller='0' bus='0' target='0' unit='0'/>
</disk>
<disk type='file' device='cdrom'>
<mac address='52:54:00:2f:81:32'/> 网卡的地址 修改一下
virt-viewer test 打开图形化
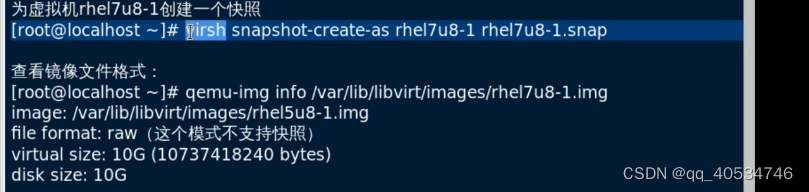
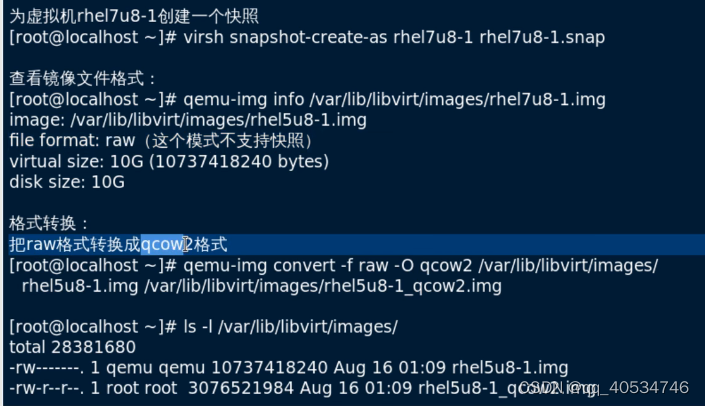
创建快照
[root@gitlab qemu]# virsh snapshot-create-as test test.snap
Domain snapshot test.snap create
查看i快照
[root@gitlab qemu]# qemu-img info /mnt/kvm/vmfs/huweiqi.qcow2 这是磁盘镜像文件
image: /mnt/kvm/vmfs/huweiqi.qcow2
file format: qcow2
virtual size: 20G (21474836480 bytes)
disk size: 1.9G
cluster_size: 65536
Snapshot list:
ID TAG VM SIZE DATE VM CLOCK
1 test.snap 296M 2022-08-07 16:39:05 00:54:43.407 这个位置 快照
Format specific information:
compat: 1.1
lazy refcounts: true
[root@gitlab qemu]#
[root@gitlab qemu]# virsh snapshot-list test
Name Creation Time State
------------------------------------------------------------ test.snap 2022-08-07 16:39:05 +0800 running
[root@gitlab qemu]# virsh snapshot-list test2
Name Creation Time State
virsh snapshot-revert test test.snap 恢复快照
virsh snapshot-delete --snapshotname test.snap test 删除
克隆
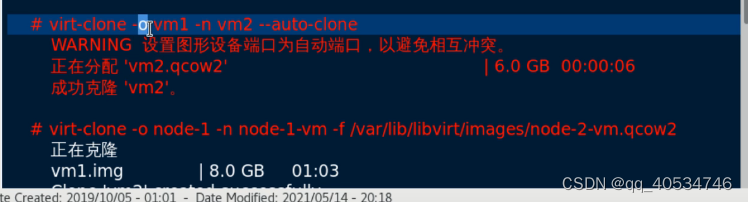
virt-clone -o test -n testclo --auto-clone
[root@gitlab qemu]# virt-clone -o test -n testclo --auto-clone
ERROR    Domain with devices to clone must be paused or shutoff.   必须处于这个状态
[root@gitlab qemu]# virsh suspend test                 暂挺状态
Domain test suspended

[root@gitlab qemu]# virt-clone -o test -n testclo --auto-clone      再次测试
WARNING  Setting the graphics device port to autoport, in order to avoid conflicting.
Allocating 'huweiqi-clone.qcow2'                                   |  20 GB  00:00:06

Clone 'testclo' created successfully.
[root@gitlab qemu]# virsh list --all
Id    Name                           State
----------------------------------------------------
4     test                           paused
5     test2                          running
-     testclo                        shut off

[root@gitlab qemu]# ls
autostart  networks  test2.xml  testclo.xml  test.xml
[root@gitlab qemu]# ll /mnt/kvm/vmfs/
total 5410816
-rw------- 1 qemu qemu 21478375424 Aug  7 16:45 huweiqi1.qcow2
-rw------- 1 root root  1711996928 Aug  7 16:56 huweiqi-clone.qcow2    有了该镜像文件
-rw------- 1 qemu qemu 21792292864 Aug  7 16:52 huweiqi.qcow2
[root@gitlab qemu]# virt-clone -o test -n testclo --auto-clone

##  指定镜像文件  [root@gitlab qemu]# virt-clone -o test -n testye -f /mnt/kvm/vmfs/huweiqiye.qcow2
网络
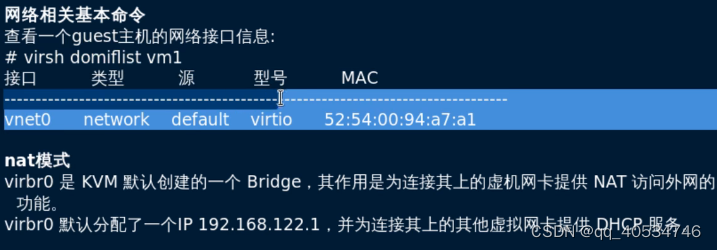
[root@gitlab qemu]# virsh domiflist test 查看
Interface Type Source Model MAC
-------------------------------------------------------vnet0 network net-1 rtl8139 52:54:00:2f:81:82
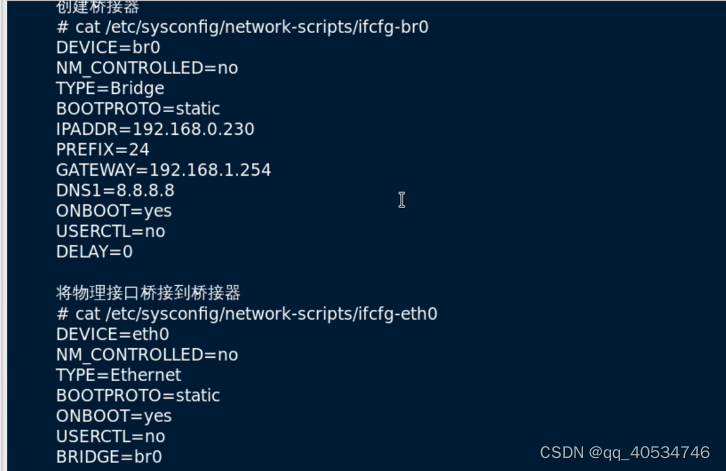
桥接
桥接会导致主机网卡{ip}丢失
桥接 在网卡目录 /etc/sysconfig/network-scripts 创建桥接配置文件
vim ifcfg-br0
DEVICE=br0
NM_CONTROLLED=no
TYPE=Bridge
ONBOOT=yes
BOOTPROTO=static
IPADDR=192.168.1.77
NETMASK=255.255.255.0
GATEWAY=192.168.1.1
DNS1=114.114.114.114
USERCTL=no
DELAY=0
配置ens33位置文件
DEVICE=ens33
NM_CONTROLLED=no
TYPE=Ethernet
BOOTPROTO=static
ONBOOT=yes
USERCTL=no
BRIDGE=br0
[root@gitlab network-scripts]# brctl show
bridge name bridge id STP enabled interfaces
br0 8000.000c29a14adb no ens33
docker0 8000.024282e37021 no
virbr0 8000.525400ed3cbf yes virbr0-nic
virbr1 8000.5254006a16ea yes virbr1-nic
[root@gitlab network-scripts]#
不用桥接了 删除br0 恢复ens33


 被折叠的 条评论
为什么被折叠?
被折叠的 条评论
为什么被折叠?
 到【灌水乐园】发言


