


对于一些没有网络的环境, 需要使用源码方式安装MySQL. 下面介绍如何安装mysql8.4.5.
1. 下载安装包
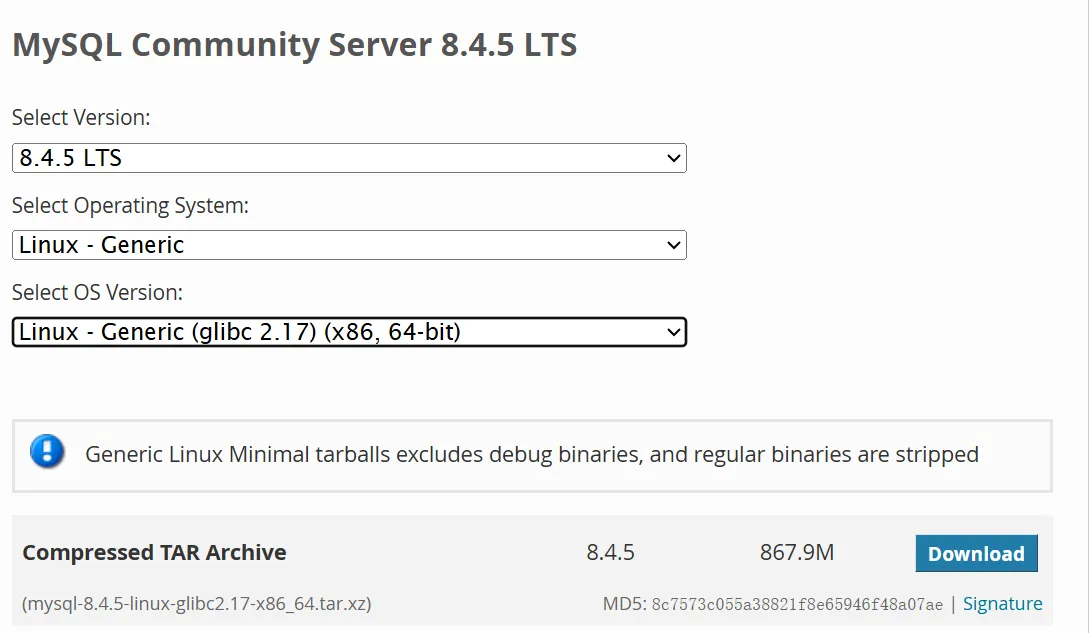
地址: https://dev.mysql.com/downloads/mysql/
2. 解压
2.1 将下载的安装包传输到服务器上, 并解压
tar -xvf   mysql-8.4.5-linux-glibc2.17-x86_64.tar.xz
mv mysql-8.4.5-linux-glibc2.17-x86_64.tar.xz  /usr/local/mysql
2.2 创建配置文件
因为5.7 以后默认没有my.cnf了, 需要自己创建. /etc/my.cnf
 [client]
default-character-set=UTF8MB4
#password   = k0Ui&wV(Z3yt
port        = 3306
socket      = /tmp/mysql.sock

# Here follows entries for some specific programs

# The MySQL server
[mysqld]

#配置mysql的文件夹 和 mysql data目录
basedir=/usr/local/mysql
datadir=/usr/local/mysql/data
default-storage-engine=INNODB
character-set-server=UTF8MB4
port= 3306
socket= /tmp/mysql.sock
skip-external-locking
key_buffer_size=16K
max_allowed_packet=1M
table_open_cache=4
sort_buffer_size=64K
read_buffer_size=256K
read_rnd_buffer_size=256K
net_buffer_length=2K
thread_stack=128K

server-id=1

# Uncomment the following if you want to log updates
#log-bin=mysql-bin

# binary logging format - mixed recommended
#binlog_format=mixed

# Causes updates to non-transactional engines using statement format to be
# written directly to binary log. Before using this option make sure that
# there are no dependencies between transactional and non-transactional
# tables such as in the statement INSERT INTO t_myisam SELECT * FROM
# t_innodb; otherwise, slaves may diverge from the master.
#binlog_direct_non_transactional_updates=TRUE

# Uncomment the following if you are using InnoDB tables
#innodb_data_home_dir = /usr/local/mysql/data
#innodb_data_file_path = ibdata1:10M:autoextend
#innodb_log_group_home_dir = /usr/local/mysql/data
# You can set .._buffer_pool_size up to 50 - 80 %
# of RAM but beware of setting memory usage too high
#innodb_buffer_pool_size = 16M
#innodb_additional_mem_pool_size = 2M
# Set .._log_file_size to 25 % of buffer pool size
#innodb_log_file_size = 5M
#innodb_log_buffer_size = 8M
#innodb_flush_log_at_trx_commit = 1
#innodb_lock_wait_timeout = 50

[mysqldump]
quick
max_allowed_packet = 16M

[mysql]
no-auto-rehash
# Remove the next comment character if you are not familiar with SQL
#safe-updates

[myisamchk]
key_buffer_size = 8M
sort_buffer_size = 8M

[mysqlhotcopy]
interactive-timeout
授权
sudo chmod 664 /etc/my.cnf
3. 创建用户和用户组,并赋予权限
3.1 创建用户和用户组
groupadd mysql
useradd -g mysql mysql
chown -R mysql.mysql /usr/local/mysql
4. 初始化MySQL信息
4.1 进入/usr/local/mysql的bin目录
./mysqld --user=mysql --basedir=/usr/local/mysql --datadir=/usr/local/mysql/data/ --initialize
这里会输出MySQL的临时密码, 需要保存下来
5. 添加MySQL到系统服务
5.1
cd /usr/local/mysql

cp -a ./support-files/mysql.server /etc/init.d/mysql
5.2 授权以及添加服务
chmod +x /etc/init.d/mysql

chkconfig --add mysql
5.3 启动命令
service mysql start
service mysql status
service mysql stop
6. 修改账户信息
6.1 修改root密码
mysql mysql -uroot -p
ALTER USER 'root'@'localhost' IDENTIFIED BY 'Ducy@2025';
flush privileges;
6.2 创建新用户以及授权
create user 'ducy'@'ip' IDENTIFIED BY 'Ducy@2025';
grant all privileges on *.* to 'ducy'@'ip';
flush privileges;
6.3 赋予最高权限(root)
grant all privileges on *.* to 'ducy'@'ip with grant option
7. 如果有旧版本的,通过源码安装的,需要卸载
find / -name mysql
删除涉及的mysql目录即可


 1324
1324

 被折叠的 条评论
为什么被折叠?
被折叠的 条评论
为什么被折叠?
 到【灌水乐园】发言


