


 本文围绕Spring Cloud Config服务集成Bus实现配置文件动态更新展开。介绍了Spring Cloud Bus机制,用Docker搭建RabbitMQ服务,对config-server和config-client服务进行改造,还进行了测试。最后给出自动化更新配置文件的思路,可利用GitHub的webhooks实现。
springcloud学习之config服务集成bus实现动态更新配置文件
在之前的服务中已经实现了config-server 和config-client服务,本章节将会实现动态更新配置文件信息,之前的项目有不懂的可以看springcloud学习之config统一管理微服务配置
版本介绍
springboot 2.1.6
springcloud Greenwich.SR1
文章目录
1 Spring Cloud Bus的简介
Spring Cloud Bus 使用轻量级的消息代理(列如 : RabbitMQ ,Kafka等)连接分布式系统的节点,这样就可以广播传播状态的变更(列如配置信息的变更)或者其他的管理指令
2 docker搭建rabbitmq服务
所以在了解了bus的机制是使用消息进行更新配置信息,首先需要一个RabbitMQ,在这里直接使用docker进行Rabbitmq服务的搭建
直接执行脚本
docker run -d --hostname my-rabbit --name rabbitmq\
-e RABBITMQ_DEFAULT_USER=admin \
-e RABBITMQ_DEFAULT_PASS=admin \
-p 15672:15672 -p 5672:5672 -p 25672:25672 -p 61613:61613 -p 1883:1883\
 rabbitmq:management
ps: management这个版本的镜像自带rabbitmq的管理界面
5672 端口 服务端口
15672 端口 管理界面
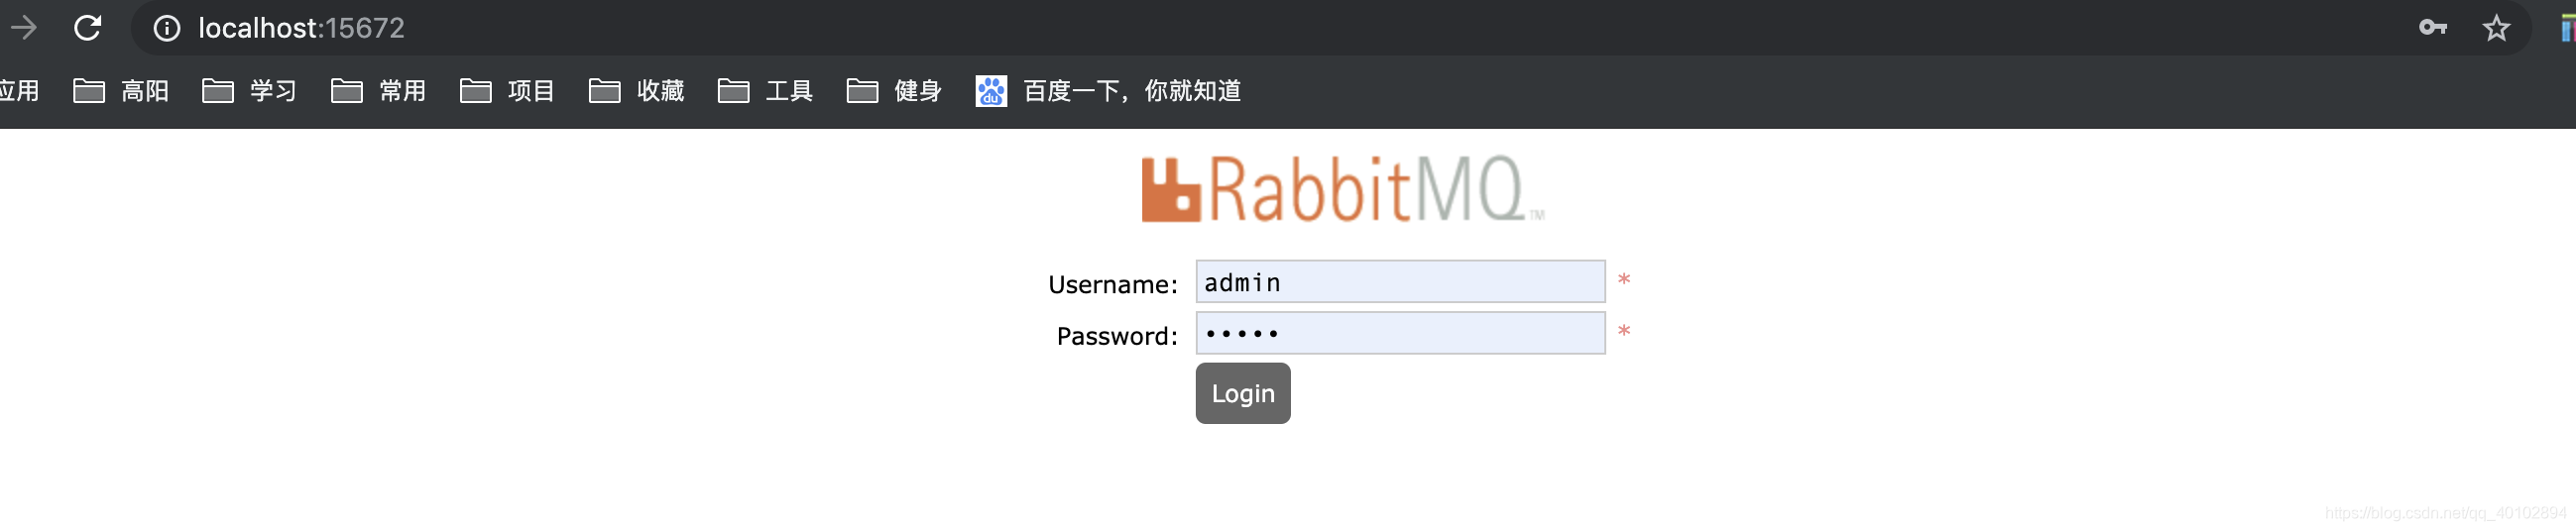
到此 rabbitmq服务启动完成
3 改造 config-server服务
3.1 pom
核心pom
        <!-- springcloud-bus依赖实现配置自动更新,rabbitmq -->
        <dependency>
            <groupId>org.springframework.cloud</groupId>
            <artifactId>spring-cloud-starter-bus-amqp</artifactId>
        </dependency>
3.2 配置文件yaml
applicaiton.yaml
server:
  port: 8081
spring:
  application:
    name: cloud-config-server
  cloud:
    config:
      server:
        git:
          uri: https://github.com/imqw/config-application
          username:
          password:
          search-paths: '{application}' #根据输入的{application}自动匹配对应的配置文件--针对有子目录的库
      label: master  #git配置文件分支
    # 消息总线配置
    bus:
      enabled: true
      trace:
        enabled: true
      refresh:
        enabled: true # 开启总线消息更新功能
  #rabbitmq配置
  rabbitmq:
    host: localhost
    port: 5672
    username: admin
    password: admin
# 屏蔽安全验证
management:
  endpoints:
    web:
      exposure:
        include: '*' # 可以选择【"health","mappings","bus-refresh"】三种选项暴露那些端点
4 改造 config-client服务
4.1 pom
核心pom
      <!-- springcloud-bus依赖实现配置自动更新,rabbitmq -->
        <dependency>
            <groupId>org.springframework.cloud</groupId>
            <artifactId>spring-cloud-starter-bus-amqp</artifactId>
        </dependency>
        <dependency>
            <groupId>org.springframework.boot</groupId>
            <artifactId>spring-boot-starter-actuator</artifactId>
        </dependency>
4.2配置文件yaml
bootstrap.yaml
spring:
  application:
    name: cloudconf
  cloud:
    config:
      uri: http://localhost:8081/
      profile: dev
      label: master
    # 消息总线配置
    bus:
      enabled: true
      trace:
        enabled: true
      refresh:
        enabled: true # 开启总线消息更新功能
  rabbitmq:
    host: localhost
    port: 5672
    username: admin
    password: admin
# 屏蔽安全验证
management:
  endpoints:
    web:
      exposure:
        include: '*' # 可以选择【"health","mappings","bus-refresh"】三种选项暴露那些端点
5 测试
配置好服务服务后
启动服务
输入 http://localhost:8082/profile
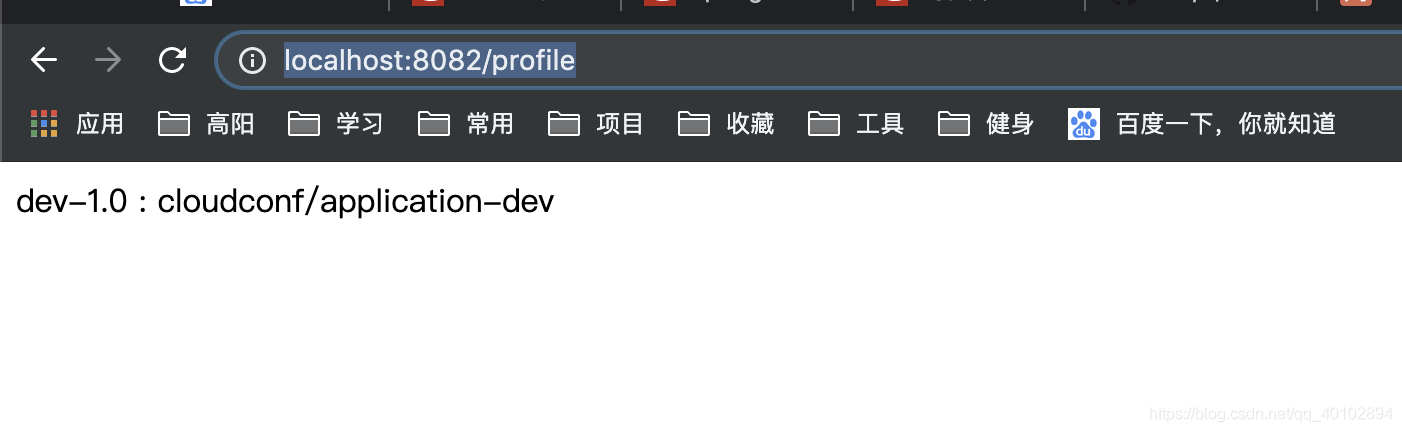
修改 cloudconf 下cloudconf-dev.yaml
profile: dev-1.0

name: "自动更新配置"
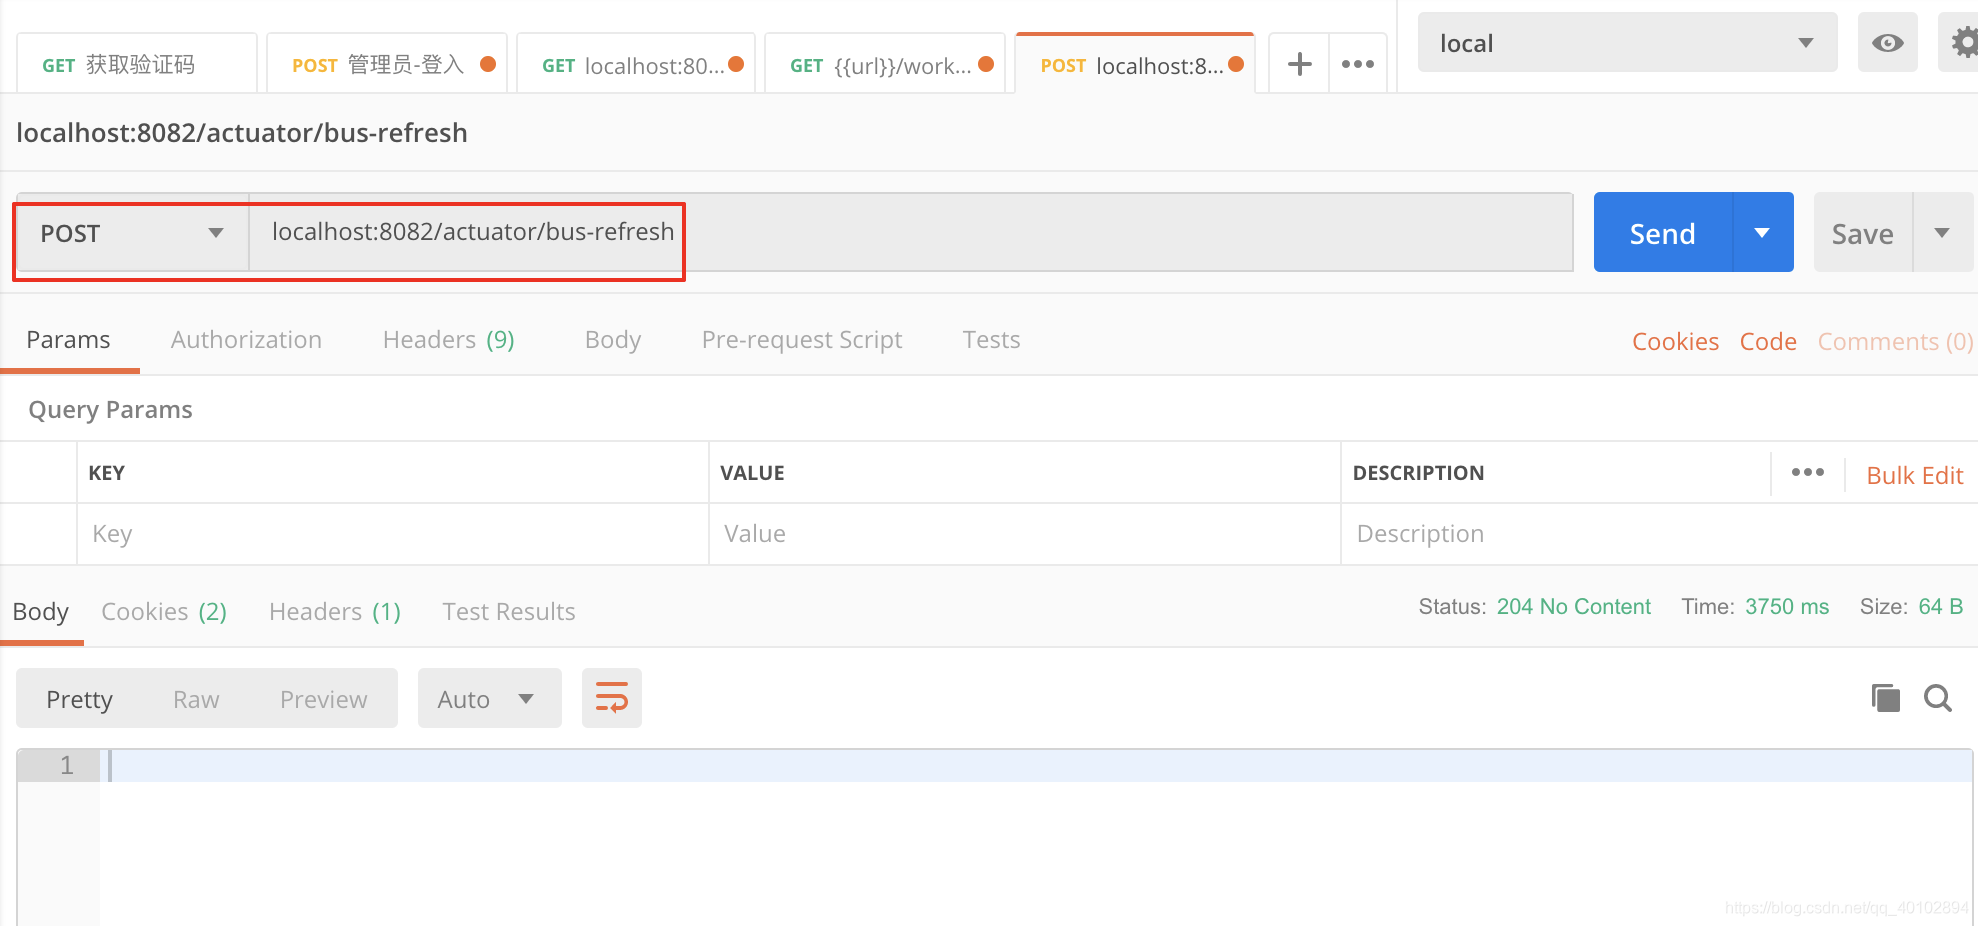
需要注意的是 更新配置文件需要先请求一个节点
首先发布一个post请求 http://localhost:8082/actuator/bus-refresh 手动刷新配置
或者请求 http://localhost:8081/actuator/refresh
8082 是配置客户端应用 config-client
8081 是配置服务中心 config-server
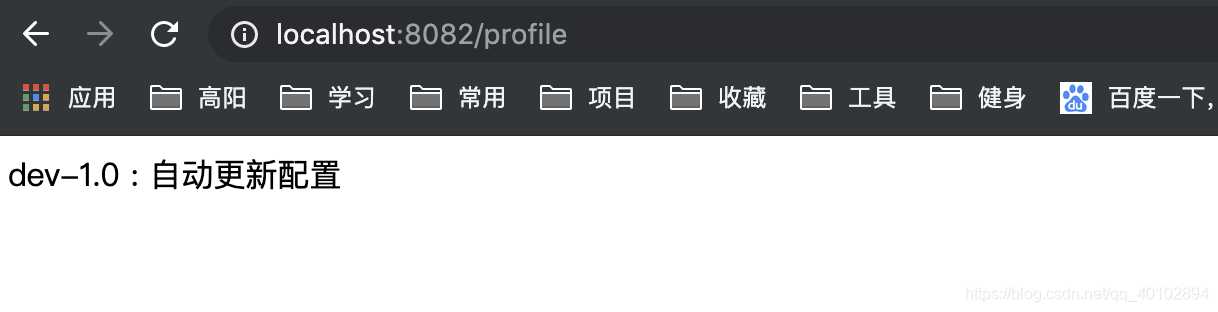
client控制台日志 显示已经刷新了

重新请求 http://localhost:8082/profile
5.1 源码
6 自动化更新配置文件的思路,及实现
在前面已经讲到了 实现自动化更新配置文件需要请求一个接口
首先发布一个post请求 http://localhost:8082/actuator/bus-refresh 手动刷新配置
或者请求 http://localhost:8081/actuator/refresh
8082 是配置客户端应用 config-client
8081 是配置服务中心 config-server
自动更新配置文件的思路肯定是在提交配置文件到远程仓库的时候 推送成功时调用一次这个接口
可以使用github的webhooks来实现自动更新
参考文档 :《Spring cloud 与Docker微服务架构实战》


 178
178

 被折叠的 条评论
为什么被折叠?
被折叠的 条评论
为什么被折叠?
 到【灌水乐园】发言


