


简述:为什么会使用WSL
- 1.因为过年回家了,阿里云服务器到期了,没续费,在家也连不上学校的机器
- 2.因为是新启的项目,便从头开始,继承UVC开发(烂尾?)
一.环境
1.安装WSL
这里不会细说,是基于一遍过的情况
# 查看网络上的发行版
wsl --list --online
# 安装22.04版本 --web-download 通过网站下载
wsl --install Ubuntu-22.04 --web-download
# 默认安装到C盘,需要迁移(D盘空间大)
wsl --export Ubuntu-22.04 D:\WSL\UbuntuExport.tar
wsl --unregister Ubuntu-22.04
wsl --import Ubuntu22.04 D:\WSL\Ubuntu D:\WSL\UbuntuExport.tar
到这就已经安装完成了
然后就是配置Ubuntu22.04的镜像源了
sudo cp /etc/apt/sources.list /etc/apt/sources.list.bak    # 备份原来的软件源
sudo su  # 切换到root用户
echo "" > /etc/apt/sources.list # 清空配置
- 修改:(注释了源码仓库,是否取消注释随意)
- 中科大
deb https://mirrors.ustc.edu.cn/ubuntu/ jammy main restricted universe multiverse #deb-src https://mirrors.ustc.edu.cn/ubuntu/ jammy main restricted universe multiverse deb https://mirrors.ustc.edu.cn/ubuntu/ jammy-updates main restricted universe multiverse #deb-src https://mirrors.ustc.edu.cn/ubuntu/ jammy-updates main restricted universe multiverse deb https://mirrors.ustc.edu.cn/ubuntu/ jammy-backports main restricted universe multiverse #deb-src https://mirrors.ustc.edu.cn/ubuntu/ jammy-backports main restricted universe multiverse deb https://mirrors.ustc.edu.cn/ubuntu/ jammy-security main restricted universe multiverse #deb-src https://mirrors.ustc.edu.cn/ubuntu/ jammy-security main restricted universe multiverse deb https://mirrors.ustc.edu.cn/ubuntu/ jammy-proposed main restricted universe multiverse #deb-src https://mirrors.ustc.edu.cn/ubuntu/ jammy-proposed main restricted universe multiverse ``` - 清华源
deb https://mirrors.tuna.tsinghua.edu.cn/ubuntu/ jammy main restricted universe multiverse
# deb-src https://mirrors.tuna.tsinghua.edu.cn/ubuntu/ jammy main restricted universe multiverse
deb https://mirrors.tuna.tsinghua.edu.cn/ubuntu/ jammy-updates main restricted universe multiverse
# deb-src https://mirrors.tuna.tsinghua.edu.cn/ubuntu/ jammy-updates main restricted universe multiverse
deb https://mirrors.tuna.tsinghua.edu.cn/ubuntu/ jammy-backports main restricted universe multiverse
# deb-src https://mirrors.tuna.tsinghua.edu.cn/ubuntu/ jammy-backports main restricted universe multiverse
deb https://mirrors.tuna.tsinghua.edu.cn/ubuntu/ jammy-security main restricted universe multiverse
# deb-src https://mirrors.tuna.tsinghua.edu.cn/ubuntu/ jammy-security main restricted universe multiverse```
- 中科大
- 更新
sudo apt update
2.编辑环境
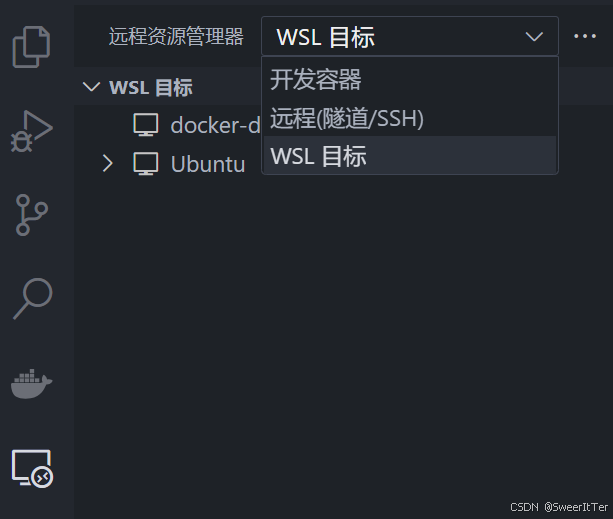
我选择VSCode
只需要在windows主机上安装VSCode并且安装插件
Remote-SSH和WSL插件


选择WSL目标就可以看到本地的系统
3.安装SDK
- 复制压缩包到自己指定的位置
我这里放在了用户目录下
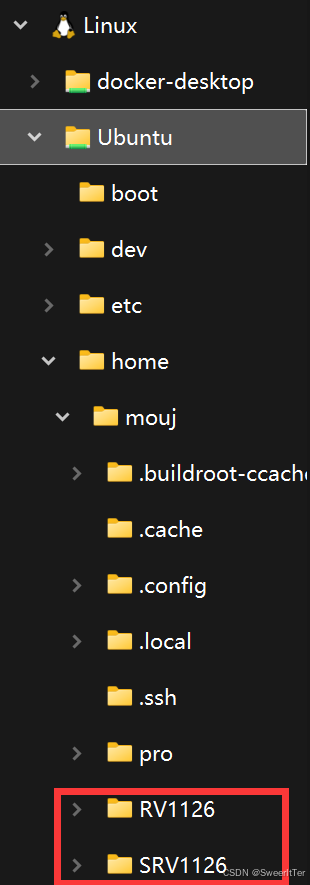
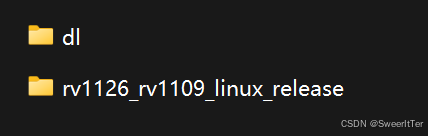
将SDK包解压,将dl解压
如果出现了问题,请回到这一步,修改用户权限
sudo chown -R mouj:mouj /home/mouj
将用户文件夹的所有权转交给mouj
(mouj是我的用户名,自主修改)
到SDK根目录下
运行同步命令:
./.repo/repo/repo sync -c
拉取补丁并执行
git clone https://gitee.com/owlvisiontech/owlvtech-patch-rv1126.git
cd ./owlvtech-patch-rv1126
./vendor-patch.sh
配置SDK
# 选择自己板子的配置
./build.sh lunch
source envsetup.sh
./envsetup.sh
二.全编译
运行 ./build.sh all等待第一个报错
1) yylloc重定义 : multiple definition of `yylloc’
/usr/bin/ld: scripts/dtc/dtc-parser.tab.o:(.bss+0x10): multiple definition of `yylloc';scripts/dtc/dtc-lexer.lex.o:(.bss+0x0): first defined here

collect2: error: ld returned 1 exit status
make[2]: *** [scripts/Makefile.host:99: scripts/dtc/dtc] Error 1
make[1]: *** [scripts/Makefile.build:637: scripts/dtc] Error 2
处理
cd到/kernel/scripts/dtc编辑dtc-lexer.lex.c- 在 629 行,修改
YYLTYPE yylloc;为extern YYLTYPE yylloc;保存后重新编译
此后所有遇到的问题均来自buildroot,"重新编译"可以修改命令为./build.sh buildroot,跳过编译过的
2) c-stack.c:55:26: missing binary operator
In file included from /usr/include/signal.h:328,
from ./signal.h:52,
from c-stack.c:49:
c-stack.c:55:26: error: missing binary operator before token "("
55 | #elif HAVE_LIBSIGSEGV && SIGSTKSZ < 16384
处理
- 通过命令
find -name c-stack.c找到文件c-stack.c,定位到 55 行 - 修改
-
#elif HAVE_LIBSIGSEGV && SIGSTKSZ < 16384
/* libsigsegv 2.6 through 2.8 have a bug where some architectures use
   more than the Linux default of an 8k alternate stack when deciding
   if a fault was caused by stack overflow.  */
# undef SIGSTKSZ
# define SIGSTKSZ 16384
#endif
-
- 为
-
//#elif HAVE_LIBSIGSEGV && SIGSTKSZ < 16384
/* libsigsegv 2.6 through 2.8 have a bug where some architectures use
   more than the Linux default of an 8k alternate stack when deciding
   if a fault was caused by stack overflow.  */
//# undef SIGSTKSZ
//# define SIGSTKSZ 16384
全部注释掉,再编译 -
3) libfakeroot.c:99:40: ‘_STAT_VER’ undeclared
libfakeroot.c:99:40: error: '_STAT_VER' undeclared (first use in this function)
99 | #define INT_NEXT_STAT(a,b) NEXT_STAT64(_STAT_VER,a,b)
处理
- 通过命令
find -name libfakeroot.c找到文件libfakeroot.c,定位到 99 行 - 在这个位置添加
-
/*
   These INT_* (which stands for internal) macros should always be used when
   the fakeroot library owns the storage of the stat variable.
*/
>  <----
#ifdef STAT64_SUPPORT
#define INT_STRUCT_STAT struct stat64
#define INT_NEXT_STAT(a,b) NEXT_STAT64(_STAT_VER,a,b)
-
- 修改后
-
/*
   These INT_* (which stands for internal) macros should always be used when
   the fakeroot library owns the storage of the stat variable.
*/
#ifndef _STAT_VER
 #if defined (__aarch64__)
  #define _STAT_VER 0
 #elif defined (__x86_64__)
  #define _STAT_VER 1
 #else
  #define _STAT_VER 3
 #endif
#endif

#ifdef STAT64_SUPPORT
#define INT_STRUCT_STAT struct stat64
#define INT_NEXT_STAT(a,b) NEXT_STAT64(_STAT_VER,a,b)
-
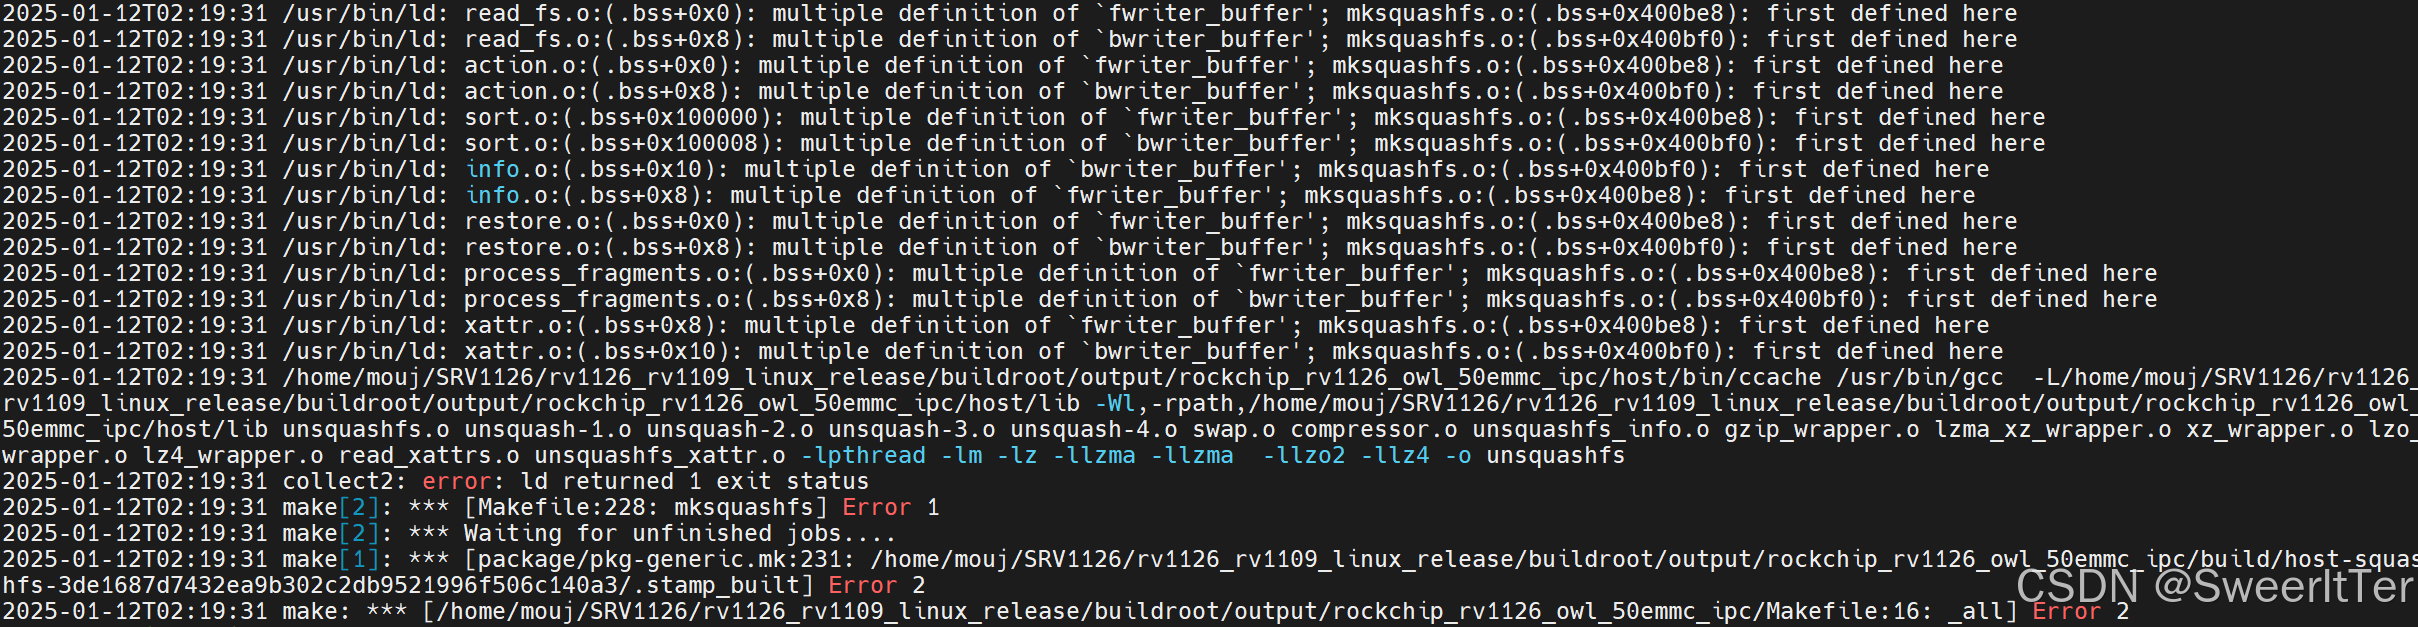
4) read_fs.o : multiple definition of ‘fwriter_buffer’ / ‘bwriter_buffer’
/usr/bin/ld: read_fs.o:(.bss+0x0): multiple definition of 'fwriter_buffer'; mksquashfs.o:(.bss+0x400be8): first defined here
/usr/bin/ld: read_fs.o:(.bss+0x8): multiple definition of 'bwriter_buffer'; mksquashfs.o:(.bss+0x400bf0): first defined here
....
处理
参考博客
注意修改路径
5) makedevs: line 27: can’t create node
makedevs: line 27: can't create node /home/mouj/SRV1126/rv1126_rv1109_linux_release/buildroot/output/rockchip_rv1126_owl_50emmc_ipc/target/dev/console: Operation not permitted
处理
参考博客
这里简单说一下步骤
- 1.访问 https://git.buildroot.org/buildroot/,下载最新版buildroot压缩包,我下载的时候最新版是24年11月份的

- 2.解不解压看个人习惯,我用的7zip,没解压,找到
\package\fakeroot复制里面的.hash和.mk两个文件 - (注意:替换前先备份所有在原文件夹的文件!!!)
- 3.删除文件夹内文件(备份)后粘贴文件到Ubuntu22.04对应的位置,重新编译
补充
6) qtbase 的报错
如果遇到了qt5base的报错,并且提及到std和(这几个关键词,极有可能是因为qtbase的这几个文件没有包含 limits头文件
处理
找到对应报错的文件,方法同上,在.h里增加一行:#include <limits>
三.新项目的开始
通过qtcreator新建一个空白工程(windows)…
到此,第一次篇章结束
未完待续…


 被折叠的 条评论
为什么被折叠?
被折叠的 条评论
为什么被折叠?
 到【灌水乐园】发言


