


1. 官网
https://www.haproxy.com/
2. 一键安装脚本
# 安装HAProxy,安装路径:/usr/local/softwares/haproxy
# 配置文件位置:/usr/local/softwares/haproxy/config
mkdir -p /usr/local/softwares/haproxy
mkdir -p /usr/local/softwares/haproxy/config
touch /usr/local/softwares/haproxy/config/haproxy.cfg
cd /usr/local/softwares/haproxy
wget https://www.haproxy.org/download/2.2/src/haproxy-2.2.16.tar.gz

tar -zxvf haproxy-2.2.16.tar.gz -C /usr/local/softwares/
rm /usr/local/softwares/haproxy/haproxy-2.2.16.tar.gz

cd /usr/local/softwares/haproxy-2.2.16

make TARGET=linux31 PREFIX=/usr/local/softwares/haproxy
make install PREFIX=/usr/local/softwares/haproxy

# 添加环境变量,会影响你自己配置的环境变量
# echo 'export HAPROXY_HOME=/usr/local/softwares/haproxy' >> ~/.bashrc
# echo 'export PATH=$PATH:$HAPROXY_HOME/sbin' >> ~/.bashrc

# source ~/.bashrc
3. 使用
# 在任意一个目录下
$ touch install_haproxy.sh
$ chmod 744 install_haproxy.sh
$ install_haproxy.sh
4. haproxy配置Demo
#logging options
global
	log 127.0.0.1 local0 info
	maxconn 5120
	chroot /usr/local/softwares/haproxy
	uid 99
	gid 99
	daemon
	quiet
	nbproc 20
	pidfile /var/run/haproxy.pid

defaults
	log global

	mode tcp

	option tcplog
	option dontlognull
	retries 3
	option redispatch
	maxconn 2000
    timeout connect 5s

    timeout client 60s

    timeout server 15s

#front-end IP for consumers and producters

listen rabbitmq_cluster
	bind 0.0.0.0:5672

	mode tcp
	#balance url_param userid
	#balance url_param session_id check_post 64
	#balance hdr(User-Agent)
	#balance hdr(host)
	#balance hdr(Host) use_domain_only
	#balance rdp-cookie
	#balance leastconn
	#balance source //ip

	balance roundrobin

        server rabbitmq_node1 192.168.60.21:5672 check inter 5000 rise 2 fall 2
        server rabbitmq_node2 192.168.60.22:5672 check inter 5000 rise 2 fall 2

listen stats
	bind 172.16.98.133:8100
	mode http
	option httplog
	stats enable
	stats uri /rabbitmq-stats
	stats refresh 5s
5. 启动HAProxy
/usr/local/softwares/haproxy/sbin/haproxy -f /usr/local/softwares/haproxy/config/haproxy.cfg
6. 访问管理页面
172.16.98.133:8100/rabbitmq-stats
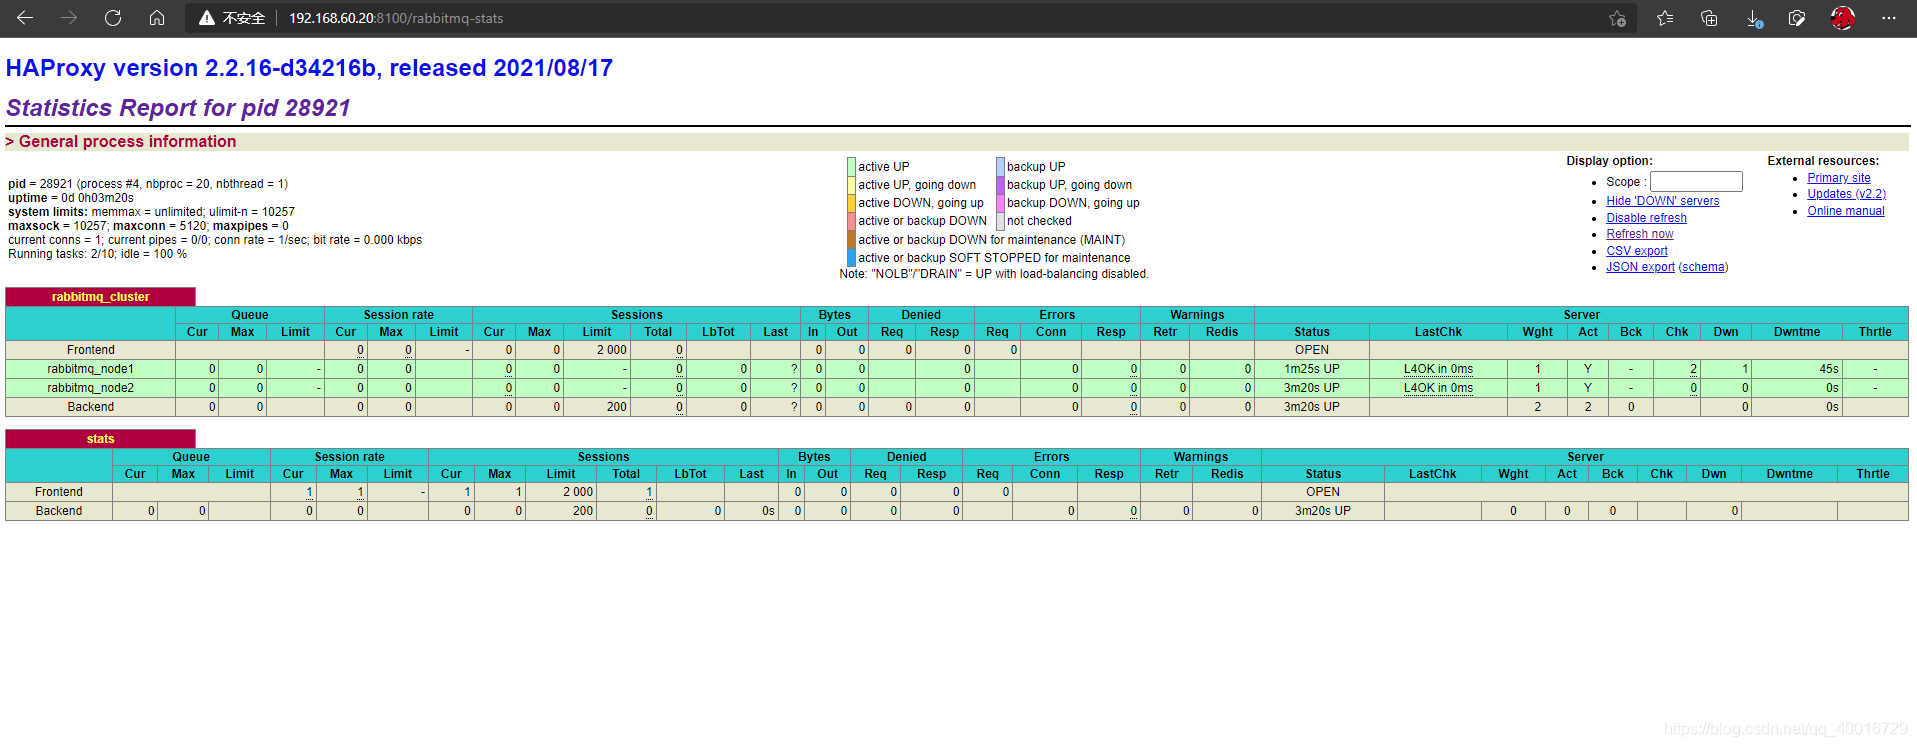
可以看到,两个rabbitmq结点都up了


 667
667

 被折叠的 条评论
为什么被折叠?
被折叠的 条评论
为什么被折叠?
 到【灌水乐园】发言


