


 本文详细介绍了使用微信小程序实现轮播图组件的具体方法,包括wxml和wxss代码示例,以及图片轮换函数的编写。通过代码展示了如何设置轮播图的样式,如高度、宽度、边框半径等,并实现了图片的自动轮换效果。
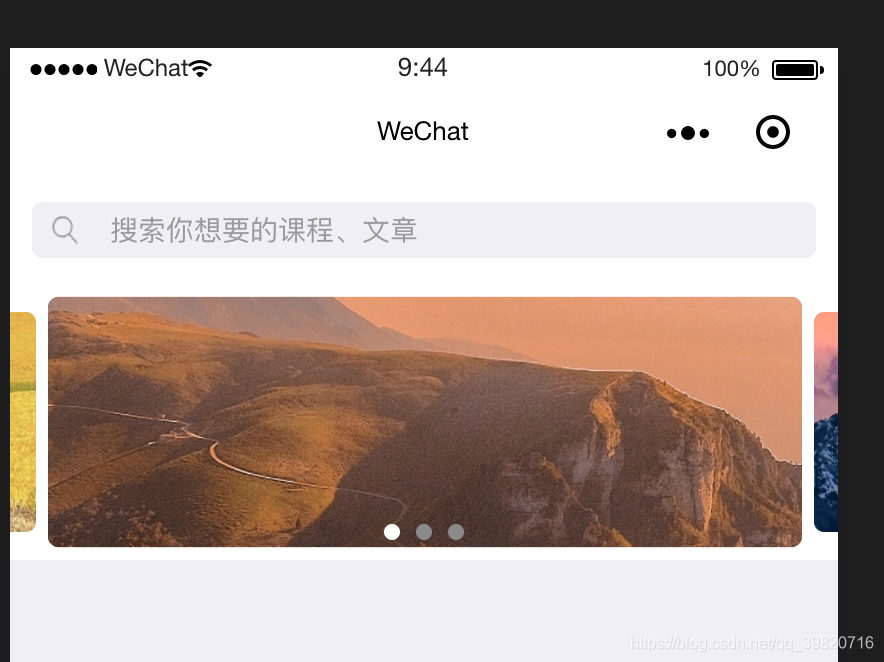
效果图如下:
下面贴上代码:
// wxml
<swiper indicator-dots = "true" autoplay="true" interval="3000"
indicator-color='#8a8a8a' indicator-active-color='#fff' circular="true" class="swiper-block" bindchange="swiperChange" previous-margin="50rpx" next-margin="50rpx" current="0">

<block wx:for="{{imgUrls}}" wx:index="{{index}}">

<swiper-item class="swiper-item">

<image mode="aspectFill" src="{{item}}" class="slide-image {{currentIndex == index ? 'active' : ''}}" />

</swiper-item>

</block>

</swiper>
// wxss
.swiper-block {

background: #fff;

height: 250rpx;

width: 100%;

}

.swiper-item{

display: flex;

flex-direction: column;

justify-content: center;

align-items: flex-start;

overflow: unset;

}

.swiper-block .wx-swiper-dot::before{
  content:' ';
  flex-grow: 1;
  background: rgb(255,   255, 255,0.2);
}

.swiper-block .wx-swiper-dot::after{
  content:' ';
  flex-grow: 1;
  background: rgb(255,   255, 255,0.8);
}

.slide-image{

height: 200rpx;

width: 92%;

border-radius: 10rpx;


margin: 0rpx 28rpx ;

z-index: 1;

}

.active{

transform: scale(1.14);

transition: all .2s ease-in 0s;

z-index: 20;

}
data: {     //图片的路径自行调整

    imgUrls: [

      '/images/swiper/banner.png',

      '/images/swiper/banner.png',

      '/images/swiper/banner.png'

    ]

  },

  //轮换图函数
  swiperChange: function (e) {

    this.setData({

      currentIndex: e.detail.current

    })

  },


 693
693

 被折叠的 条评论
为什么被折叠?
被折叠的 条评论
为什么被折叠?
 到【灌水乐园】发言


