


部署前后端项目的方式有多种,本文的部署方式是使用java打包前端静态资源成jar包,直接运行jar包即可访问网页。
以前端VUE项目+后端springboot为例
一、打包前端
npm run build
生成静态资源文件夹dist
二、打包后端
1.将dist文件夹的内容复制到java项目中的resources文件夹中
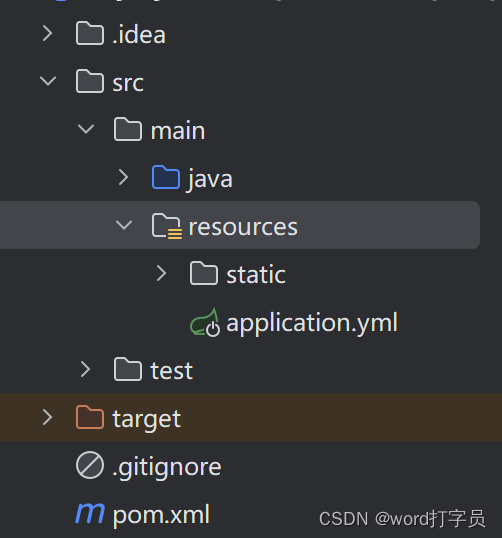
2.java主程序
package org.example;
import org.springframework.boot.SpringApplication;
import org.springframework.boot.autoconfigure.SpringBootApplication;
import org.springframework.context.ConfigurableApplicationContext;
import org.springframework.core.env.Environment;
import org.springframework.http.converter.HttpMessageConverter;
import org.springframework.web.servlet.config.annotation.WebMvcConfigurer;

import java.net.InetAddress;
import java.net.UnknownHostException;

@SpringBootApplication
public class App implements WebMvcConfigurer {

    public static void main(String[] args) throws UnknownHostException {
        ConfigurableApplicationContext application = SpringApplication.run(App.class, args);

    }

}
2.配置pom.xml
<project xmlns="http://maven.apache.org/POM/4.0.0" xmlns:xsi="http://www.w3.org/2001/XMLSchema-instance"
  xsi:schemaLocation="http://maven.apache.org/POM/4.0.0 http://maven.apache.org/xsd/maven-4.0.0.xsd">
  <modelVersion>4.0.0</modelVersion>

  <groupId>org.example</groupId>
  <artifactId>projectName</artifactId>
  <version>1.0-SNAPSHOT</version>
  <packaging>jar</packaging>
  <name>projectName</name>

  <parent>
    <groupId>org.springframework.boot</groupId>
    <artifactId>spring-boot-starter-parent</artifactId>
    <version>2.1.4.RELEASE</version>
  </parent>

  <properties>
    <project.build.sourceEncoding>UTF-8</project.build.sourceEncoding>
  </properties>

  <dependencies>
    <dependency>
      <groupId>junit</groupId>
      <artifactId>junit</artifactId>
      <version>3.8.1</version>
      <scope>test</scope>
    </dependency>
    <!--    WEB支持 -->
    <dependency>
      <groupId>org.springframework.boot</groupId>
      <artifactId>spring-boot-starter-web</artifactId>
    </dependency>
  </dependencies>
  <build>
    <finalName>${project.name}</finalName>
    <defaultGoal>compile</defaultGoal>
    <plugins>
      <plugin>
        <groupId>org.springframework.boot</groupId>
        <artifactId>spring-boot-maven-plugin</artifactId>
        <executions>
          <execution>
            <goals>
              <goal>repackage</goal>
            </goals>
          </execution>
        </executions>
      </plugin>

      <plugin>
        <groupId>org.apache.maven.plugins</groupId>
        <artifactId>maven-compiler-plugin</artifactId>
        <version>3.7.0</version>
        <configuration>
          <source>1.8</source>
          <target>1.8</target>
          <encoding>UTF-8</encoding>
        </configuration>
      </plugin>

      <plugin>
        <groupId>org.apache.maven.plugins</groupId>
        <artifactId>maven-surefire-plugin</artifactId>
        <version>2.22.1</version>
        <configuration>
          <skipTests>true</skipTests>
        </configuration>
      </plugin>

    </plugins>
  </build>
</project>
3.配置application.yml
spring:
  application:
    name: duty
  profiles:
      active: dev
  main:
    allow-bean-definition-overriding: true
server:
  port: 80
此处可指定运行端口
4.打包生成jar包


 1262
1262

 被折叠的 条评论
为什么被折叠?
被折叠的 条评论
为什么被折叠?
 到【灌水乐园】发言


