为了搞定图像校正的demo,开始学习opencv。用的是opencv 3.0.0 beta + vs2010,学习的是视频教程(51CTO学院),记录一下学习的东西,希望期末前可以搞定这个demo!0V0
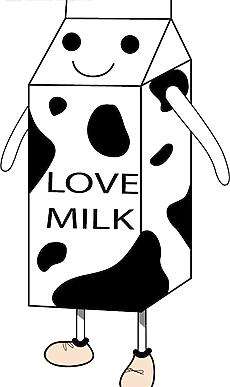
1.首先是图片的载入,修改和储存。我在源代码文件夹里放了一张卡通牛奶图片:milk.jpg
 ←对,就是它!
#include <opencv2\core\core.hpp>
#include <opencv2\highgui\highgui.hpp>
#include <opencv2\imgproc\imgproc.hpp>
#include <opencv2\objdetect\objdetect.hpp>
#include <opencv2\imgproc\types_c.h>
#include <opencv2\objdetect\objdetect_c.h>
#include<opencv2/opencv.hpp>
#include<iostream>
#include<cmath>
#include<cstdio>

using namespace std;
using namespace cv;

int main()
{
	Mat src = imread("milk.jpg");
	//1.第二个参数放IMREAD_GRAYSCALE,是灰度图片
	if(src.empty())
	{
		cout<<"!!!"<<endl;
		return -1;
	}
	namedWindow("milk",0);
	imshow("milk",src);

	namedWindow("out",1);//第二个参数1不可以变大小,0可以拉来拉去♂
	Mat out;
	cvtColor(src,out,CV_BGR2HSV);
	//第二个参数CV_BGR2GRAY灰度,CV_BGR2HLS(绿油油的)亮度和饱和度,CV_BGR2HSV(红红的)
	imshow("out",out);

	imwrite("hlstest.jpg",out);//保存

	waitKey(0);
	return 0;
}
2.矩阵掩膜
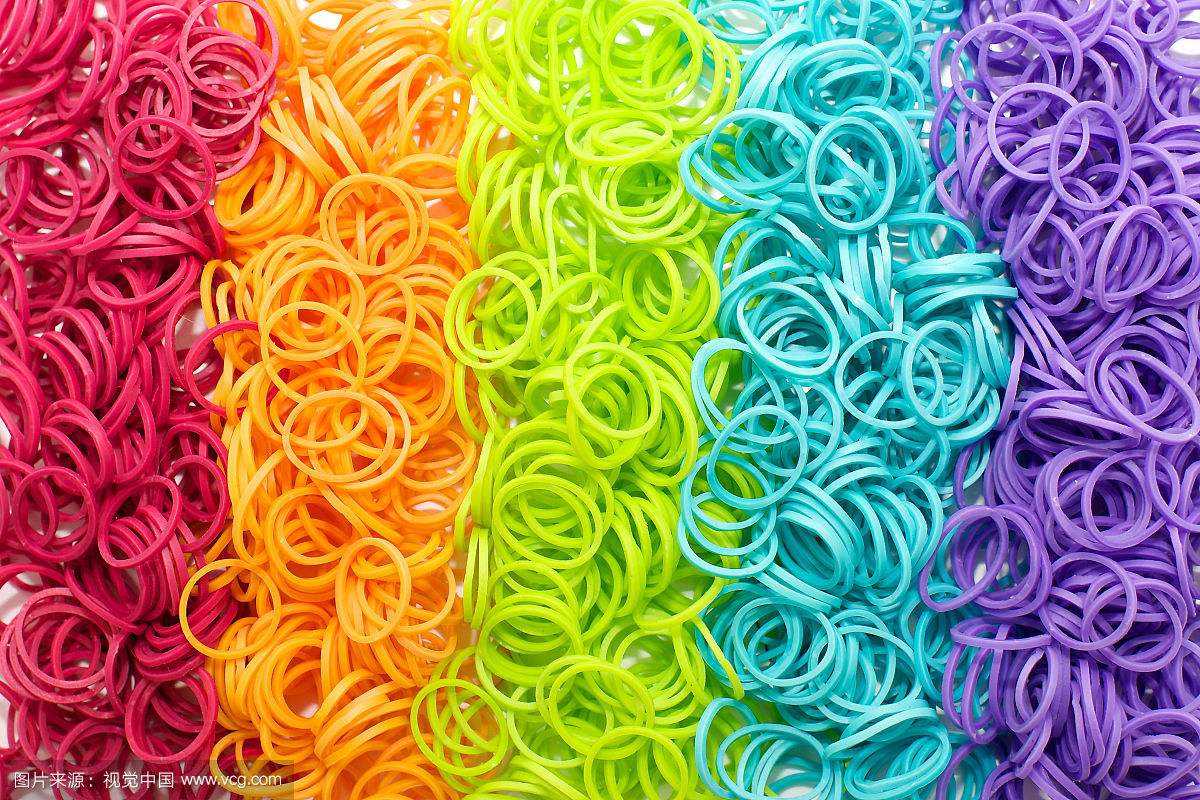
这个可以提高图像的对比度,牛奶的色彩不够多,换个五彩的图片(嘤)试试。


↑这是公式
以下注释的一段为矩阵掩膜的手动实现,可以用底下的filter2D直接实现,通过计时得出只需要0.01,特别快!
/*矩阵掩膜提高对比度*/
#include <opencv2\core\core.hpp>
#include <opencv2\highgui\highgui.hpp>
#include <opencv2\imgproc\imgproc.hpp>
#include <opencv2\objdetect\objdetect.hpp>
#include <opencv2\imgproc\types_c.h>
#include <opencv2\objdetect\objdetect_c.h>
#include<opencv2/opencv.hpp>
#include<iostream>
#include<cmath>
#include<cstdio>

using namespace std;
using namespace cv;

int main()
{
	Mat src,dst;
	src=imread("ying.jpg");
	if(!src.data)
	{
		cout<<"!"<<endl;
		return -1;
	}
	namedWindow("ying",0);
	imshow("ying",src);

	/*int cols=(src.cols-1)*src.channels();
	int rows=src.rows;
	int st=src.channels();//通道数目
	dst=Mat::zeros(src.size(),src.type());//zero初始化
	for(int i=1;i<rows-1;i++)
	{
		const uchar* cur=src.ptr<uchar>(i);
		const uchar* pre=src.ptr<uchar>(i-1);
		const uchar* next=src.ptr<uchar>(i+1);
		uchar* out=dst.ptr<uchar>(i);
		for(int j=st;j<cols;j++)
		{
			out[j]=saturate_cast<uchar>(cur[j]*5-(cur[j-st]+cur[j+st]+pre[j]+next[j]));
			//saturate_cast<uchar>让后面像素在0~255之间
		}
	}
	*/

	double t=(double)getTickCount();//计时

	Mat kernel=(Mat_<char>(3,3)<<0,-1,0,-1,5,-1,0,-1,0);
	filter2D(src,dst,src.depth(),kernel);

	double timec=(double)(getTickCount()-t)/getTickFrequency();
	cout<<"time emmmm: "<<timec;

	namedWindow("outt demo",0);
	imshow("outt demo",dst);

	waitKey(0);
	return 0;
}
3.Mat对象
探索Mat玩法~
#include <opencv2\core\core.hpp>
#include <opencv2\highgui\highgui.hpp>
#include <opencv2\imgproc\imgproc.hpp>
#include <opencv2\objdetect\objdetect.hpp>
#include <opencv2\imgproc\types_c.h>
#include <opencv2\objdetect\objdetect_c.h>
#include<opencv2/opencv.hpp>
#include<iostream>
#include<cmath>
#include<cstdio>

using namespace std;
using namespace cv;

int main()
{
	Mat src;
	src=imread("milk.jpg");
	if(src.empty())
	{
		cout<<"!!!"<<endl;
		return -1;
	}
	namedWindow("milk",1);
	imshow("milk",src);

	/*1.用Scalar变色
	Mat dst;
	dst=Mat(src.size(),src.type());
	dst=Scalar(127,0,255);
	namedWindow("milk2",1);
	imshow("milk2",dst);
	*/

	/*2.克隆一模一样的图片
	Mat dst=src.clone();或者src.copyTo(dst);
	namedWindow("milk2",1);
	imshow("milk2",dst);
	*/

	/*3.瞎玩♂
	Mat dst;
	cvtColor(src,dst,CV_BGR2GRAY);
	cout<<src.channels()<<endl;
	cout<<dst.channels()<<endl;
	namedWindow("milk2",1);
	//imshow("milk2",dst);
	//RGB转成灰度图片,通道数从3->1
	int cols=dst.cols;
	int rows=dst.rows;
	cout<<"row: "<<rows<<" "<<"cols: "<<cols<<endl;
	const uchar* firstRow=dst.ptr<uchar>(0);
	int ans=*firstRow;
	cout<<"1st pixel value is "<<ans<<endl;

	Mat M(100,100,CV_8UC3,Scalar(0,0,255));
	//cout<<"M="<<endl<<M<<endl;

	imshow("milk2",M);
	*/
	waitKey(0);
	return 0;
}


 本文介绍了使用OpenCV进行图像处理的基础操作,包括图片的载入、显示和保存,色彩空间转换,以及应用矩阵掩膜提高图像对比度等技巧。


 422
422

 被折叠的 条评论
为什么被折叠?


