


一、安装依赖软件,括号内为此次部署使用的版本号,也可使用其他版本
- 安装Mysql(5.7.25)
- 安装Tomcat(8.5.69)
- 安装Nginx(1.16.1)
- 安装 zookeeeper(3.6.3)
- 安装 Redis(3.2.12)
二、安装准备
- 新建以下几个文件夹,也可修改成其他位置
	#存放disconf源代码
	/usr/local/disconf/src
	#存放配置文件
	/usr/local/disconf/config
	#存放打包生成的war包和前端静态文件
	/usr/local/disconf/war
- 下载Disconf源码,源码gitHub地址:
https://github.com/knightliao/disconf,将源码中的disconf-web目录复制到 上一步创建的/usr/local/disconf/src目录中;将/usr/local/disconf/src/disconf-web/src/main/resources目录中的下面四个文件 按照实际配置信息修改后拷贝到 上一步创建的/usr/local/disconf/config目录中
	#由application-demo.properties拷贝而来
	application.properties
	#配置mysql相关信息
	jdbc-mysql.properties
	#配置redis相关信息
	redis-config.properties
	#配置zookeeper相关信息
	zoo.properties
- 将以下内容添加到 /etc/profile 文件中,保存后执行
source /etc/profile命令
	ONLINE_CONFIG_PATH=/usr/local/disconf/config
	WAR_ROOT_PATH=/usr/local/disconf/war
	export ONLINE_CONFIG_PATH
	export WAR_ROOT_PATH
- 初始化Mysql数据库,依次执行以下sql脚本
	sql/1-init_table.sql
	sql/2-data.sql
	sql/20141201/disconf.sql
	sql/20141206/disconf.sql
	sql/20150101/disconf.sql
	sql/20150302/disconf.sql
三、构建Disconf
- 执行构建脚本
	cd /usr/local/disconf/src/disconf-web
	sh deploy/deploy.sh
- 构建完成后会在
/usr/local/disconf/war目录下生成以下内容
	-disconf-web.war
	-html
	-META-INF
	-WEB-INF
四、部署 Disconf
- Tomcat设置,修改server.xml文件,在Host结点下添加以下内容,并设置端口为 8088,设置完成后启动tomcat
<Context path="" docBase="/usr/local/disconf/war"></Context>
- Nginx设置,修改 nginx.conf,添加以下内容
	upstream disconf {
	  server 127.0.0.1:8088;
	}

	server {

	   listen   8081;
	   server_name localhost;
	   access_log /usr/local/nginx/logs/disconf/access.log;
	   error_log /usr/local/nginx/logs/disconf/error.log;

	   location / {
	       root /usr/local/disconf/war/html;
	       if ($query_string) {
	           expires max;
	       }
	   }

	   location ~ ^/(api|export) {
	       proxy_pass_header Server;
	       proxy_set_header Host $http_host;
	       proxy_redirect off;
	       proxy_set_header X-Real-IP $remote_addr;
	       proxy_set_header X-Scheme $scheme;
	       proxy_pass http://disconf;
	   }
	}
五、使用Disconf
- 访问地址
http://123.123.123.123:8081/(改成自己部署服务的机器IP)
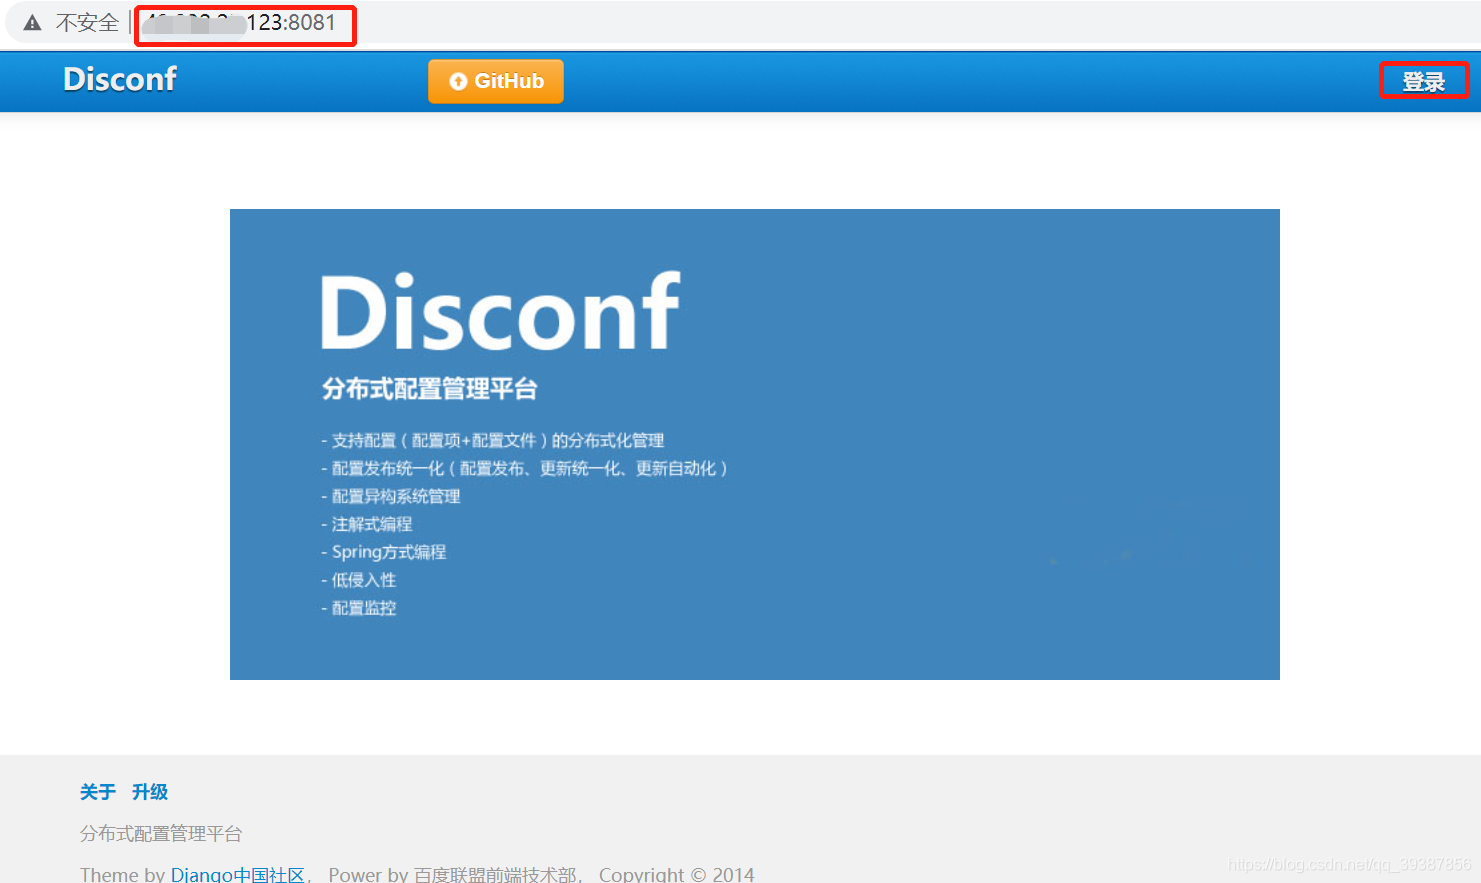
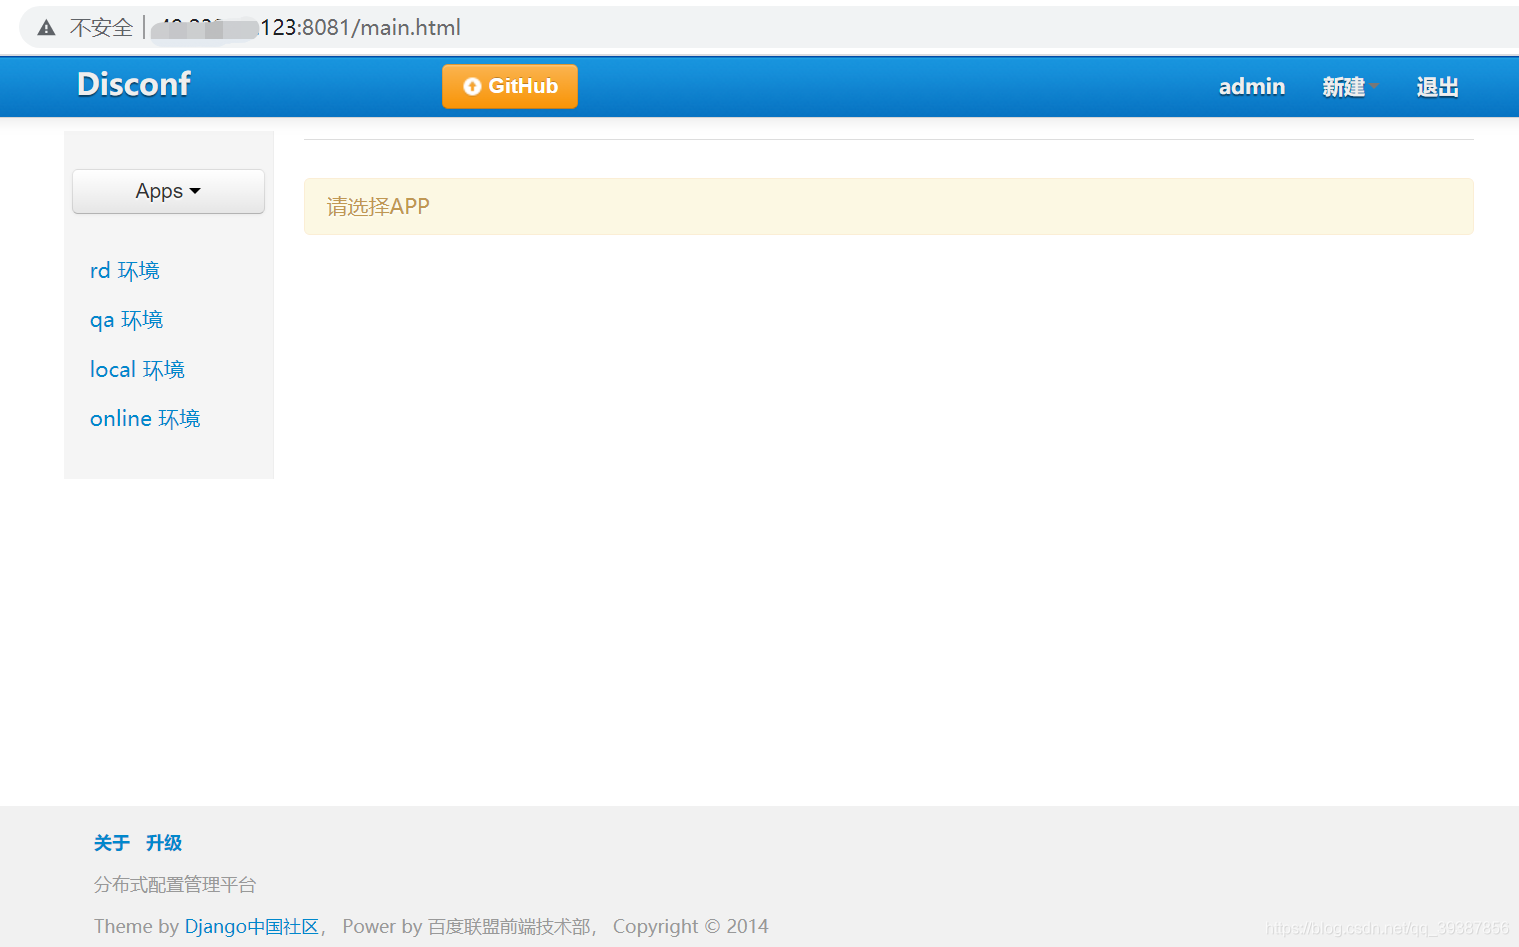
- 使用 admin/admin 账号/密码 登录


 被折叠的 条评论
为什么被折叠?
被折叠的 条评论
为什么被折叠?
 到【灌水乐园】发言


