


 本文详细介绍了Redux的安装、配置与使用,包括创建store、reducer和action,以及如何通过React与Redux结合进行状态管理。重点讲解了同步与异步action的应用,以及如何通过Provider实现组件间的状态共享。
redux
安装redux
以一个简单的计数器为例
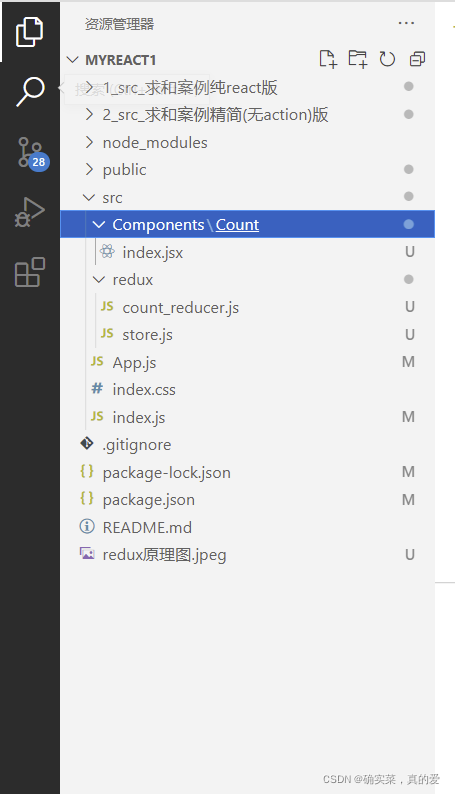
1.求和案例精简版
(1)去除count组件自身的状态
(2) src下建立:
-redux
-store.js
-count_reducer.js
(3)store.js:
1) 引入redux中的createStore函数,创建一个store
2)createStore调用时要传入一个为其服务的reducer
3)记得暴露store对象
(4)count_reducer.js:
1)reducer的本质是一个函数,接收:preState和action,返回加工后的状态
2)reducer有两个作用:初始化状态和加工状态
3)reducer第一次被调用时,是store自动触发的,传递的preState是undefined
(5)在index.js中监测store中状态的改变,一旦发生改变要重新渲染。
备注:redux只负责管理状态,至于状态的改变驱动着页面的展示,要靠我们自己写。
- 安装redux npm install --save redux
- 建立redux文件夹 并建立store.js(用于创建store)和count_reducer.js(用于初始化和处理store里的数据)两个文件
- 创建store并导出
//引入createStore创建一个store
import {createStore} from 'redux'
import countReducer from './count_reducer'
const store = createStore(countReducer)
export default store
- 创建count的reducer,reducer其实就是一个函数,接收两个参数prestate和action。用于初始化数据和处理数据
/*
1.reducer就是一个函数function 用于初始化和加工处理store里的数据
2.reducer接收两个参数,初始化数据prestate和action对象
3.action(type,data)
*/
//初始化count的一个值
const initState = 100
function countReducer (preState=initState,action){

    const {type,data} = action
    switch (type) {
        //处理加法
        case 'increment':
            return preState + data
        case 'decrement':
            return preState - data
        default:
            return preState;
    }
}
export default countReducer
- 现在可以展示store里的数据了 用到一个api store.getState()
<h2>当前求和为:{store.getState()}</h2>
- 做加法 减法
这里的action是我自己编写的 并不规范,页面上的操作实际上是根据提交派发的action 去匹配reducer,从而完成数据的更改。action由两部分组成。type和data ,通过store.dispatch方法分发给reducer 此例中像这样
store.dispatch({type:"increment",data:value*1})
count组件
import React, { Component } from 'react'
import store from '../../redux/store'
export default class Count extends Component {
//更新页面
componentDidMount(){
    store.subscribe(()=>{
      this.setState({})
    })
  }
increment=()=>{
//获取选取的select值
const {value} = this.selectValue
//通过dispatch分发action给reducer reducer通过判断action里type类型来改变store里的数据
store.dispatch({type:"increment",data:value*1})
}
decrement=()=>{
const {value} = this.selectValue
store.dispatch({type:"decrement",data:value*1})
}
incrementIfOdd=()=>{
const {value} = this.selectValue
if(store.getState() % 2 !==0)
{
store.dispatch({type:"increment",data:value*1})
}
}
incrementAsync=()=>{
const {value} = this.selectValue
setTimeout(() => {
store.dispatch({type:"increment",data:value*1})
}, 500);
}
render() {
return (
<div>
<h2>当前求和为:{store.getState()}</h2>
{/* 获取元素节点 */}
<select name="" id="" ref={c=>{this.selectValue=c}}>
<option value="1">1</option>
<option value="2">2</option>
<option value="3">3</option>
</select>
<button onClick={this.increment}>+</button>
<button onClick={this.decrement}>-</button>
<button onClick={this.incrementIfOdd}>当前求和为奇数再加</button>
<button onClick={this.incrementAsync}>异步加</button>
</div>
)
}
}
- 至此已经实现了redux的使用,注意的是 count组件的生命周期钩子函数
componentDidMount(){
store.subscribe(()=>{
this.setState({})
})
}
不这样做页面不会更新!!!
接下来看更完整的redux运用
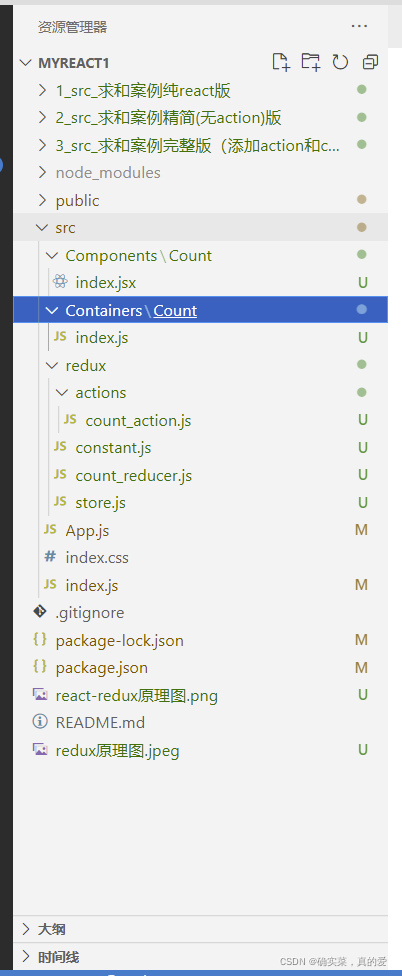
2.求和案例完整版(添加了action和常量constant.js)
目录结构
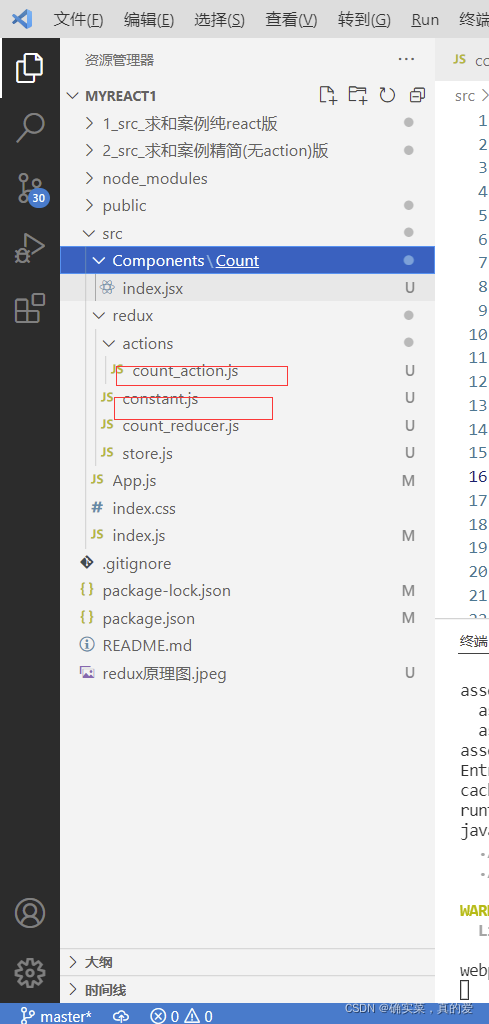
在精简版的基础上建立了action对象。通过这个action dispatch分派的是action,而不是自己定义的type和data
/*
1.创建actions actions(type,data),action和reducer(preState,action)一样,也是函数
*/
export const incrementAction=(data)=>{
    return {
        type:"increment",
        data:data
    }
}
export const decrementAction=(data)=>{
    return {
        type:"decrement",
        data:data
    }
}
dispatch的时候
store.dispatch(incrementAction(value*1))
此外增加了一个constant.js,这个文件从技术上即使不存在也不影响代码的功能,它在的意义是放置action里容易写错的action的type
export const INCREMENT = 'increment'
export const DECREMENT = 'decrement'
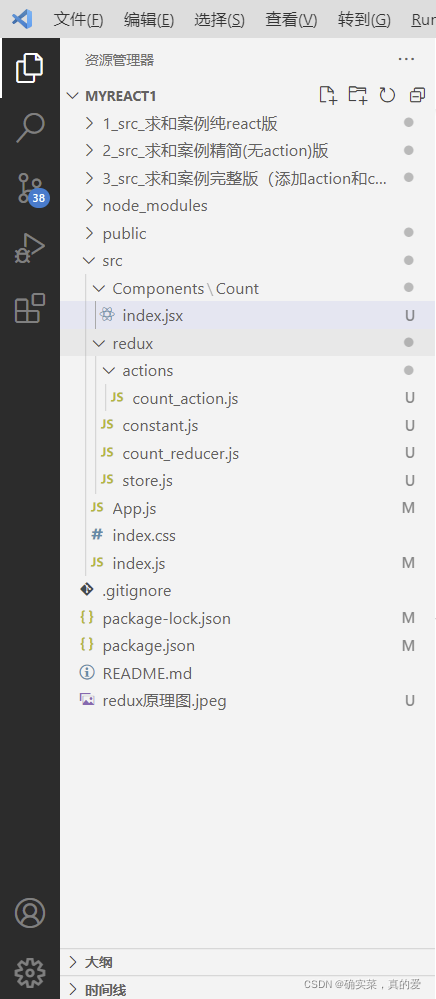
3.求和案例异步action版
首先需要明确的是同步action和异步action,同步action指的是action的值为object类型的一般对象{type:‘increment’,data:1};异步action指的是action的值为一个函数,并且异步action中一般都会调用同步action。另外,异步action需要用到thunk。这个需要安装 ,通过applyMiddleWare才能实现异步action
项目结构
1.count组件里触发点击事件,dispatch的是一个异步action
incrementAsync=()=>{
    const {value} = this.selectValue
    // setTimeout(() => {
      store.dispatch(incrementAsyncAction(value*1,500))
    // }, 500);
  }
要dispatch这个action ,那么肯定要在actions文件里有这个action,所以打开action.js写一个incrementAsyncAction异步action
export const incrementAsyncAction = (data,time)=>{
   return (dispatch)=>{
       setTimeout(()=>{
        dispatch(incrementAction(data))
       },time)

   }
}
这个异步action值是一个函数,并且在这个异步action里调用了同步action
dispatch(incrementAction(data))
这里打开浏览器会报错,知道需要中间件thunk,所以安装它npm install redux-thunk,接着在store.js里
import thunk from 'redux-thunk'
const store = createStore(countReducer,applyMiddleware(thunk))
这样就完成了一个异步action
总结
- 明确:延迟的动作不想交给组件自身,想交给action
- 何时需要异步action:想要对状态进行操作,但是具体的数据需要异步任务返回
- 具体编码
1.npm install redux-thunk
2.创建action的函数不再返回一般对象,而是一个函数,该 函数中写异步任务
3.异步任务有结果后,分发一个同步的action去真正操作数据
4。备注:异步action不是必须要写的,完全可以自己等待异步任务结果再去分发同步action
react-redux
react-redux是由Facebook出品,配合redux做状态管理
react-redux原理图
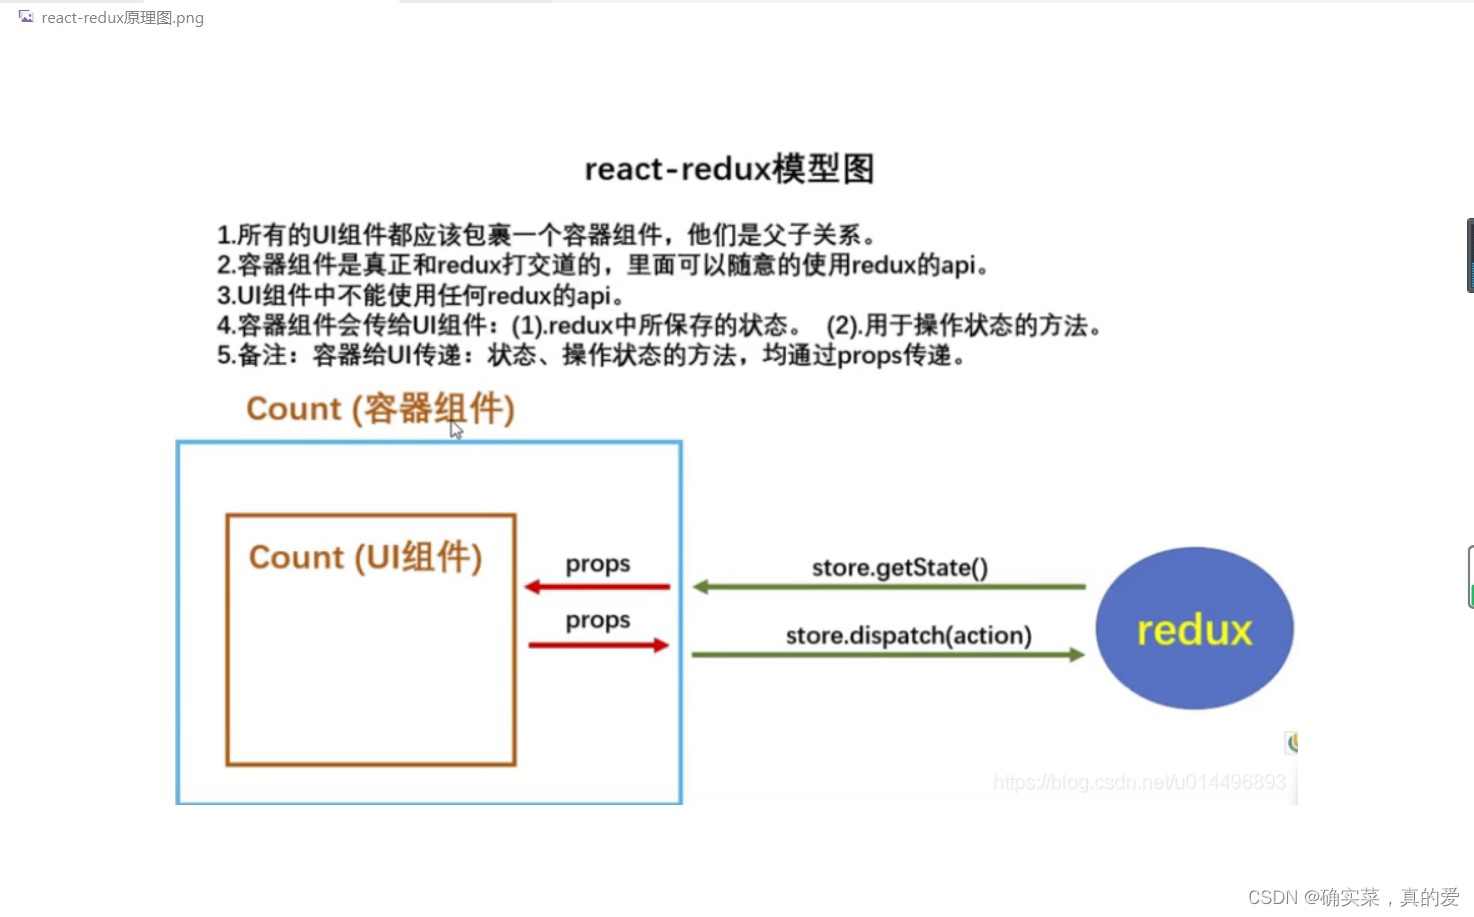
react-redux的思想是:要用到redux做状态管理的组件都编写成容器组件,容器组件和UI组件(只有UI界面没有操作store的api)是父子关系(这个父子关系又不同于一般组件之间的父子关系),容器组件作为桥梁把UI和redux联系起来,redux里的状态就作为props传递给UI这个子组件从而实现redux状态管理
目录结构
具体方法是
1.安装react-redux npm install react-redux
2编写容器组件
容器组件区别于一般的组件,具体做法是在container是(表示容器组件)里编写容器组件,通过connect方法把UI和redux的状态联系起来
import CountUI from '../../Components/Count'
import { connect } from 'react-redux'
export default connect(mapStateToProps,mapDispatchToProps)(CountUI)
store里的state是怎么作为props供组件使用的呢?,在APP根组件里,子组件不再是原来的UI组件 而是刚才创建的容器组件。然后在app.js里引入store作为props传递
// import Count from './Components/Count/index'
//引入容器组件
import Count from './Containers/Count'
//引入store 将store传递给容器组件Count
import store from './redux/store'
function App() {
  return (
    <div className="App">
      {/* 将store传递给容器组件 */}
      <Count store={store}/>
    </div>
  );
}

export default App;
到这里容器组件就成功将redux和UI组件联系起来了。
connect(a,b)(UICount)
第一次调用的a,b是两个函数分别为mapStateaToProps和mapDispatchTOProps,作用是返回的key value分别作为props的key value用于取数据第一个是取状态,第二个是操作状态的方法
function mapStateToProps(state){
    return {count:state}
}
在UI组件里取状态
this.props.count
function mapDispatchToProps(dispatch){
    return {
        jia:function(data){
            dispatch(incrementAction(data))
        },
        jian:function(data){
            dispatch(decrementAction(data))
        },
        asyncJia:function(data,time){
            dispatch(incrementAsyncAction(data,time))
        }
    }
}
UI组件里调用方法
this.props.jia(value)
结合之前的action 这些,就能使用react-redux管理状态了。
优化 简写
export default connect(state=>({count:state}),
{
    jia:incrementAction,
    jian:decrementAction,
    asyncJia:incrementAsyncAction
})(CountUI)
总结
1.明确两个概念
- UI组件:不能使用任何redux的api,只负责页面的呈现和交换
- 容器组件:负责和redux通信。将结果交给UI组件
2.如何创建容器组件:靠connect函数,connect(a,b,UIcount)
3.容器组件中的store靠props传进去,不是在容器组件中直接引入
另外用了react-redux不用自己监测数据进行更新了
 ReactDOM.render( <App />,document.getElementById('root'))
  // store.subscribe(()=>{
  //   ReactDOM.render( <App />,document.getElementById('root'))
  // })
优化:另外store是用在了Count组件上。如果很多组件都需要这个store呢?这就要每次都需要
<Count store={store}/>
如果有其他组件用,就需要
<Person store={store}/>
解决办法是Provider 把这个APP 根组件包起来,然后传入store
import store from './redux/store';
//引入Provider
import {Provider} from 'react-redux'


  ReactDOM.render(
    <Provider store={store}>
       <App />
    </Provider>
    ,
优化 整合容器组件和UI组件
之前是
可以在容器组件里直接定义UI组件
class Count extends Component {
// componentDidMount(){
// store.subscribe(()=>{
// this.setState({})
// })
// }
increment=()=>{
//获取选取的select值
const {value} = this.selectValue
//通过dispatch分发action给reducer reducer通过判断action里type类型来改变store里的数据
// store.dispatch({type:"increment",data:value*1})
// store.dispatch(incrementAction(value*1))
this.props.jia(value*1)
}
decrement=()=>{
const {value} = this.selectValue
// store.dispatch(decrementAction(value*1))
this.props.jian(value*1)
}
incrementIfOdd=()=>{
const {value} = this.selectValue
if(this.props.count % 2 !==0)
{
this.props.jia(value*1)
}
}
incrementAsync=()=>{
const {value} = this.selectValue
this.props.asyncJia(value*1,500)
// setTimeout(() => {
// store.dispatch(incrementAsyncAction(value*1,500))
// }, 500);
}
render() {
return (
<div>
<h2>当前求和为:{this.props.count}</h2>
{/* 获取元素节点 */}
<select name="" id="" ref={c=>{this.selectValue=c}}>
<option value="1">1</option>
<option value="2">2</option>
<option value="3">3</option>
</select>
<button onClick={this.increment}>+</button>
<button onClick={this.decrement}>-</button>
<button onClick={this.incrementIfOdd}>当前求和为奇数再加</button>
<button onClick={this.incrementAsync}>异步加</button>
</div>
)
}
}
export default connect(state=>({count:state}),
{
jia:incrementAction,
jian:decrementAction,
asyncJia:incrementAsyncAction
})(Count)
优化总结
1.容器组件和UI组件可以整合为一个文件
2.无需自己给容器组件传递store,给APP组件外面包一个provider即可
<Provider store={store}>
    <APP/>
</Provider>
3.使用了react-redux后,不用自己监测redux中状态的改变了,store.scribe()不用了
4.mapStateToProps和mapDispatchToProps的简写
5.一个组件要跟redux打交道,经过的步骤
1)定义好UI组件
2)引入connect生成一个容器组件,并暴露
3)在UI组件中通过this.props.来取数据和掉方法。
进一步优化
export default connect(state=>({count:state}),
{
    increment,
    decrement,
    incrementAsync
})(Count)
实现上面的步骤是 action 等的命名要规范,触发对象的简写形式
action.js
/*
1.创建actions actions(type,data),action和reducer(preState,action)一样,也是函数
*/
export const increment=(data)=>{
    return {
        type:"increment",
        data:data
    }
}
export const decrement=(data)=>{
    return {
        type:"decrement",
        data:data
    }
}
export const incrementAsync = (data,time)=>{
   return (dispatch)=>{
       setTimeout(()=>{
        dispatch(increment(data))
       },time)

   }
}

上面的案例,store里的状态只用到了Count一个组件,redux真正的意义是组件间共享状态,所以以下案例是实现这个效果
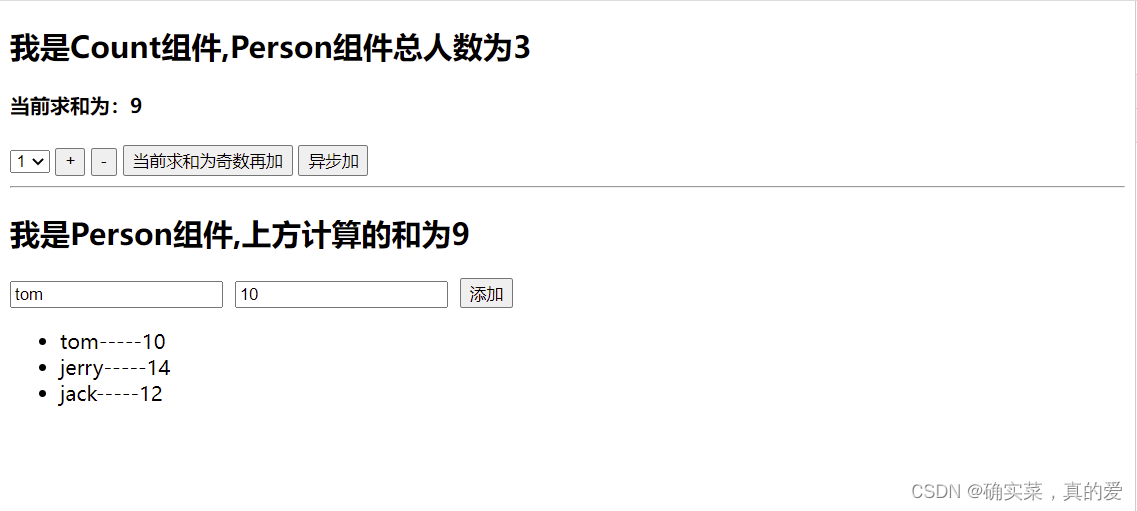
解释:Count组件的数据存在store中,Person组件的数据也存在store中;Count组件使用Person组件的数据,Person组件使用 Count组件的数据,从而完成数据共享
步骤:
1.编写Person组件的容器组件
2.创建Person的reducer
//reducer是一个函数 接收初始化数据preState和action对象 作用是初始化数据和操作数据
import {ADD_PERSON} from '../constant'
const initState=[{id:'001',name:"jack",age:12}]
export default function personReducer(preState=initState,action){
    const {type,data} = action
    switch (type) {
        case ADD_PERSON:
            // 加一人
           return [data,...preState]

        default:
            return preState;
    }

}
3.把Person的reducer交给store管理
因为现在store要管理Count和Person的reducer,所以需要用combineReducer合并reducer
import {combineReducers} from 'redux'
const allReducer = combineReducers({
    sum:countReducer,
    persons:personReducer
})
const store = createStore(allReducer,applyMiddleware(thunk))
4.使用数据,实现共享
现在数据已经能完成共享。所有的组件保存的数据全部在store里以一个总的对象state保存。取用方式是this.props.keyName
取数据
  state=>({personArr:state.persons,total:state.sum})
读数据
this.props.tota
this.props.personArr
备注:另外需要注意得到是合并reducer可以在一个文件里进行,然后引入总的reducer。各个action,reducer的命名可以更加规范,这样可以写成对象的简写形式。缺点是不容易代码的阅读


 被折叠的 条评论
为什么被折叠?
被折叠的 条评论
为什么被折叠?
 到【灌水乐园】发言


