


 这篇博客介绍了如何在CentOS 8服务器上,使用certbot和nginx配置Let's Encrypt的免费HTTPS证书。首先,需要安装snapd,接着删除旧的Certbot包,然后安装证书并创建软链接。在生成证书和测试自动续期后,详细阐述了如何配置nginx以使用新证书,并提供了解决配置过程中常见问题的提示。
let's encrypt免费https证书(certbot)
准备工作
- centos服务器
- nginx部署站点
访问let’s encrypt官网
访问 let’s encrypt 官网,选择合适的安装方案。

选择对应的站点容器及服务器

我这儿以nginx和centos8为例,选择之后,官网会展示最新提供的安装方案,需要一部分的英文文档阅读能力,或考虑使用谷歌浏览器翻译插件。


以上为官网提供的步骤,接下来我会按照这个步骤依次进行安装,碰到的常用问题也会进行标注解决方式。
具体配置步骤
第一步,以具有 sudo 权限的用户身份通过 SSH 连接到运行您的 HTTP 网站的服务器
我这里使用xshell工具进行连接。

第二步,安装 snapd
您需要安装 snapd 并确保按照任何说明启用经典 snap 支持。
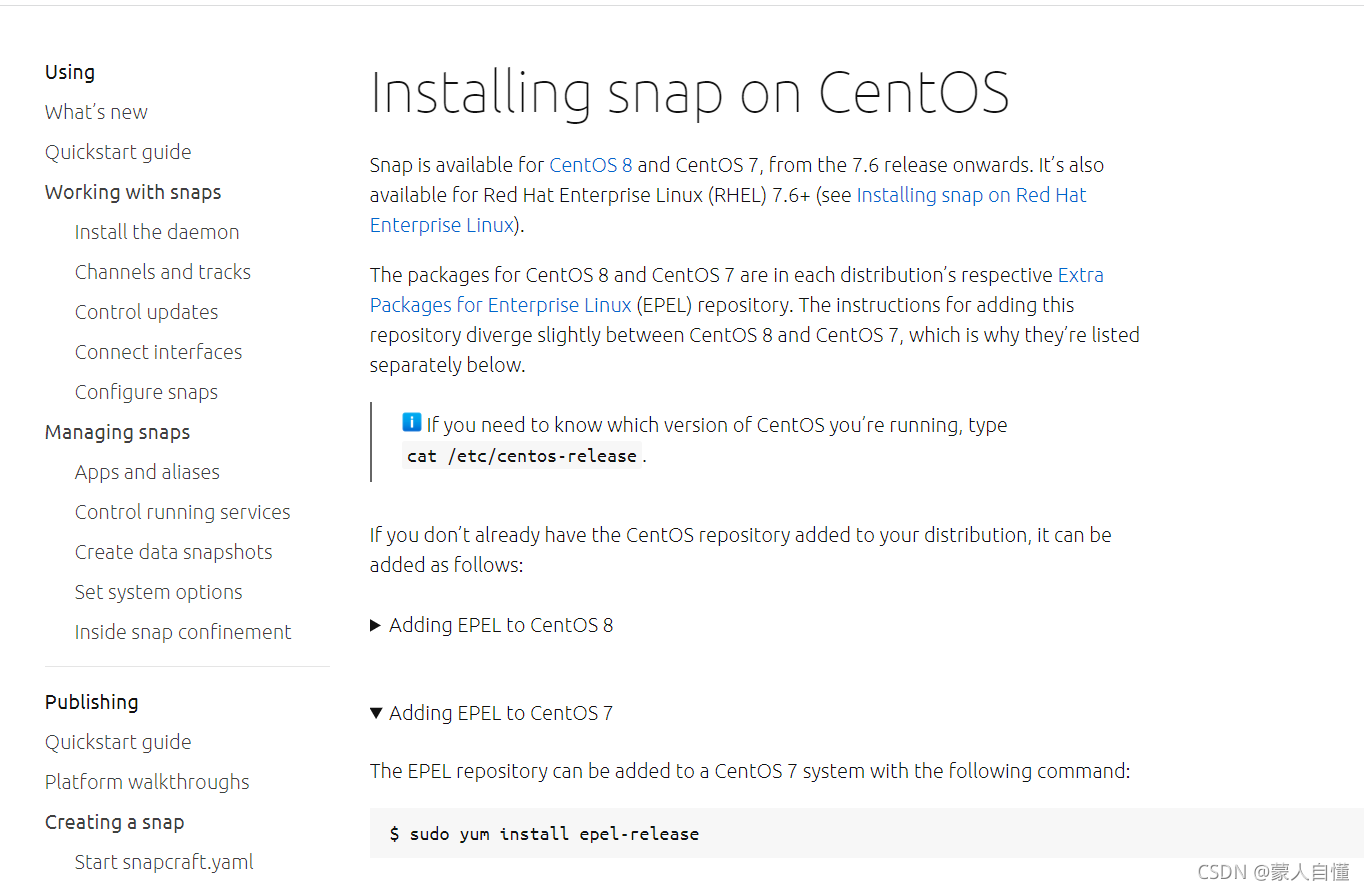
按照snapcraft 网站上的这些说明安装 snapd。
官方地址:https://snapcraft.io/docs/installing-snapd

官方首页

依据官方提供的列表,查看对应的服务器版本是否安装snap。我这里用的是centos8,没有进行预装,需要自己手动进行安装。

找到centos入口。
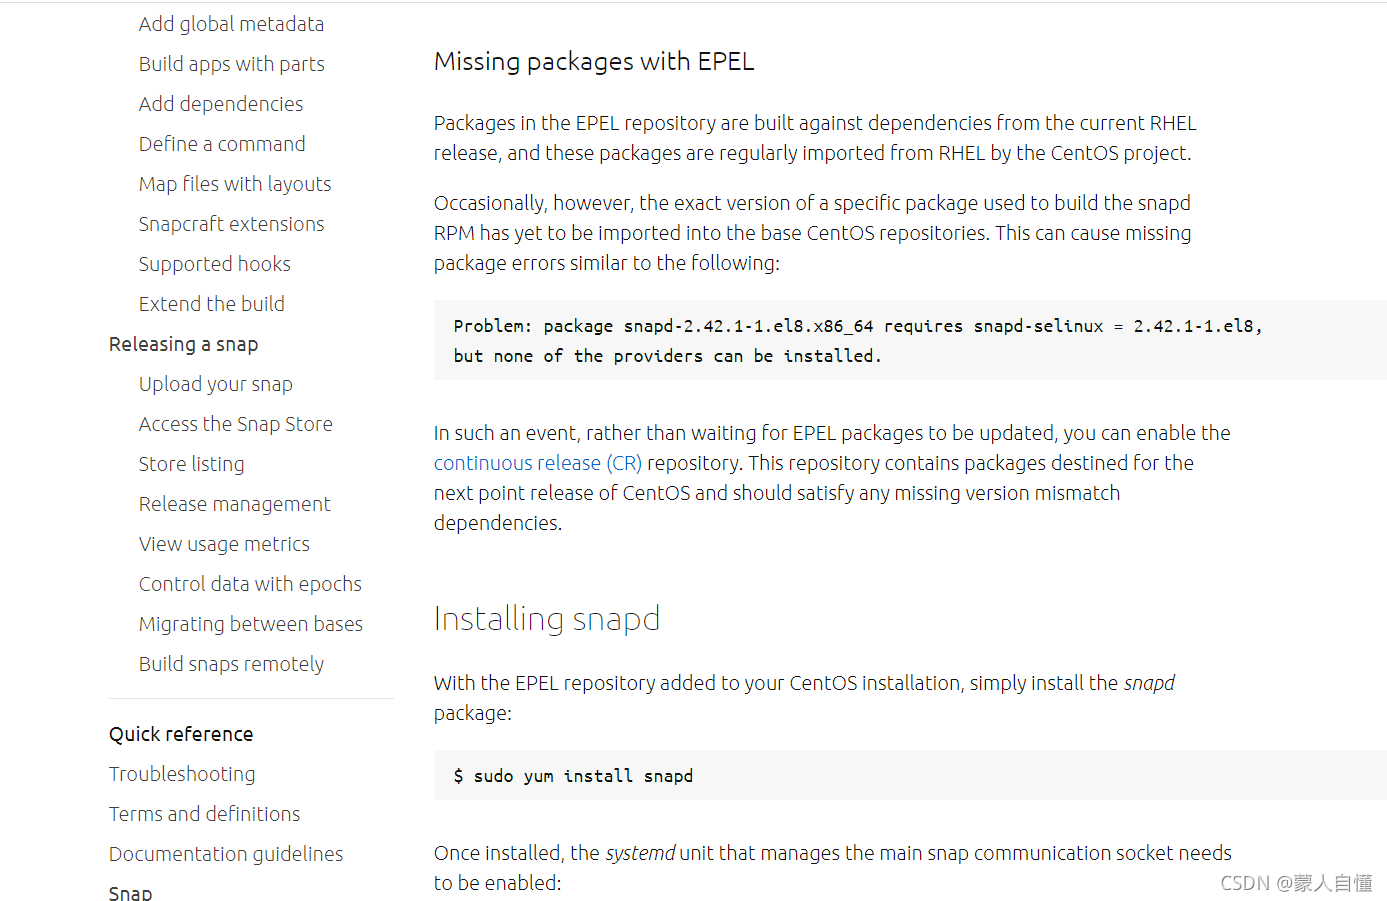
按照官方提供的安装命令,逐步执行即可。
注意点:
- Adding EPEL to CentOS 8
- 安装完成之后,需要重新启动服务器
第三步,确保您的 snapd 版本是最新的
sudo snap install core; sudo snap refresh core

如图输出,本地的snap版本即为最新的。
第四步,删除 certbot-auto 和任何 Certbot OS 包
如果您使用apt、dnf或yum等操作系统包管理器安装了任何 Certbot 包 ,则应在安装 Certbot snap 之前将其删除,以确保在运行命令 certbot 时使用的是 snap,而不是从您的操作系统包里安装的。执行此操作的确切命令取决于您的操作系统。
#apt安装,使用下面命令进行移除
sudo apt-get remove certbot

#dnf安装,使用下面命令进行移除
sudo dnf remove certbot

#yum安装,使用下面命令进行移除
sudo yum remove certbot
第五步,安装证书
在机器上的命令行上运行此命令以安装 Certbot。
sudo snap install --classic certbot
第六步,设置Certbot软链接
sudo ln -s /snap/bin/certbot /usr/bin/certbot
第七步,生成证书
sudo certbot certonly --nginx
Could not choose appropriate plugin: The nginx plugin is not working; there may be problems with your existing configuration.
The error was: NoInstallationError("Could not find a usable 'nginx' binary. Ensure nginx exists, the binary is executable, and your PATH is set correctly.",)
由于没有将nginx放到环境变量中,设置nginx软连接。
ln -s /usr/local/nginx/sbin/nginx /usr/bin/nginx
ln -s /usr/local/nginx/conf/ /etc/nginx
sudo certbot certonly --nginx
又提示新的错误:
Could not choose appropriate plugin: The nginx plugin is not working; there may be problems with your existing configuration.
The error was: PluginError('Nginx build is missing SSL module (--with-http_ssl_module).',)
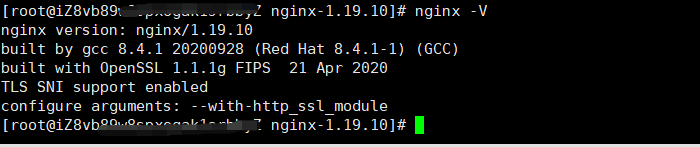
通过nginx -V查看nginxconfigure arguments没有安装ssl模板,在nginx目录中重新构建。
#在nginx目录中进行重新构建
cd /java/install/nginx-1.19.10/
#执行构建,并选择ssl
./configure --with-http_ssl_module
make && make install
再次检查nginx -V已经加上ssl模块。
再次执行生成证书命令。
sudo certbot certonly --nginx
#注意输出内容,这两个为证书的路径。
Certificate is saved at: /etc/letsencrypt/live/www.xxxx.com/fullchain.pem
Key is saved at: /etc/letsencrypt/live/www.xxxx.com/privkey.pem
第八步,测试自动续期
sudo certbot renew --dry-run
第九步,配置nginx
#查询config在哪个路径
[root@iZ8vb89w8spx nginx-1.19.10]#whereis nginx
nginx: /usr/bin/nginx /etc/nginx /usr/local/nginx
[root@iZ8vb89w8spx nginx-1.19.10]# cd /usr/local/nginx/conf/
[root@iZ8vb89w8spx conf]# ls
fastcgi.conf          fastcgi_params          koi-utf  mime.types          nginx.conf          scgi_params          uwsgi_params          win-utf
fastcgi.conf.default  fastcgi_params.default  koi-win  mime.types.default  nginx.conf.default  scgi_params.default  uwsgi_params.default
#编辑nginx配置文件
[root@iZ8vb89w8spx conf]# vim nginx.conf
示例nginx文件配置
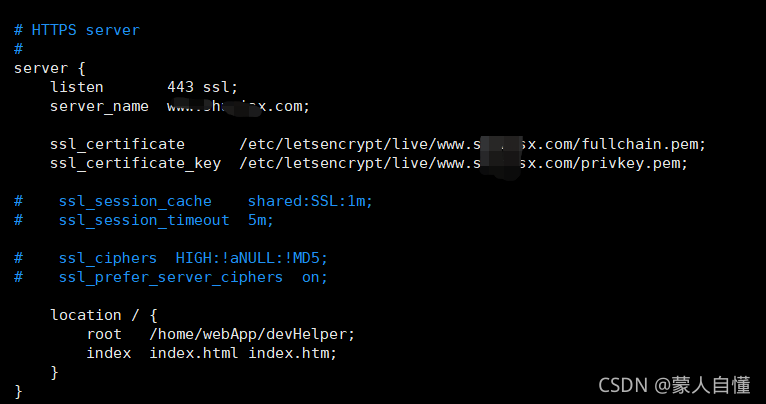
需要在服务商控制台开放443端口。
浏览进行访问,https://www.xxxx.com。
正常访问即为配置成功。
添加新的证书
sudo certbot certonly --nginx --domains xxx.xxxxx.com


 1461
1461

 被折叠的 条评论
为什么被折叠?
被折叠的 条评论
为什么被折叠?
 到【灌水乐园】发言


