


目录
一、效果
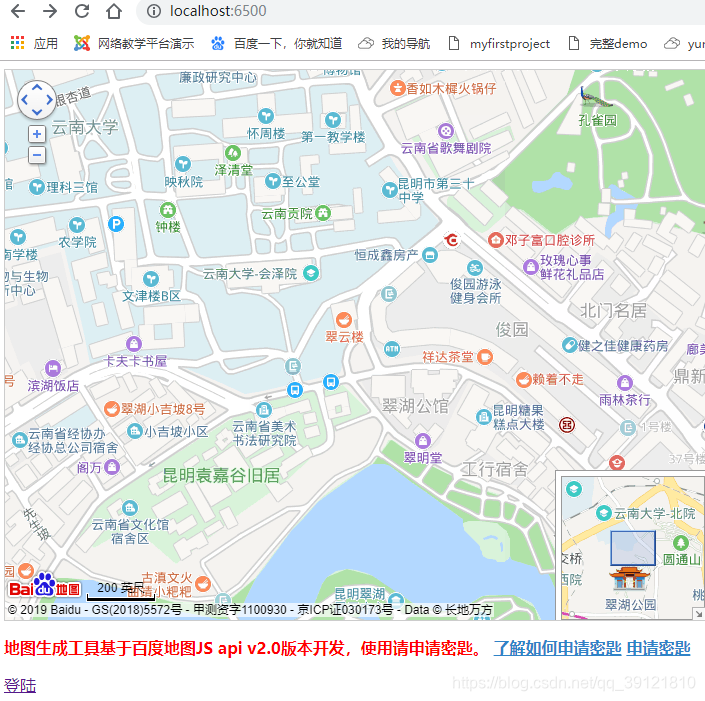
首页(http://localhost:6500):这里就简单用一个我以前的HTML页面代替吧。
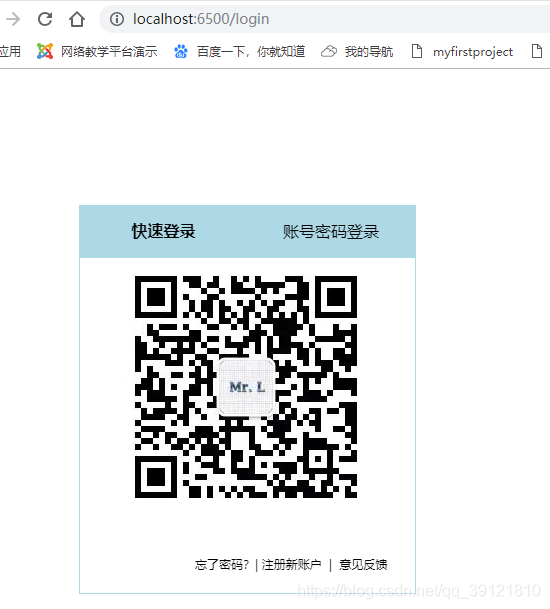
登录页(http://localhost:6500/login):这里二维码纯属是我公众号的二维码,欢迎关注。

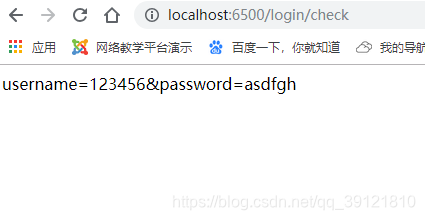
后端处理后的结果,这里我们就不演示复杂的了。
二、处理思路。
1、利用nodejs搭建服务器,监听客户端的请求,根据URL的不同响应不同的页面。
2、响应的数据来自于nodejs对文件系统的访问。
3、采用POST请求提交表单。
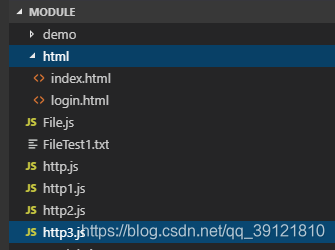
三、项目目录
(选中的三个文件:http3.js、html下的index.html和login.html)
四、主要代码
http3.js中
1、加载一个http模块
var http =require('http');
2、创建并返回一个服务器对象
var server=http.createServer();
3、开启监听。参数是端口号,主机名等参数详情看文档
server.listen(6500);
4、监听请求
server.on('request',function(req,res)
{这里是回调函数,做接收数据和响应等操作}
5、响应请求,向前端发送数据
res.write(data);res.end();
login.html中
1、表单代码,/login/check为后端的模块,访问的URL
![]()
<form id="form" action="/login/check" method="post">
<input type="text" class="number" name="username" placeholder="支持QQ号/邮箱/手机号登陆"><br>
<input type="password" class="password" name="password" placeholder="QQ密码">
<input type="checkbox" class="bnext" name="checkbox"><span class="tnext">下次自动登录</span>
<input type="submit" class="ok" value="登录">
</form>
Reference
【1】nodejs官方文档.net-网络
【2】 妙味课堂.前后端高级实战 | Node.js 实战开发:博客系统:腾讯课堂
附录
代码
index.html(主页的代码自己写)
<!DOCTYPE html>
<html xmlns="http://www.w3.org/1999/xhtml">
<head>
  <meta http-equiv="Content-Type" content="text/html; charset=utf-8" />
  <meta name="keywords" content="百度地图,百度地图API,百度地图自定义工具,百度地图所见即所得工具" />
  <meta name="description" content="百度地图API自定义地图,帮助用户在可视化操作下生成百度地图" />
  <title>百度地图API自定义地图</title>
  <!--引用百度地图API-->
  <script type="text/javascript" src="http://api.map.baidu.com/api?v=2.0&ak=ZMtqRARPIk09nUpWnNKSmMPBVpwTvsci"></script>
</head>
<body>
  <!--百度地图容器-->
  <div style="width:700px;height:550px;border:#ccc solid 1px;font-size:12px" id="map"></div>
  <p style="color:red;font-weight:600">地图生成工具基于百度地图JS api v2.0版本开发,使用请申请密匙。
    <a href="http://developer.baidu.com/map/index.php?title=jspopular/guide/introduction" style="color:#2f83c7"
      target="_blank">了解如何申请密匙</a>
    <a href="http://lbsyun.baidu.com/apiconsole/key?application=key" style="color:#2f83c7" target="_blank">申请密匙</a>
    <p id="xxxx"></p>
  </p>
  <a href="http://localhost:6500/login">登陆</a>
</body>
<script type="text/javascript">
  //创建和初始化地图函数:
  function initMap() {
    createMap();//创建地图
    setMapEvent();//设置地图事件
    addMapControl();//向地图添加控件
    addMapOverlay();//向地图添加覆盖物
  }
  function createMap() {
    map = new BMap.Map("map");
    map.centerAndZoom(new BMap.Point(102.710767, 25.058457), 18);
  }
  function setMapEvent() {
    map.enableScrollWheelZoom();
    map.enableKeyboard();
    map.disableInertialDragging();
    map.enableDoubleClickZoom();
  }
  function addClickHandler(target, window) {
    target.addEventListener("click", function () {
      target.openInfoWindow(window);
    });
  }
  function addMapOverlay() {
    var markers = [
      { content: "我的备注", title: "我的标记", imageOffset: { width: 0, height: 3 }, position: { lat: 25.054959, lng: 102.710414 } }
    ];
    for (var index = 0; index < markers.length; index++) {
      var point = new BMap.Point(markers[index].position.lng, markers[index].position.lat);
      var marker = new BMap.Marker(point, {
        icon: new BMap.Icon("http://api.map.baidu.com/lbsapi/createmap/images/icon.png", new BMap.Size(20, 25), {
          imageOffset: new BMap.Size(markers[index].imageOffset.width, markers[index].imageOffset.height)
        })
      });
      var label = new BMap.Label(markers[index].title, { offset: new BMap.Size(25, 5) });
      var opts = {
        width: 200,
        title: markers[index].title,
        enableMessage: false
      };
      var infoWindow = new BMap.InfoWindow(markers[index].content, opts);
      marker.setLabel(label);
      addClickHandler(marker, infoWindow);
      map.addOverlay(marker);
    };
  }
  //向地图添加控件
  function addMapControl() {
    var scaleControl = new BMap.ScaleControl({ anchor: BMAP_ANCHOR_BOTTOM_LEFT });
    scaleControl.setUnit(BMAP_UNIT_IMPERIAL);
    map.addControl(scaleControl);
    var navControl = new BMap.NavigationControl({ anchor: BMAP_ANCHOR_TOP_LEFT, type: 1 });
    map.addControl(navControl);
    var overviewControl = new BMap.OverviewMapControl({ anchor: BMAP_ANCHOR_BOTTOM_RIGHT, isOpen: true });
    map.addControl(overviewControl);

  }
  var map;
  initMap();
</script>
</html>
login.html(主要代码是表单部分,其他都可以改)
<html>
<head>
<meta charset="utf-8">
<title>
Login
</title>
<style type="text/css">
body {
background: url(img/1.png) no-repeat;
background-position: 200px 200px;
}
.all {
border: 1px solid lightblue;
width: 335px;
height: 387px;
position: absolute;
top: 136px;
right: 341px;
}
.all .first .login,
.all .first {
width: 167px;
height: 50px;
text-align: center;
line-height: 50px;
display: block;
float: left;
background-color: lightblue;
font-family: "微软雅黑";
color: gray;
}
.all .second .number {
width: 284px;
height: 35px;
margin-top: 33px;
margin-left: 17px;
}
.all .second .password {
width: 284px;
height: 35px;
margin-top: 15px;
margin-left: 17px;
}
.all .second .ok {
width: 284px;
height: 40px;
margin-top: 17px;
margin-left: 17px;
border: 0;
background-color: cornflowerblue;
font-size: larger;
color: white;
font-family: "微软雅黑";
}
.all .first {
width: 335px;
height: 52px;
}
.all .second {
width: 332px;
height: 290px;
}
.all .third {
width: 222px;
height: 45px;
line-height: 137px;
padding-left: 115px;
}
a {
text-decoration: none;
font-family: "微软雅黑";
color: #000;
}
.all .first .login:hover {
color: black;
}
.all .first {
color: black;
}
.all .second .bnext {
width: 20px;
height: 20px;
margin-top: 10px;
margin-left: 17px;
}
.all .second .tnext {
display: block;
width: 100px;
height: 15px;
margin-left: 45px;
margin-top: -22px;
font-size: small;
}
.all .third span {
font-size: smaller;
color: blue;
font-family: "微软雅黑";
}
.active:hover {
font-weight: bold;
color: #000;
}
.more {
text-decoration: none;
font-size: 0.5em;
}
#img {
display: none;
margin: 0 auto;
}
</style>
<script type="text/javascript">
function to() {
document.getElementById("form").style.display = "none";
document.getElementById("img").style.display = "block";
};
function rto() {
document.getElementById("form").style.display = "block";
document.getElementById("img").style.display = "none";
}
</script>
</head>
<body>
<div class="all">
<div class="first">
<span class="login active"><a href="javascript:void(0);" onclick="to()">快速登录</a></span><span
class="pas active"><a href="javascript:void(0);" onclick="rto()">账号密码登录</a></span>
</div>
<div class="second">
<img id="img" src="https://src-1256209714.cos.ap-chengdu.myqcloud.com/img/luwei.jpg">
<form id="form" action="/login/check" method="post">
<input type="text" class="number" name="username" placeholder="支持QQ号/邮箱/手机号登陆"><br>
<input type="password" class="password" name="password" placeholder="QQ密码">
<input type="checkbox" class="bnext" name="checkbox"><span class="tnext">下次自动登录</span>
<input type="submit" class="ok" value="登录">
</form>
</div>
<div class="third">
<a class="more" href="#">忘了密码?|</a><a class="more" href="#"> 注册新账户  |</a><a class="more"
href="#">  意见反馈</a>
</div>
</div>
</body>
</html>http3.js(核心代码 )
//访问http://localhost:63822,node实现简单的服务器
var http =require('http');
var url=require('url');
var fs=require('fs');
// 解析传来的数据
var querystring=require('querystring');

var server=http.createServer();

var ser=server.listen(6500)

//获取文件路径
var basePath=__dirname;
var shouyePath=basePath+'/html'+'/index.html';
var loginPath=basePath+'/html'+'/login.html';

// 监听请求
server.on('request',function(req,res)
{
    // 有请求就打印
    console.log("有请求");
    //解析url
    var urlString=url.parse(req.url);
    //根据不同的URL来处理不同的请求
    switch(urlString.pathname)
    {
        case '/':
            sendData(shouyePath,req,res);
            break;
        case '/login/check':
            requestData(req,res);
            break;
        case '/login':
            sendData(loginPath,req,res);
            break;
        default:
            res.writeHead(404,'err',{'content-type':'text/html;charset=utf-8'});
            res.write("出错辽");
            res.end();
            break;
    };

    function sendData(file,req,res)
    {
        fs.readFile(file,function(err,data)
        {
            if(err)
            {
                res.writeHead(404,'err',{'content-type':'text/html;charset=utf-8'});
                res.write("出错辽");
                res.end();
            }else
            {
                res.writeHead(200,'o98k',{'content-type':'text/html;charset=utf-8'});
                res.write(data);
                res.end();
            }
        });
    };
    function requestData(req,res)
    {
        res.writeHead(200,'o98k',{'content-type':'text/html;charset=utf-8'});
            // console.log(req.method);
            // console.log(urlString);
            // console.log(querystring.parse(urlString.query));
            if(req.method.toUpperCase()=="POST")
            {
                var str="";
                //从缓冲区读取数据
                req.on('data',function(da){str+=da;});
                // req.on('end',function(){console.log(querystring.parse(str))});
                req.on('end',function(){res.end(str);});
            }
    }
});


 892
892

 被折叠的 条评论
为什么被折叠?
被折叠的 条评论
为什么被折叠?
 到【灌水乐园】发言


