


LatentSync 本地部署
LatentSync 是字节跳动的一个数字人项目
项目地址:https://github.com/bytedance/LatentSync
📖 简介
我们提出了LatentSync,这是一种基于音频调节潜在扩散模型的端到端唇形同步方法,无需任何中间运动表征,这与以往基于像素空间扩散或两阶段生成的扩散式唇形同步方法有所不同。我们的框架可以利用稳定扩散的强大功能直接建模复杂的视听相关性。
🏗️ 框架
LatentSync 使用Whisper将梅尔谱图转换为音频嵌入,然后通过交叉注意力层将其集成到 U-Net 中。参考帧和掩码帧与带噪声的潜在向量按通道连接,作为 U-Net 的输入。在训练过程中,我们使用一步法从预测噪声中获取估计的干净潜在向量,然后对其进行解码以获得估计的干净帧。TREPA、LPIPS和SyncNet损失函数被添加到像素空间中。
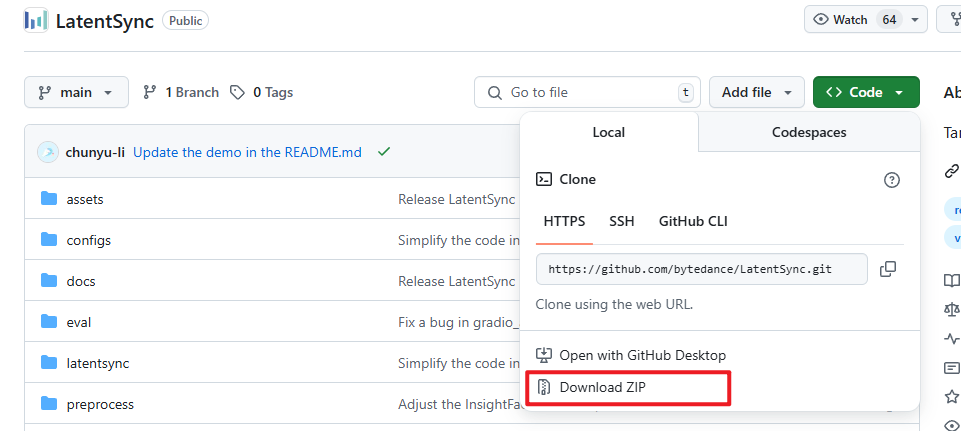
项目下载:
# 克隆项目
git clone https://github.com/bytedance/LatentSync
或者下载zip压缩包解压也可以
依赖安装:
创建conda新的env
conda create --name py312 python=3.12

# 激活环境
conda activate py312
安装pytorch
我这里安装的是cuda12.8,所以安装的时候,选择的是torch-2.7.0+cu128
python.exe -m pip install -U torch==2.7.0+cu128 torchvision==0.22.0+cu128 torchaudio==2.7.0+cu128 xformers==0.0.30 --index-url https://download.pytorch.org/whl/cu128
安装项目依赖
除了 pip install -r requirements.txt 中的依赖外
还需要装:
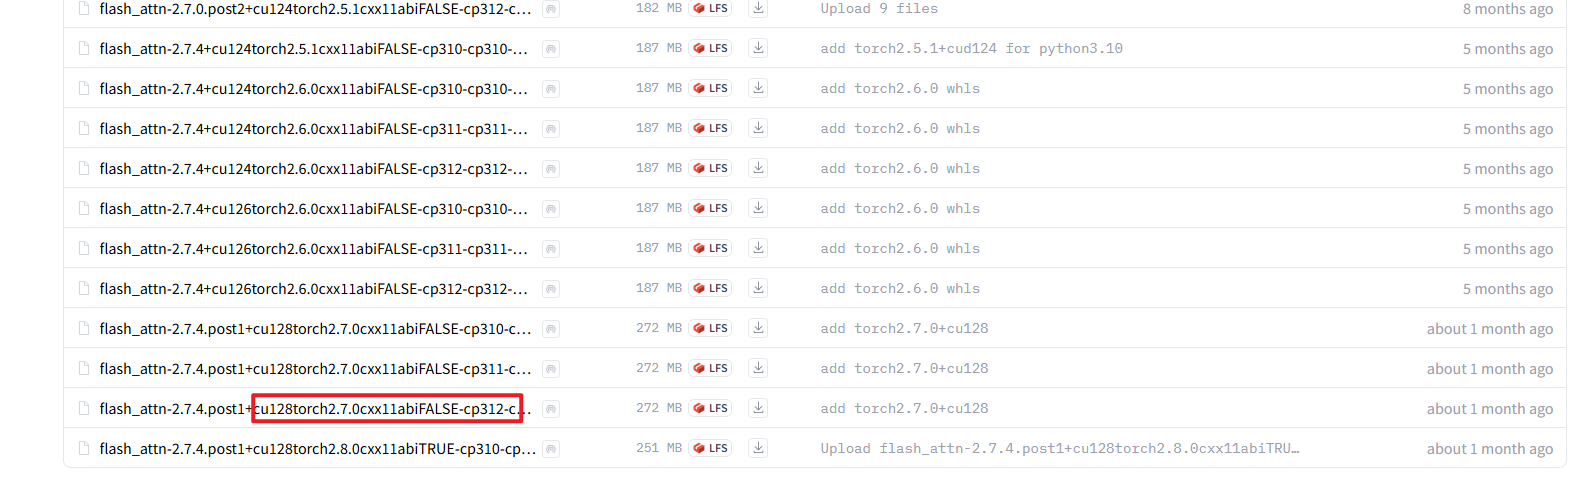
flash_attn:https://huggingface.co/lldacing/flash-attention-windows-wheel/tree/main
triton:https://github.com/woct0rdho/triton-windows/releases
里面是已经构建好的xxx.whl文件,直接pip install xxxxx即可:pip install triton-3.2.0-cp312-cp312-win_amd64.whl。
需要注意的是,要根据自己的python、troch、cuda版本选择 flash_attn
例如我上边是 python=3.12,torch=2.7.0,cuda=12.8,那么我选择的就是flash_attn-2.7.4.post1+cu128torch2.7.0cxx11abiFALSE-cp312-cp312-win_amd64.whl
下载模型(网好可以自动下载,网不好手动下载):
使用huggingface下载
https://huggingface.co/ByteDance/LatentSync-1.6
pip install -U huggingface_hub[cli]
pip install -U huggingface_hub[hf_xet]

windows设置环境变量:
$env:HF_ENDPOINT="https://hf-mirror.com"

cd LatentSync

huggingface-cli download --resume-download ByteDance/LatentSync-1.6 --loacl-dir ./checkpoints
也可以使用modelscop:
https://modelscope.cn/models/ByteDance/LatentSync-1.6
pip install modelscope

cd LatentSync

modelscope download --model ByteDance/LatentSync-1.6 --local_dir ./checkpoints
还有一个模型,github没说,应该是自动下载,但是国内网不好,建议手动下载
https://huggingface.co/stabilityai/sd-vae-ft-mse
cd LatentSync

# huggingface下载
huggingface-cli download --resume-download stabilityai/sd-vae-ft-mse --loacl-dir ./stabilityai/sd-vae-ft-mse

# modelscope 下载
modelscope download --model stabilityai/sd-vae-ft-mse --local_dir ./stabilityai/sd-vae-ft-mse
模型下载完成后的目录为:
./checkpoints/
|-- auxiliary
|	-- ...
|	-- models
|		-- buffalo_l
|-- whisper
|   -- tiny.pt
|-- latentsync_unet.pt
|-- stable_syncnet.pt


./stabilityai/
|-- sd-vae-ft-mse
|	-- diffusion_pytorch_model.safetensors
|	-- diffusion_pytorch_model.bin
checkpoints/auxiliary/models/buffalo_l,这个是insightface用到的模型(貌似用不上,只是看到有这个文件的日志打印)

至此基本上就完成了对模型和依赖的安装
二、启动LatentSync
激活python环境
cd LatentSync
# 激活环境
conda activate py312
启动项目
python.exe .\gradio_app.py
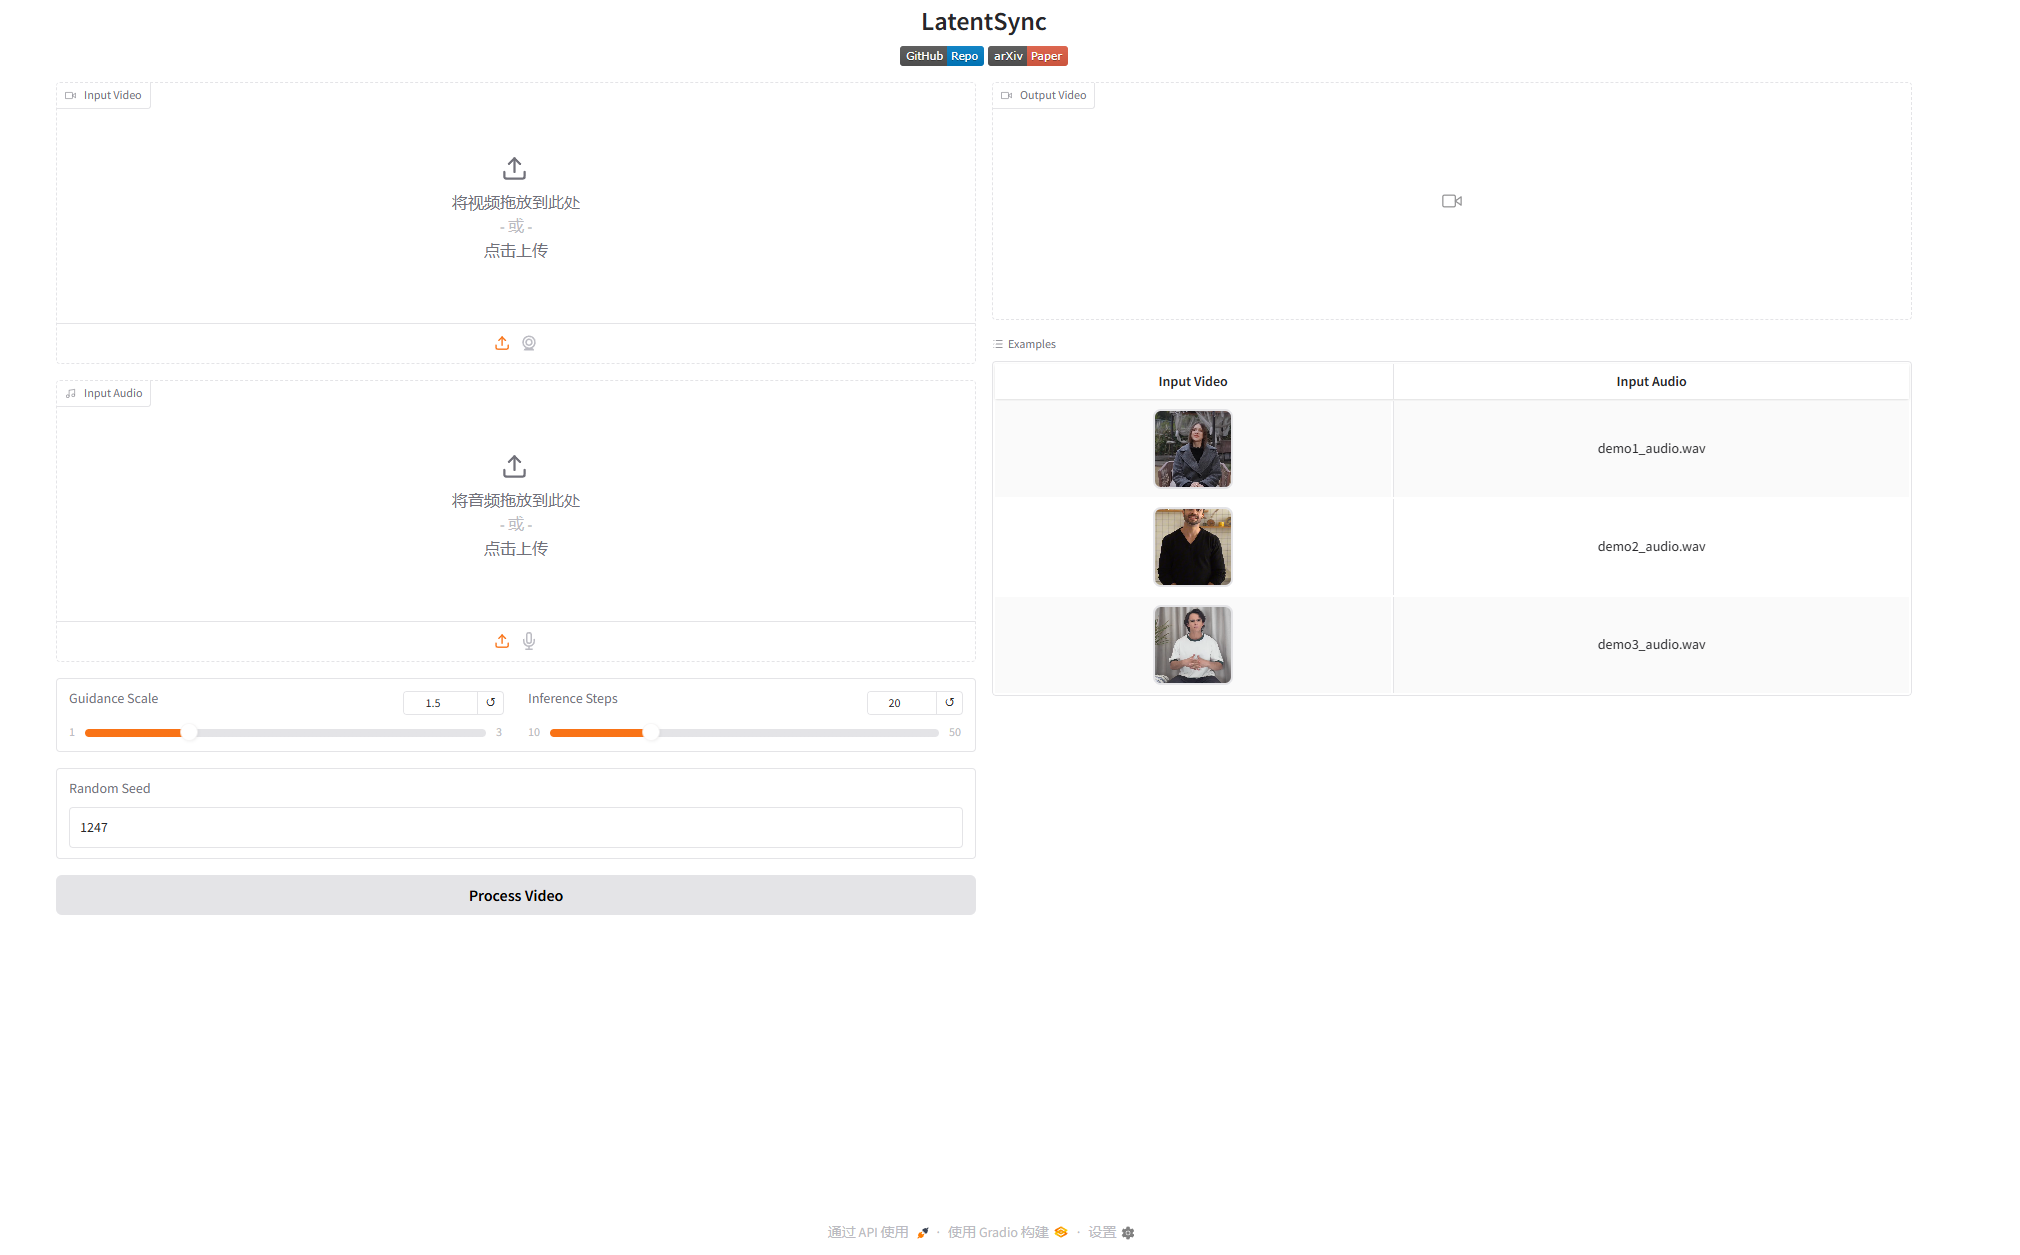
点击右侧的Examples列表中的例子,可以使用示例的数据进行测试,也可以自己上传视频和语音。
需要注意的是,这里语音文件必须是WAV文件
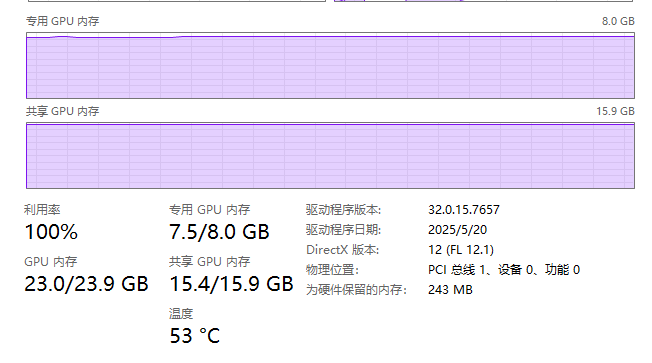
这里是运行状态,我是4060Ti 8G版,跑起来贼拉慢
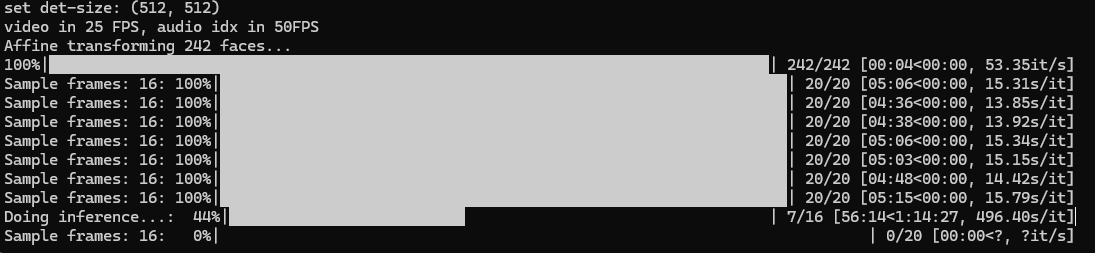
显存都干满了。。。


 2332
2332

 被折叠的 条评论
为什么被折叠?
被折叠的 条评论
为什么被折叠?
 到【灌水乐园】发言


