


 本文介绍如何使用Android Studio和RecyclerView创建一个简易的launcher,实现了画廊模式和方格模式切换。通过获取设备上的Launcher应用,利用RecyclerView的布局管理器实现不同模式的展示效果,并详细介绍了代码实现过程。
一、项目代码地址:https://github.com/lingchen1854/Simple-Launch
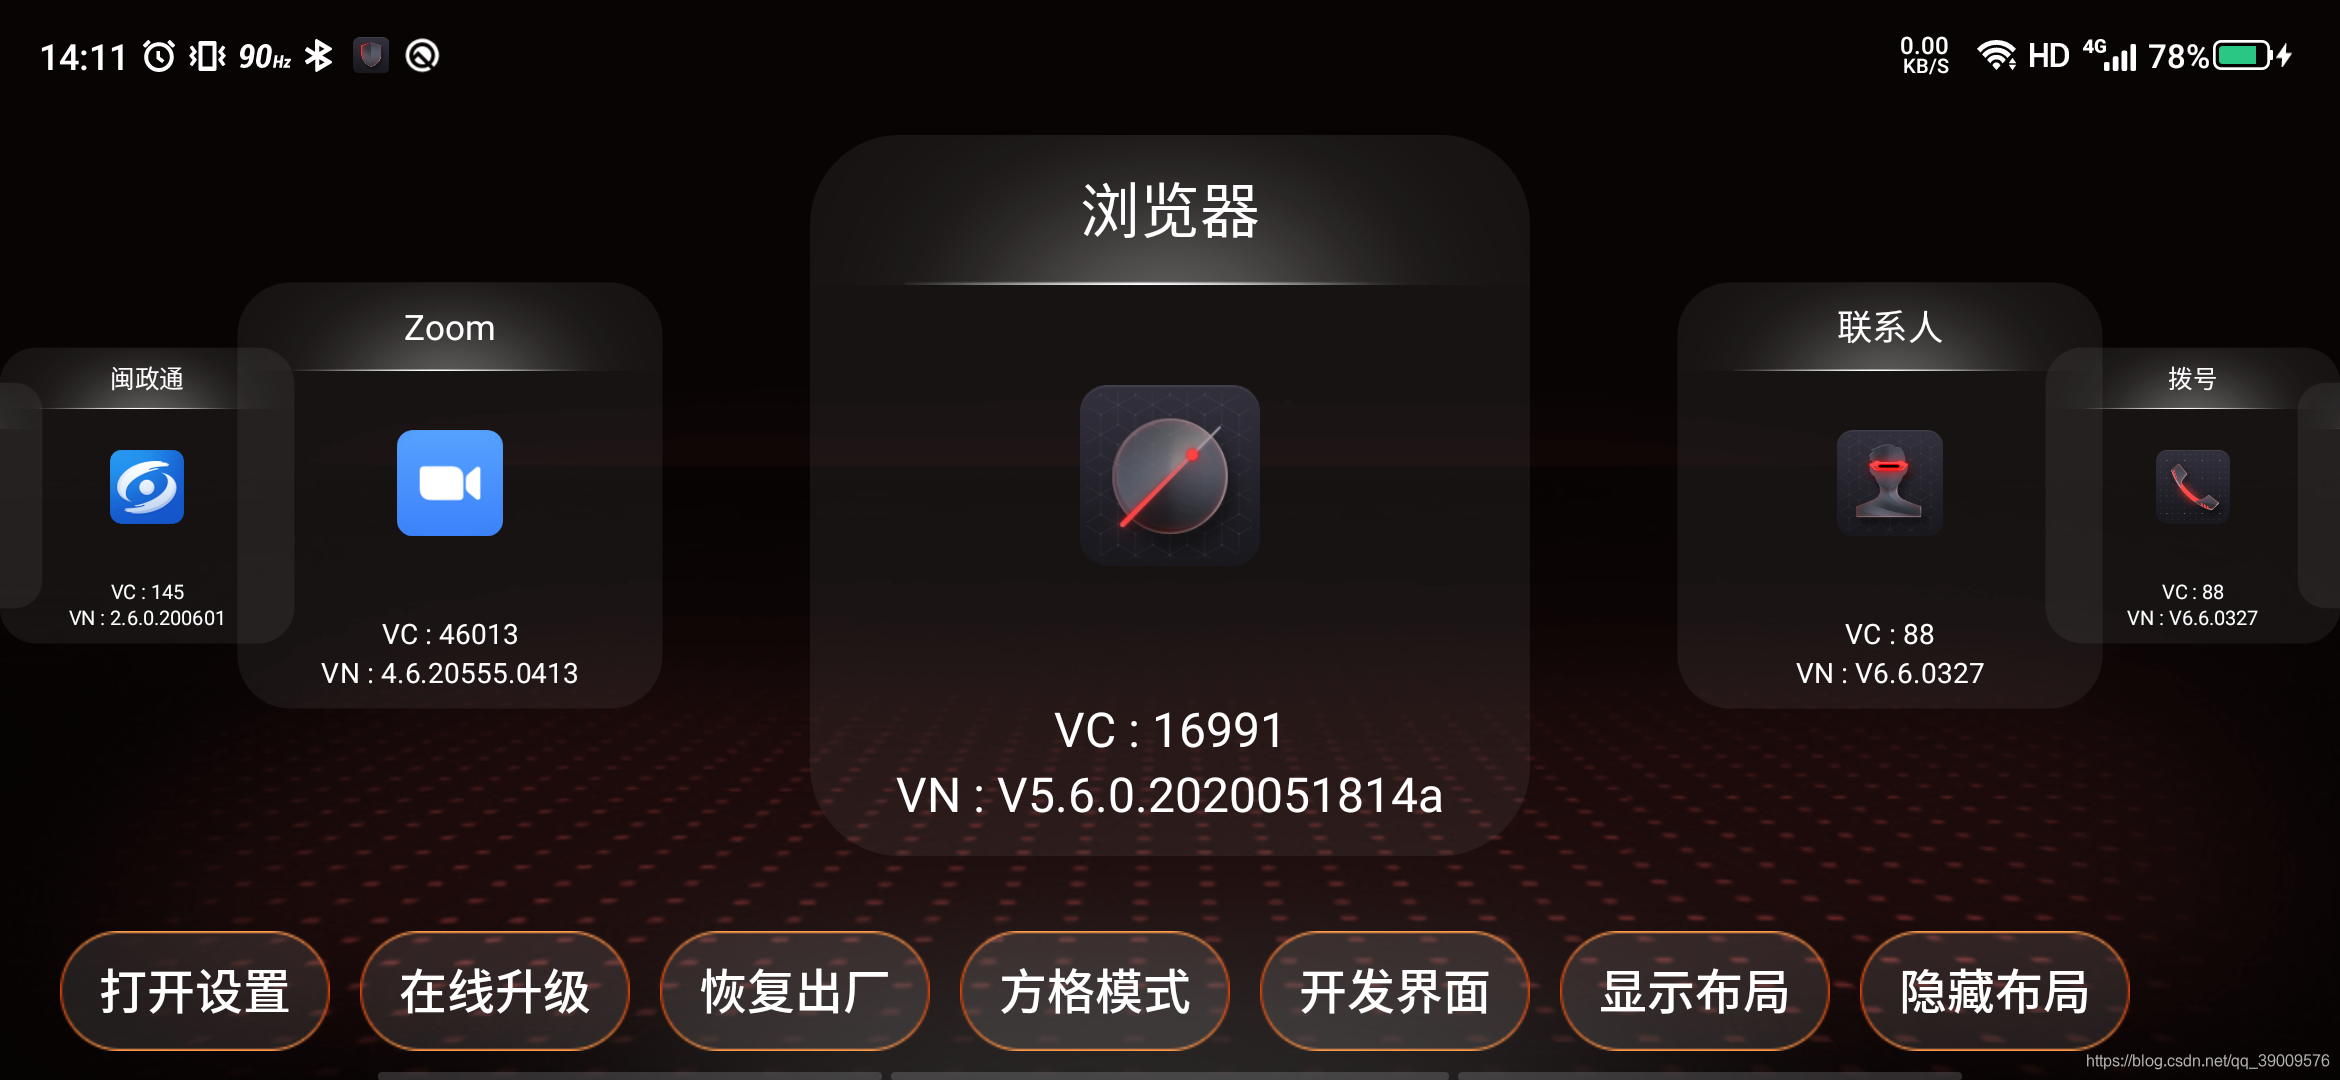
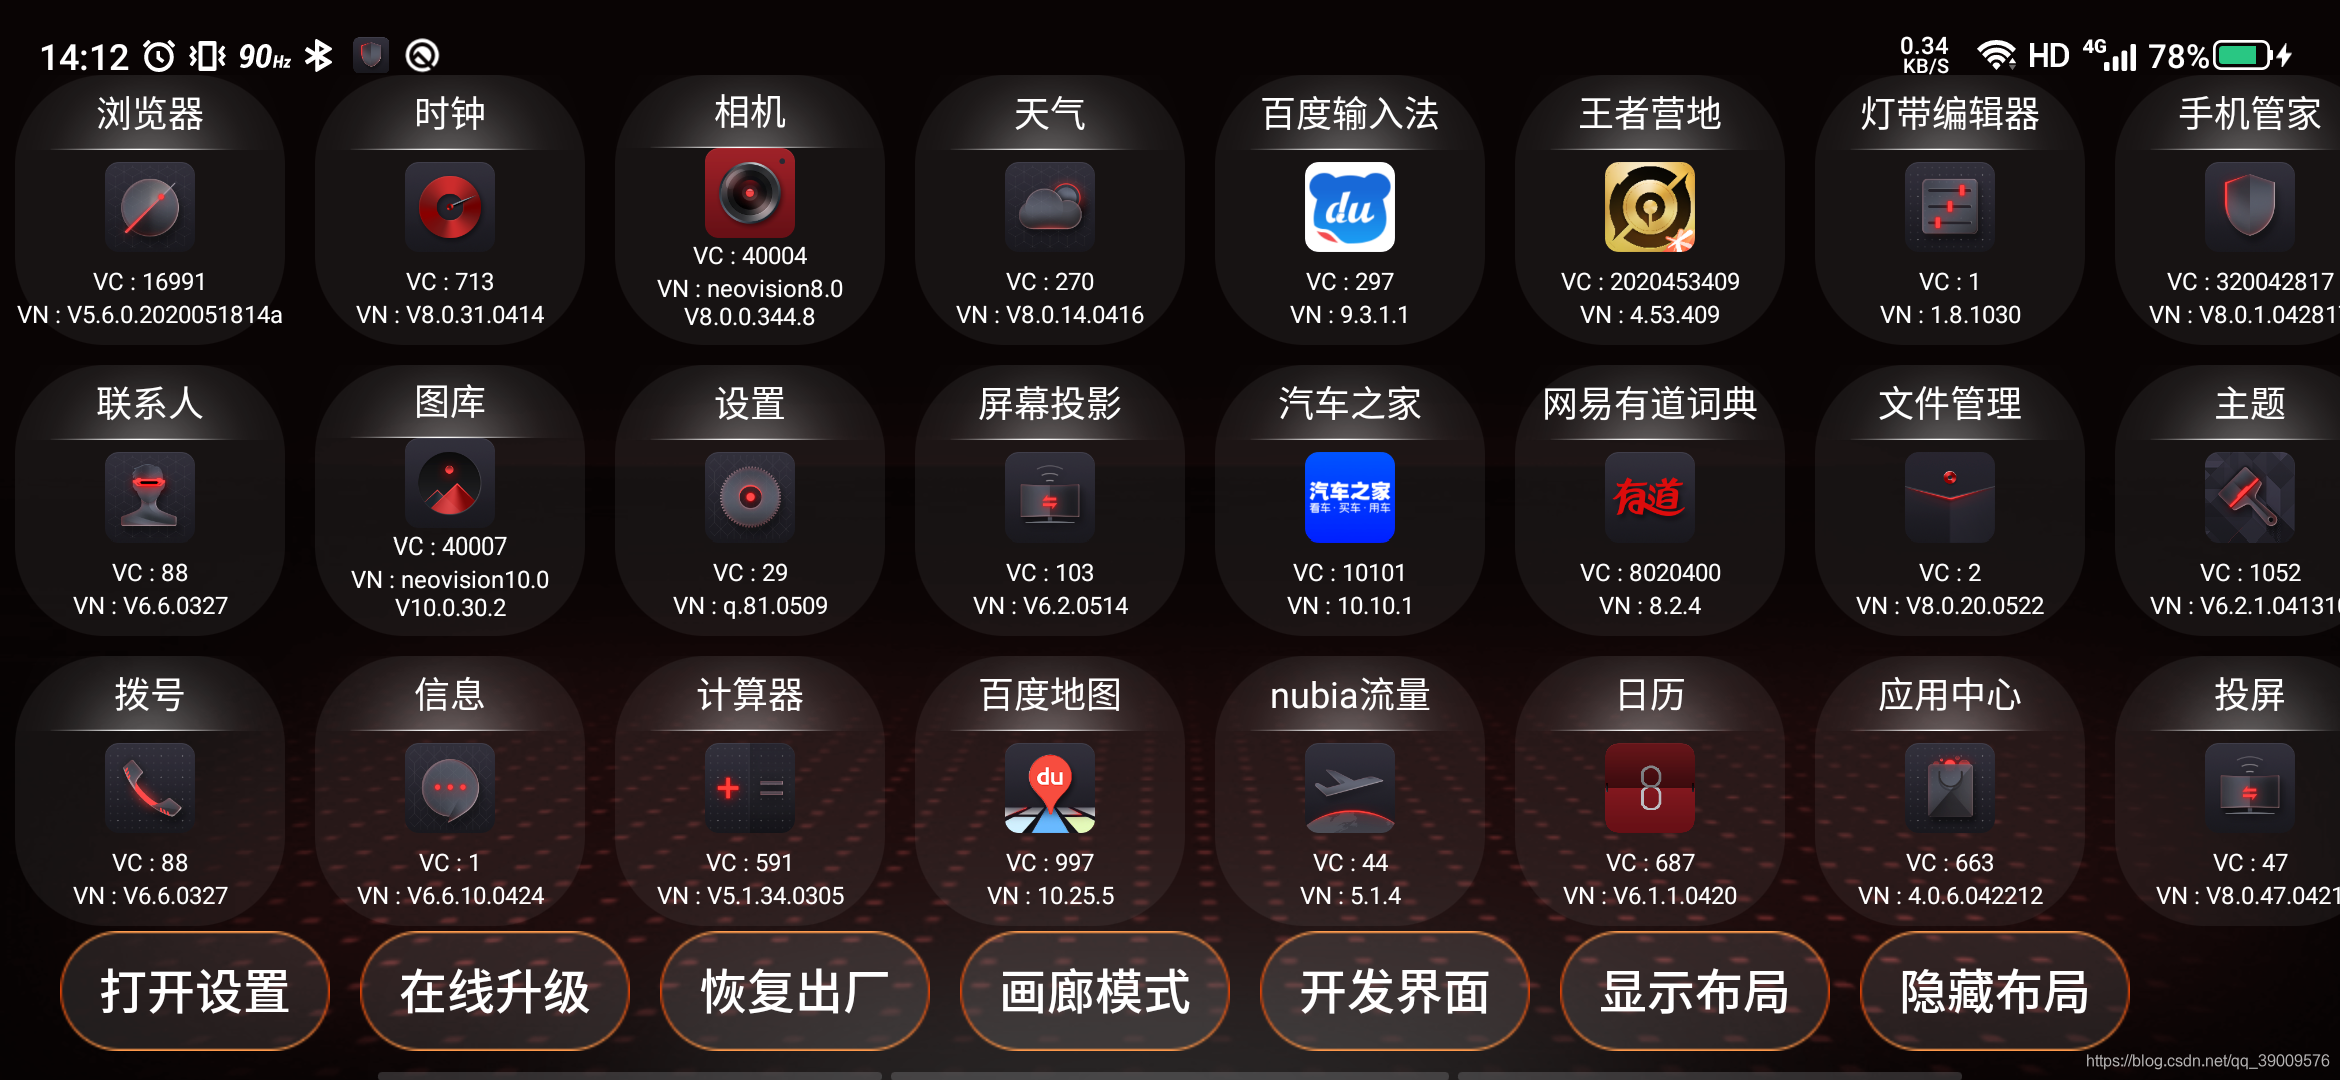
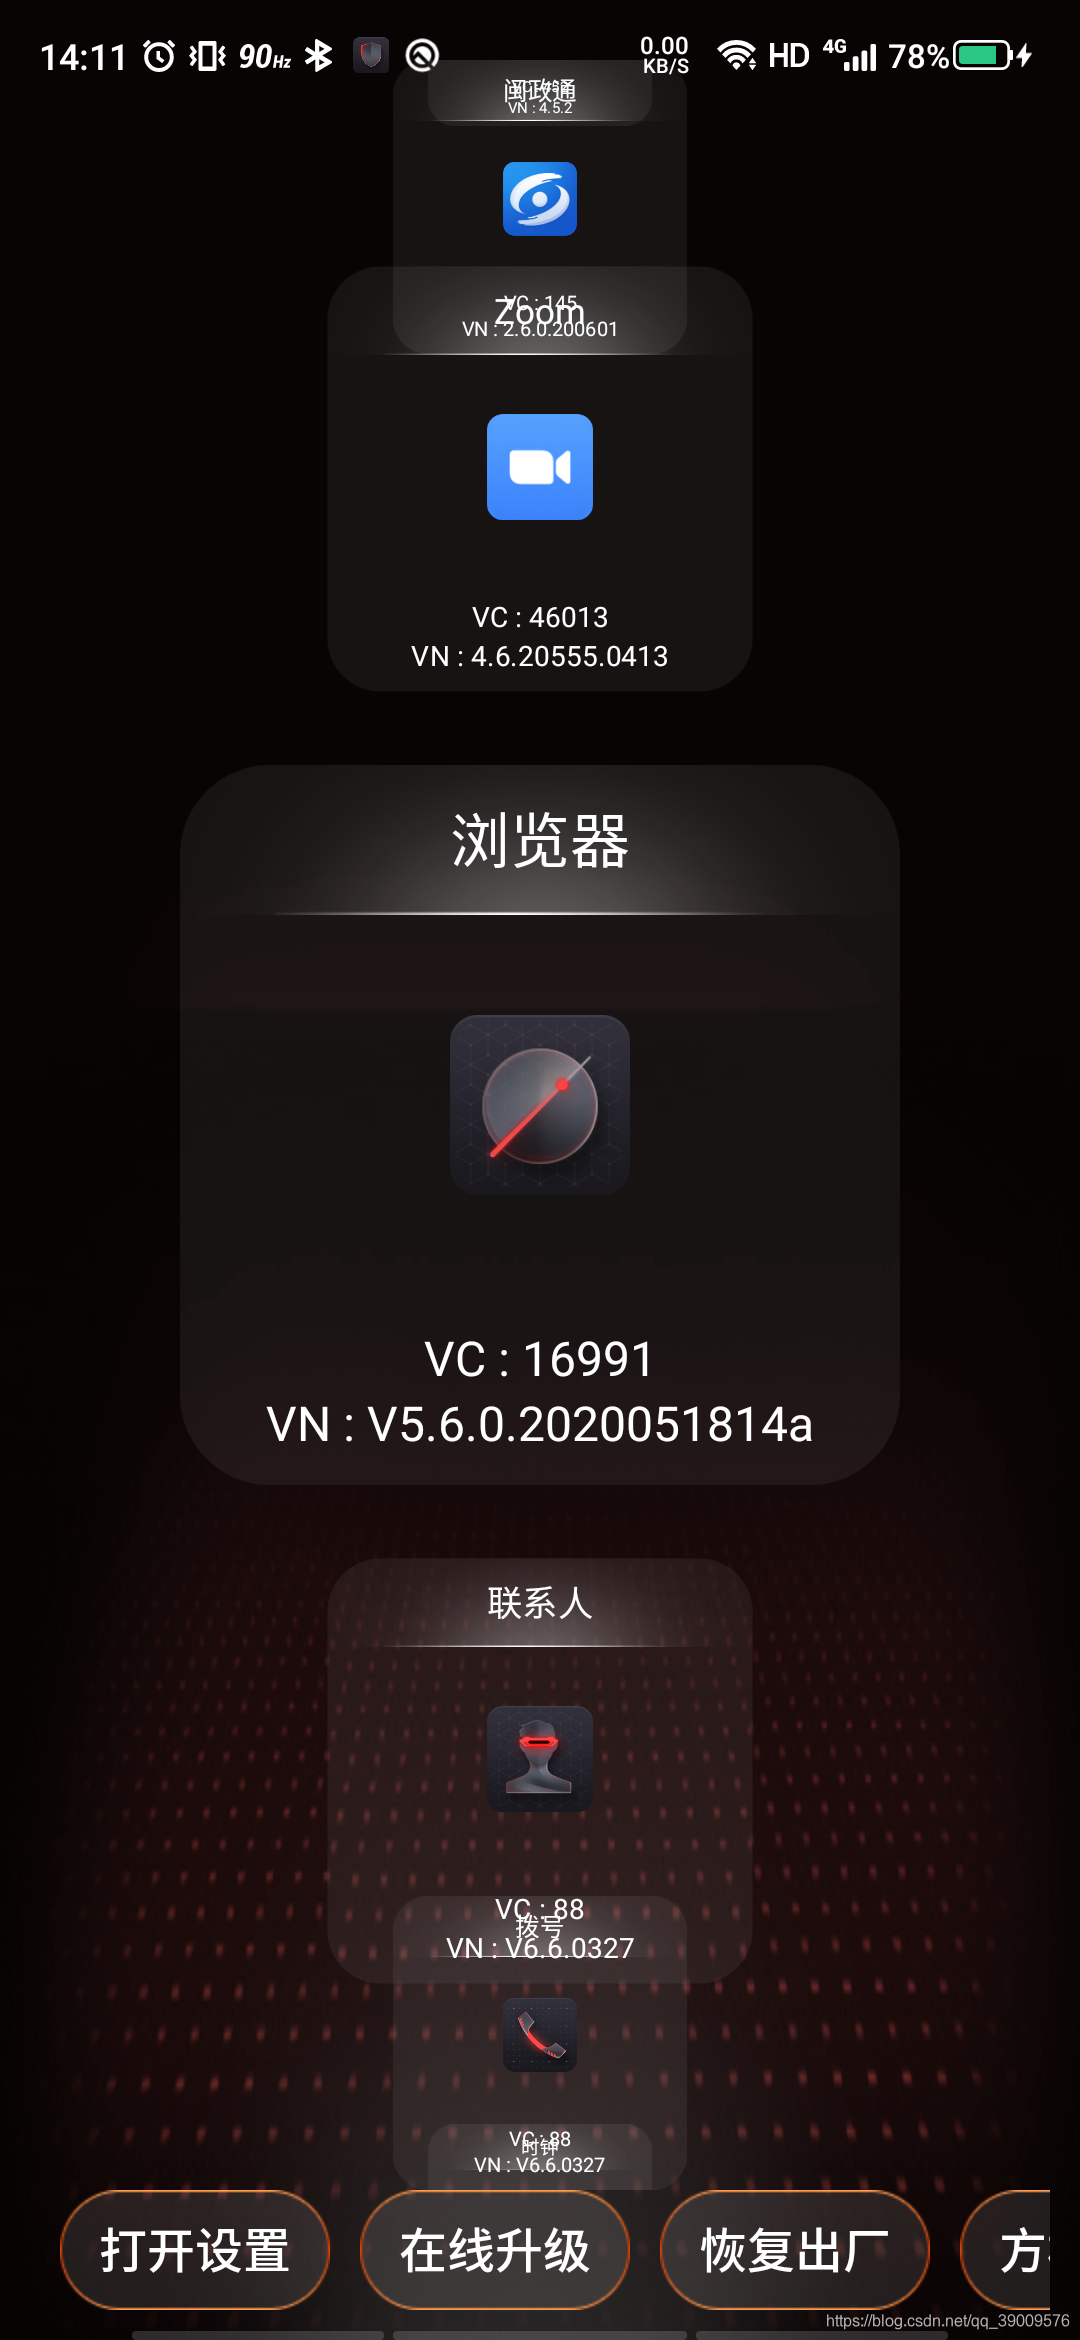
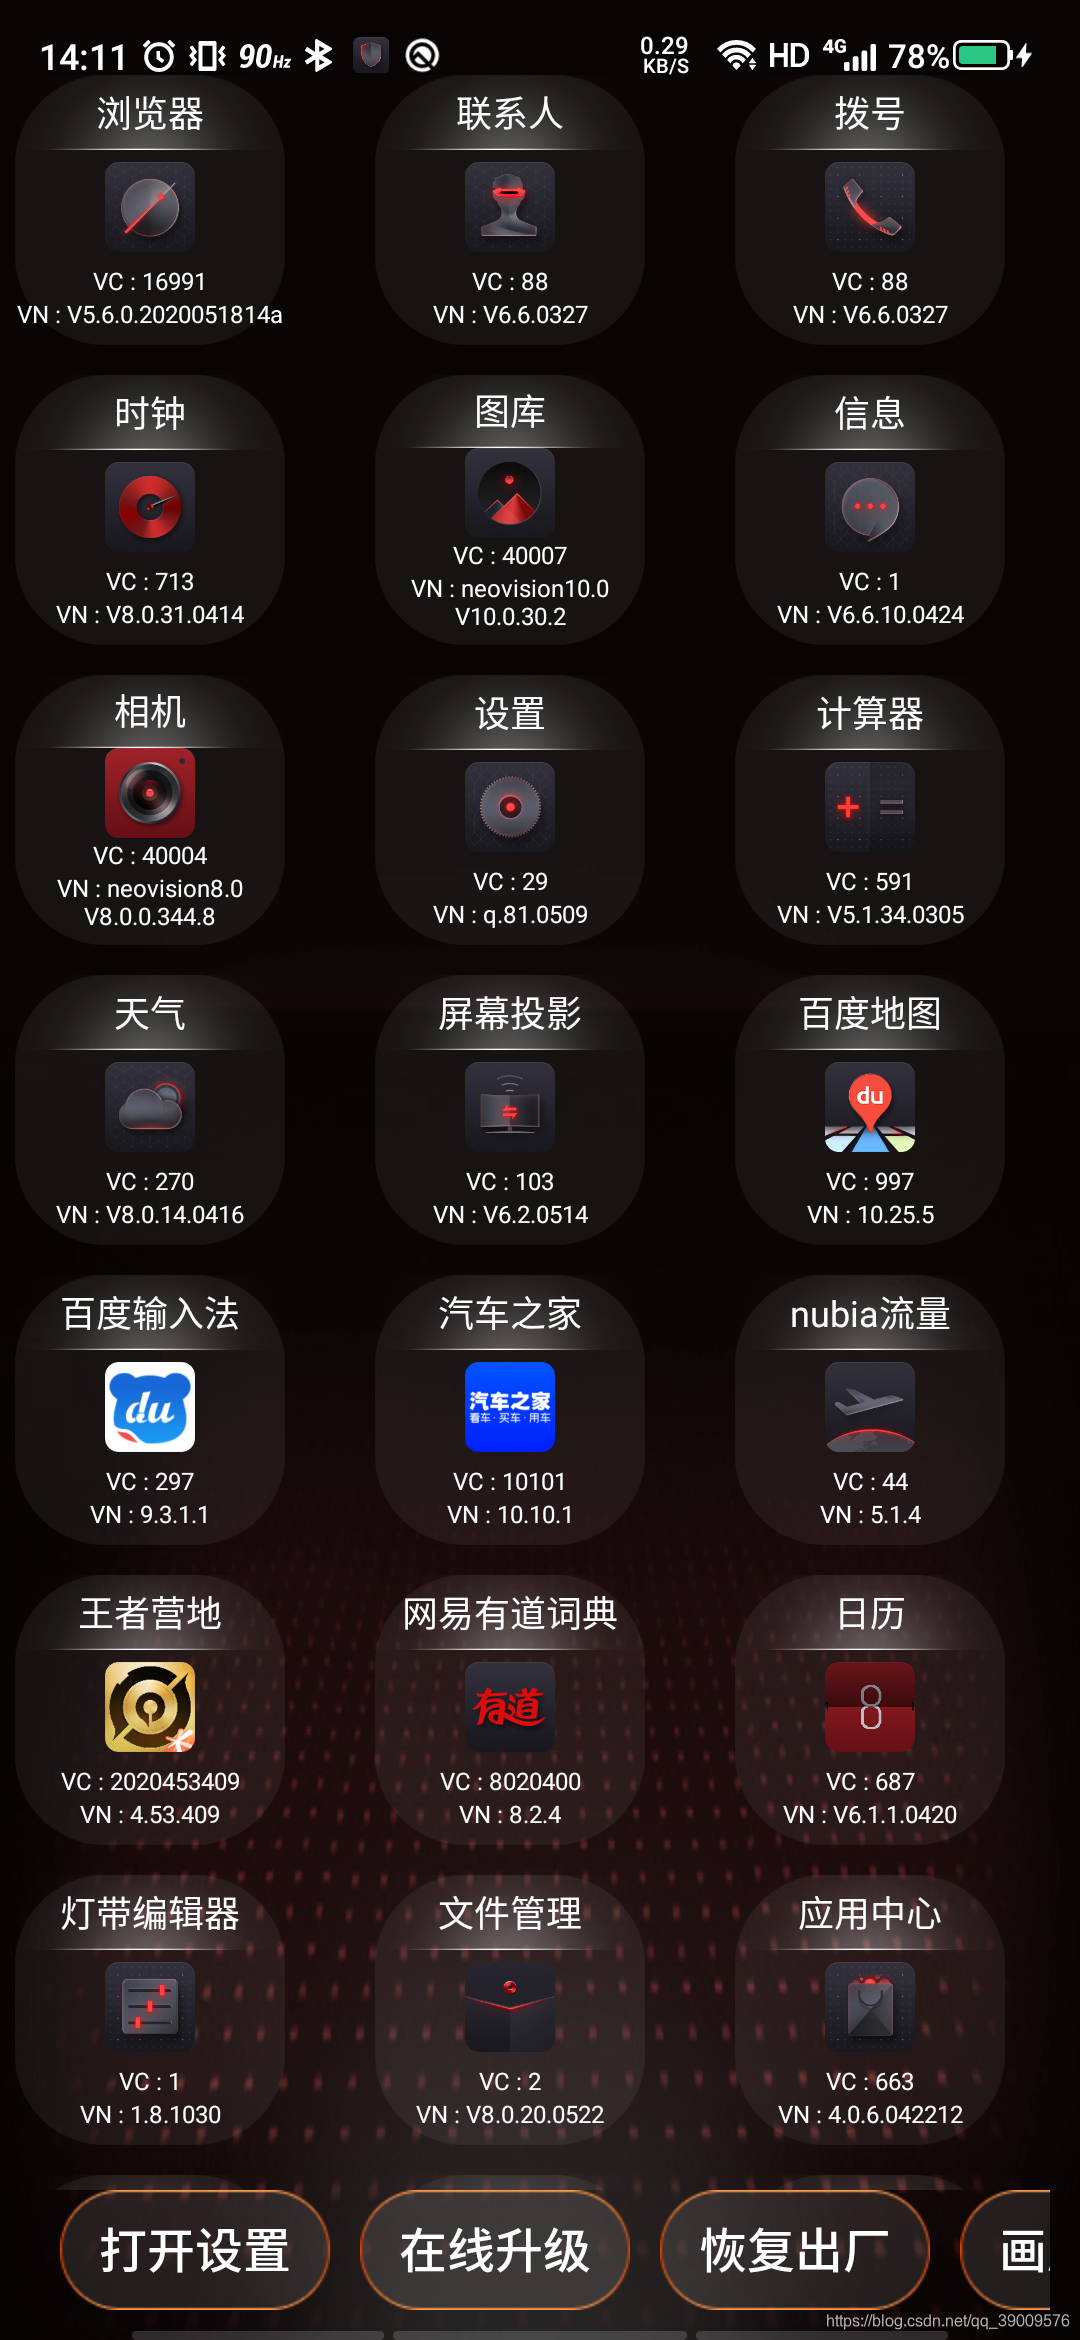
二、效果图: gif动图可以进git查看,csdn上传失败。
三、代码分析:
1.先上一段简单的沉浸式代码。
private void initWindow() {
        Window window = getWindow();
        View decorView = window.getDecorView();
        int option = View.SYSTEM_UI_FLAG_LAYOUT_FULLSCREEN
                | View.SYSTEM_UI_FLAG_LAYOUT_STABLE;
        decorView.setSystemUiVisibility(option);
        if (Build.VERSION.SDK_INT >= Build.VERSION_CODES.LOLLIPOP) {
            window.addFlags(WindowManager.LayoutParams.FLAG_DRAWS_SYSTEM_BAR_BACKGROUNDS);
            window.setStatusBarColor(Color.TRANSPARENT);
        }
    }
2.获取所有带Launcher的app信息,装到一个ArrayList中:
    public static ArrayList<AppInfoModel> getLauncherInfo(Context context){
        ArrayList<AppInfoModel> mAppInfoModels = new ArrayList<>();
        PackageManager packageManager = context.getPackageManager();

        Intent mainIntent = new Intent(Intent.ACTION_MAIN, null);
        mainIntent.addCategory(Intent.CATEGORY_LAUNCHER);//筛选带launcher的
        List<ResolveInfo> apps = packageManager.queryIntentActivities(mainIntent, 0);

        for (int i = 0;i < apps.size();i++){
            ResolveInfo info = apps.get(i);
            try {
                AppInfoModel appInfoModel = new AppInfoModel();
                PackageInfo packageinfo = packageManager.getPackageInfo(info.activityInfo.applicationInfo.packageName, 0);
                appInfoModel.setAppName(String.valueOf(info.loadLabel(packageManager)));//应用名称
                appInfoModel.setVersionCode(String.valueOf(packageinfo.versionCode));//版本号
                appInfoModel.setVersionName(String.valueOf(packageinfo.versionName));//版本名
                appInfoModel.setPackageName(info.activityInfo.applicationInfo.packageName);//包名
                appInfoModel.setIcon(info.activityInfo.loadIcon(packageManager));//应用头像
                appInfoModel.setPackageClassName(info.activityInfo.name);//包类名,用于后面打开activity
                appInfoModel.setFirstInstallTime(stampToDate(packageinfo.firstInstallTime));//第一次应用安装的时间,不准确,没用上
                appInfoModel.setLastUpdateTime(stampToDate(packageinfo.lastUpdateTime));//最后一次更新的时间,不准确,没用上
                mAppInfoModels.add(appInfoModel);
            } catch (PackageManager.NameNotFoundException e) {
                e.printStackTrace();
            }
        }
        return mAppInfoModels;
    }
3.获取横竖屏状态:
mScreenFlag = getResources().getConfiguration().orientation == Configuration.ORIENTATION_LANDSCAPE;//获取横竖屏状态4.旋转屏幕前保存画廊、方格状态。
if (savedInstanceState != null && savedInstanceState.getBoolean("status")) {//获取旋转屏幕前的状态
    mCurLayoutManageFlag = true;
    textView.setText("画廊模式");
    initMoreRecyclerView();//初始化成方格模式
}else {
    initRecyclerView();//初始化成画廊模式
}


@Override
protected void onSaveInstanceState(Bundle outState) {
    super.onSaveInstanceState(outState);
    outState.putBoolean("status", mCurLayoutManageFlag);//旋转屏幕时保存当前模式
}
5.RecyclerView画廊模式:
private void initRecyclerView() {
        Log.d(TAG, "initMoreRecyclerView: 切换画廊模式");
        CarouselLayoutManager layoutManager;
        if (mScreenFlag){//横屏
            layoutManager = new CarouselLayoutManager(CarouselLayoutManager.HORIZONTAL,true);//true循环轮播
        }else {//竖屏
            layoutManager = new CarouselLayoutManager(CarouselLayoutManager.VERTICAL,true);//true循环轮播
        }
        RecyclerViewAdapter recyclerViewAdapter = new RecyclerViewAdapter(this,mAppInfoModels,R.layout.rc_item);

        layoutManager.setPostLayoutListener(new CarouselZoomPostLayoutListener());
        mRecyclerView.setHasFixedSize(true);//item不会去改变RecyclerView宽高时调用
        mRecyclerView.addOnScrollListener(new CenterScrollListener());//给CarouselLayoutManager使用的,监听滑动状态变化

        mRecyclerView.setLayoutManager(layoutManager);
        mRecyclerView.setAdapter(recyclerViewAdapter);
        recyclerViewAdapter.setOnItemClickListener(onItemClickListener);
    }
6.RecyclerView方格模式,本来StaggeredGridLayoutManager是瀑布流模式,结果发现不好看,硬生生给用成了方格模式:
    private void initMoreRecyclerView() {
        Log.d(TAG
最低0.47元/天 解锁文章


 855
855

 被折叠的 条评论
为什么被折叠?
被折叠的 条评论
为什么被折叠?
 到【灌水乐园】发言


