


StackNavigator实践
github地址:
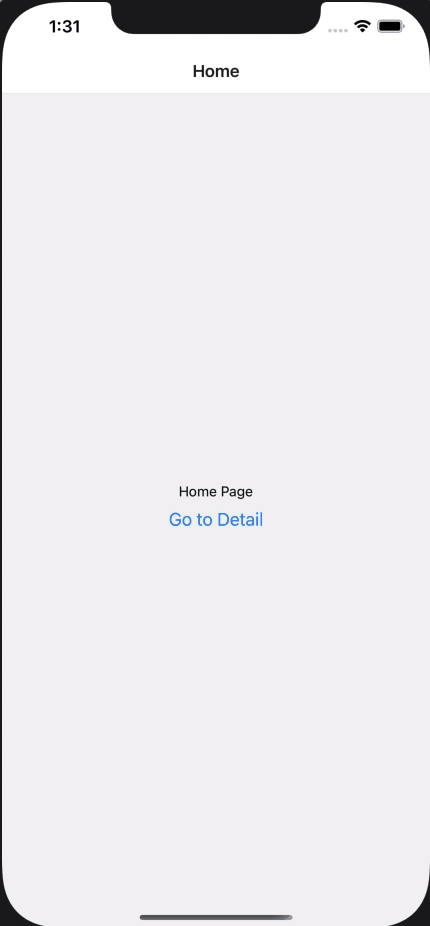
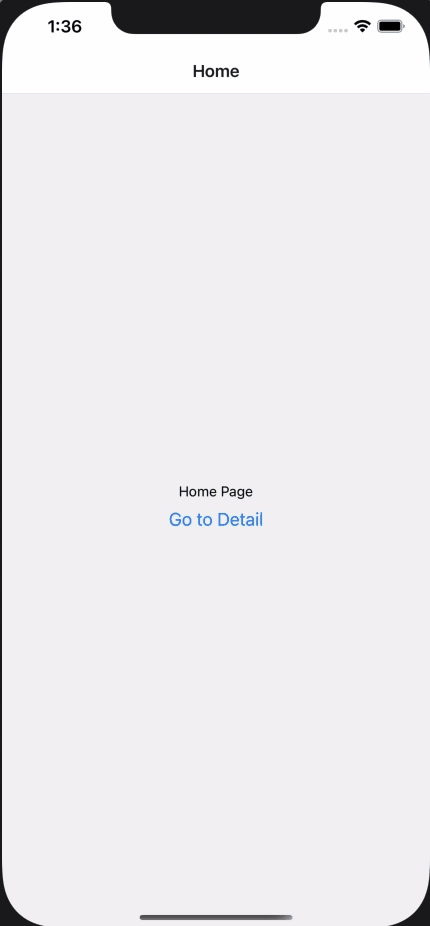
实现效果
导航到一个新的屏幕(navigation.navigate)
导航到路由多次(navigation.push)
导航到上一个路由(navigation.goBack)

回到堆栈中的第一个屏幕(navigation.popToTop)

实现环境
react-native:0.64.0
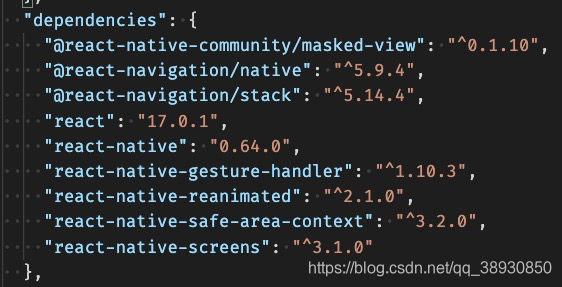
安装相应的功能库
npm install @react-navigation/native
npm install @react-navigation/stack
npm install react-native-gesture-handler react-native-reanimated react-native-screens react-native-safe-area-context @react-native-community/masked-
代码实现
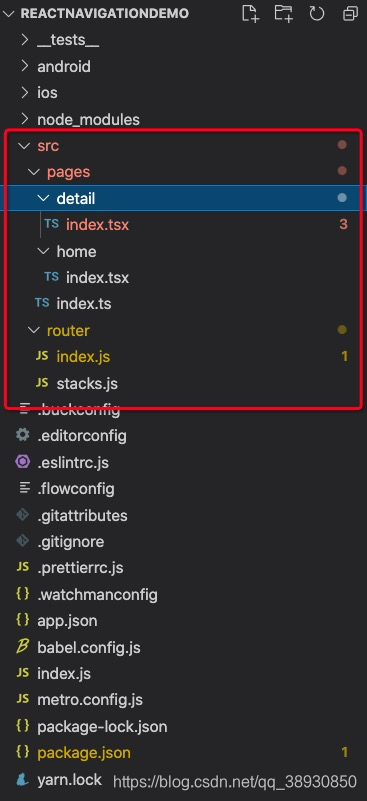
代码目录结构如下:
src/pages/home/index.tsx (Home页面代码):
/**
 * Home Page
 */

import React from 'react';
import {View, Text, Button} from 'react-native';

const Home = ({navigation}) => {
  return (
    <View style={{flex: 1, alignItems: 'center', justifyContent: 'center'}}>
      <Text>Home Page</Text>
      <Button
        title="Go to Detail"
        onPress={() => navigation.navigate('Detail')}
      />
    </View>
  );
};

export {Home};
src/pages/detail/index.tsx (Detail页面代码):
/**
 * Detail Page
 */

import React from 'react';
import {View, Text, Button} from 'react-native';

const Detail = ({navigation}) => {
  return (
    <View style={{flex: 1, alignItems: 'center', justifyContent: 'center'}}>
      <Text>Detail Page</Text>
      {/* <Button
        title="Go to Detail"
        onPress={() => navigation.navigate('Detail')}
      /> */}
      <Button title="Go Back" onPress={() => navigation.goBack()} />
    </View>
  );
};

export {Detail};
src/page/index.ts页面:
/**
 *
 */

import {Detail} from './detail';
import {Home} from './home';

const Stacks = [
  {
    name: 'Home',
    component: Home,
    options: {headerShow: false},
  },
  {
    name: 'Detail',
    component: Detail,
    options: {headerShow: false},
  },
];

export {Stacks};
src/route/stacks.js:
createStackNavigator是一个函数,它返回一个包含两个属性的对象:屏幕和导航器。它们都是用于配置到导航器的React组件。导航器应该将屏幕元素作为资源来定于路由的配置。
屏幕必备的属性有:name(屏幕名称),options, component(页面组件)
createStackNavigator还有许多其他属性可以进行配置,详情的看:createStackNavigator
/**
 * 堆栈
 */
import React from 'react';
import {createStackNavigator} from '@react-navigation/stack';
import {Stacks} from '../pages';

//堆栈stack实例
const RootStack = createStackNavigator();

const StackRouteScreen = () => {
  return (
    <RootStack.Navigator>
      {Stacks.map(({name, component, options}) => (
        <RootStack.Screen
          key={name}
          name={name}
          // options={options}
          component={component}
        />
      ))}
    </RootStack.Navigator>
  );
};

export {StackRouteScreen};
src/route/index.js
NavigationContainer是一个管理导航树并包含导航状态的组件,该组件包装所有导航器结构。通常,我们会将这个组件呈现在应用程序的根目录下。
/**
 * 路由
 */
import React, {useRef, createRef, useState, useEffect} from 'react';
import {StackRouteScreen} from './stacks';
import {NavigationContainer, InitialState} from '@react-navigation/native';

const getActiveRouteName = state => {
  const route = state.routes[state.index];

  if (route.state) {
    //Dive into nested navigarors
    return getActiveRouteName(route.state);
  }

  return route.name;
};

export default function App() {
  const routeNameRef = useRef();
  const navigationRef = createRef();
  const [currentRoute, setCurrentRoute] = useState('MainTabBar');
  const [initialState, setInitialState] = useState(InitialState);

  useEffect(() => {
    const state = navigationRef.current.getRootState();
    // Save the initial route name
    routeNameRef.current = getActiveRouteName(state);
  }, [navigationRef]);

  return (
    <NavigationContainer
      ref={navigationRef}
      initialState={initialState}
      onStateChange={state => {
        const previousRouteName = routeNameRef.current;
        const currentRouteName = getActiveRouteName(state);

        if (previousRouteName !== currentRouteName) {
          // The line below uses the @react-native-firebase/analytics tracker
          // Change this line to use another Mobile analytics SDK
          console.log(previousRouteName, currentRouteName);
          setCurrentRoute(currentRouteName);
        }
        // Save the current route name for later comparision
        routeNameRef.current = currentRouteName;
      }}>
      <StackRouteScreen />
    </NavigationContainer>
  );
}
扩展
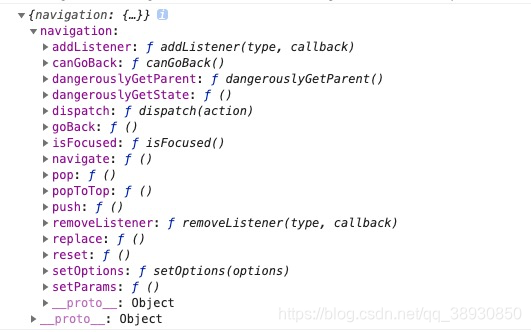
navigation对应的方法如下:
暂时先介绍这些吧,如果问题欢迎在评论区留言,和我一起交流。


 被折叠的 条评论
为什么被折叠?
被折叠的 条评论
为什么被折叠?
 到【灌水乐园】发言


