


本篇通过使用spring注解来创建自动装配bean
1、applicationContext.xml文件
<?xml version="1.0" encoding="UTF-8"?>
<beans xmlns="http://www.springframework.org/schema/beans"
       xmlns:xsi="http://www.w3.org/2001/XMLSchema-instance"
       xmlns:context="http://www.springframework.org/schema/context"
       xsi:schemaLocation="http://www.springframework.org/schema/beans
        https://www.springframework.org/schema/beans/spring-beans.xsd
        http://www.springframework.org/schema/context
        https://www.springframework.org/schema/context/spring-context.xsd">

    <!--使用component-scan 扫描指定包下的Bean自动装配-->
    <context:component-scan base-package="com.lizheng.pojo"/>
    <!--注解生效配置-->
    <context:annotation-config/>
</beans>
【注意】 <context:component-scan base-package="com.lizheng.pojo"/>
<!--注解生效配置--> <context:annotation-config/>
2、添加@Component注解,表示<context:component-scan base-package="com.lizheng.pojo"/>会扫描到包下的有@Component注解的所有类,创建和装配到spring,属性值注入则是通过@Value,【注意】这里@Value是导入import org.springframework.beans.factory.annotation.Value;
import lombok.Data;
import org.springframework.beans.factory.annotation.Value;
import org.springframework.context.annotation.Scope;
import org.springframework.stereotype.Component;

@Data
@Component
@Scope("singleton")
public class User {
    //属性值注入通过@value
    @Value("rourou")
    public String name;
}
3、测试类
public class MyTest {

    @Test
    public void myTest(){
        ApplicationContext context = new ClassPathXmlApplicationContext("applicationContext.xml");
        User user = context.getBean("user", User.class);
        User user1 = context.getBean("user", User.class);
        System.out.println(user.hashCode());
        System.out.println(user1.hashCode());
        System.out.println(user==user1);
    }
}
【拓展】
@Component注解有几个衍生注解,在web开发中,根据MVC三层架构分为
1、dao[@Repository]
2、service[@Service]
3、controller[@Controller]
这四个注解的功能是一样的,都是代表讲某个类注册到spring中,装配bean
【注意】当某类中不仅有基础数量类型变量,还有引用类型变量时,则要使用@Autowired
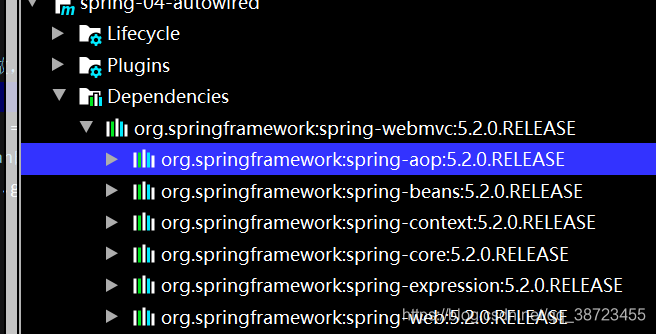
另外要注入依赖中导入aop的jar包


 被折叠的 条评论
为什么被折叠?
被折叠的 条评论
为什么被折叠?
 到【灌水乐园】发言


