


 本文介绍了如何使用VantWeapp框架开发小程序,实现文件上传功能,通过调用Java后端的MongoDB接口,并展示了分页查询和附件回显的过程。
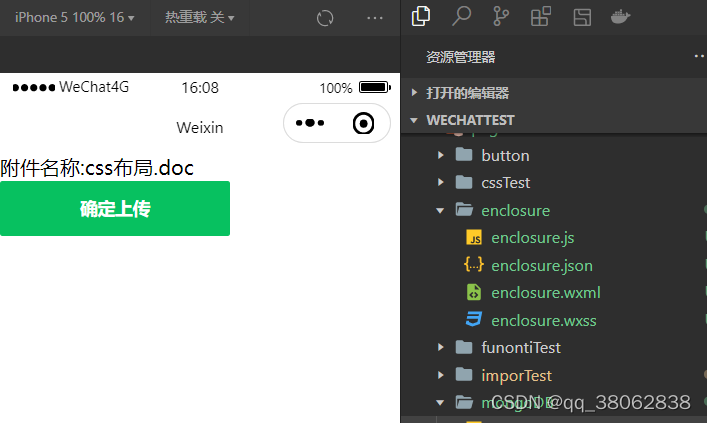
1-先看样式 ,一块样式用到 Vant Weapp 感觉挺不错的一个框架就是功能少 了一点
附上地址 框架地址:Vant Weapp - 轻量、可靠的小程序 UI 组件库
2-wxml
<view>
  <input type="text" value="附件名称:{{username}}" bindtap="choImg" />
  <van-button type="primary" bindtap="loadimg">确定上传</van-button>
</view>
2- js 这个 input 点击上传的附件的信息 而且得到附件名称的回显
Page({

  /**
   * 页面的初始数据
   */
  data: {
    username:'点击上传附件',
    usernameUrl:'',
},

choImg: function () {
    var thiss=this
    wx.chooseMessageFile({
      count: 1,
      type: 'file',
      success(res){
           const tempFilePaths =res.tempFilePaths
           thiss.setData({
            username: res.tempFiles[0].name,
            usernameUrl:res.tempFiles[0].path
          })
           console.log('选择',res)
      }
    })
 },
3- js 确定按钮上传的方式 这一块是用到java 后端mongoDB服务器 接收的
 loadimg: function () {
  var _this = this;
  console.log( _this.tempFiles);
  wx.uploadFile({
    url: 'http://localhost:8080/file/uploadFile', //接口
    filePath: _this.data.usernameUrl,
    name: 'file',
    success: function (res) {
      var data = res.data;
      wx.showToast({
        title: '操作成功!', // 标题
        icon: 'success',  // 图标类型,默认success
        duration: 1500  // 提示窗停留时间,默认1500ms
      })
    },
    fail: function (error) {
      wx.showToast({
        title: '操作失败!', // 标题
        icon: 'success',  // 图标类型,默认success
        duration: 1500  // 提示窗停留时间,默认1500ms
      })
      console.log(error);
    }
  })
},
4-看下上传的东西的成果 这一快就是用到分页查询了 上传附件并且名称回显就完成了


 1894
1894

 被折叠的 条评论
为什么被折叠?
被折叠的 条评论
为什么被折叠?
 到【灌水乐园】发言


