#用xftp传到/opt[root@cloud1 opt]# ls
apr-1.6.3.tar.gz apr-util-1.6.1.tar.gz
[root@cloud1 opt]# tar -xf apr-1.6.3.tar.gz [root@cloud1 opt]# tar -xf apr-util-1.6.1.tar.gz[root@cloud1 opt]# cd apr-1.6.3/[root@cloud1 apr-1.6.3]# vim configure
30976 #$RM "$cfgfile" #在30976行添加注释[root@cloud1 apr-1.6.3]# ./configure --prefix=/usr/local/apr[root@cloud1 apr-1.6.3]# make && make install[root@cloud1 apr-1.6.3]# cd /opt/apr-util-1.6.1/[root@cloud1 apr-util-1.6.1]# ./configure --prefix=/usr/local/apr-util --with-apr=/usr/local/apr[root@cloud1 apr-util-1.6.1]# make & make install
[root@z1 httpd-2.4.46]# apachectl start
AH00558: httpd: Could not reliably determine the server's fully qualified domain name, using fe80::20c:29ff:fec4:1136. Set the 'ServerName' directive globally to suppress this message
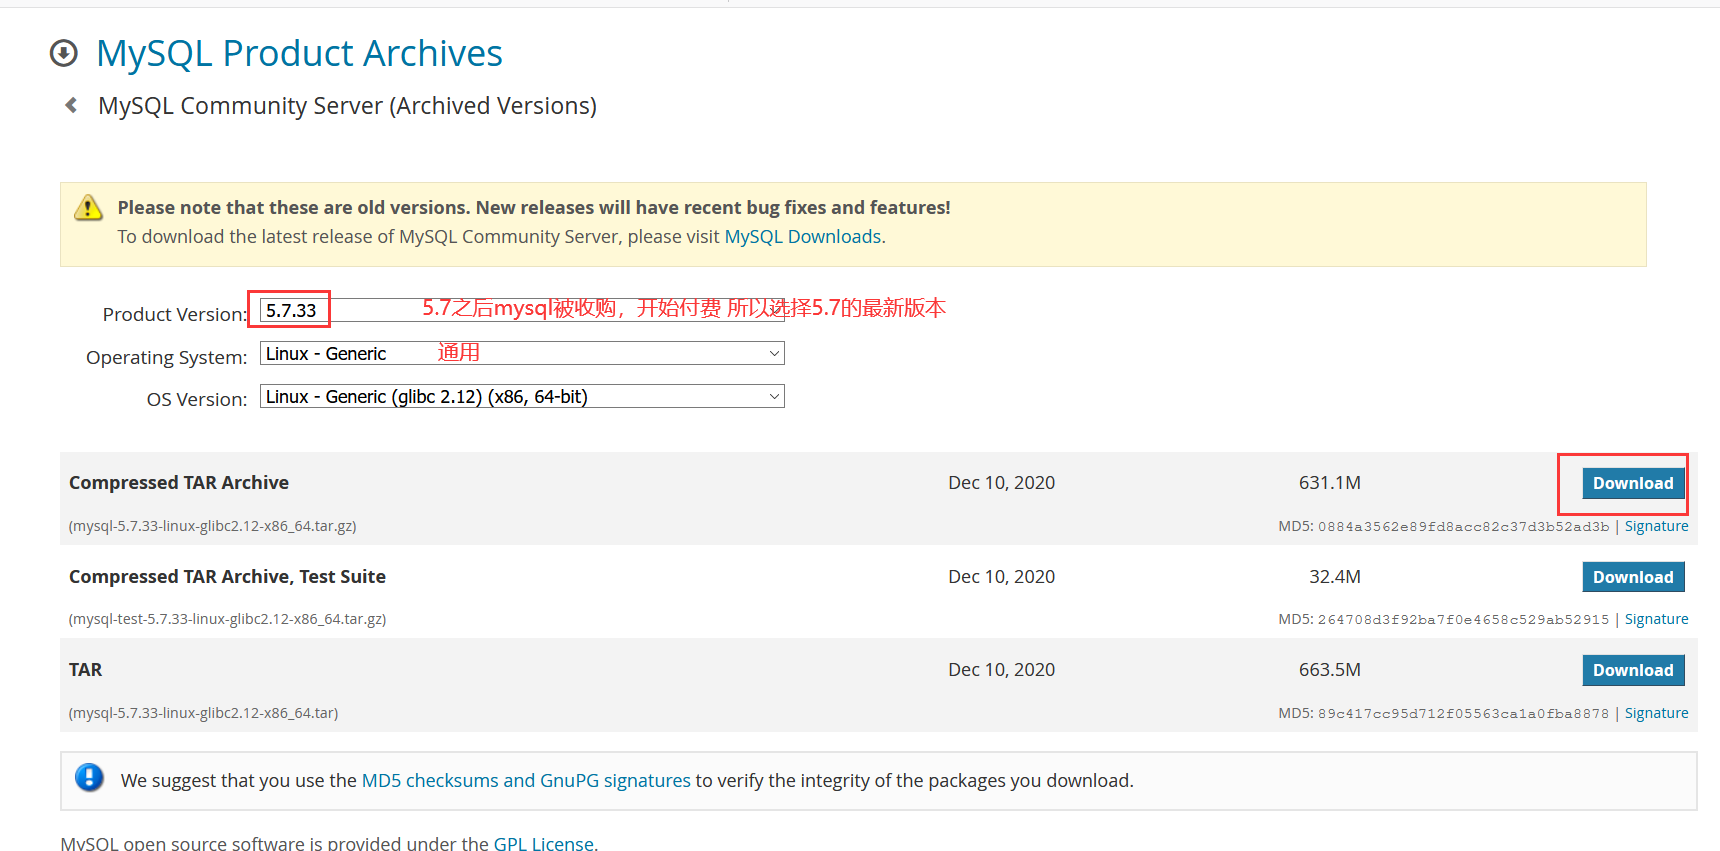
[root@cloud1 ~]# tar xf mysql-5.7.33-linux-glibc2.12-x86_64.tar.gz -C /usr/local/[root@cloud1 ~]# cd /usr/local/[root@cloud1 local]# ls
bin etc games include lib lib64 libexec mysql-5.7.33-linux-glibc2.12-x86_64 sbin share src
[root@cloud1 local]# mv mysql-5.7.33-linux-glibc2.12-x86_64/ mysql
修改权限
[root@cloud1 local]# chown -R mysql.mysql mysql/[root@cloud1 local]# ll | grep mysql
drwxr-xr-x 9 mysql mysql 129 May 2 03:05 mysql


 本文详细介绍了在单机及多机环境下部署LAMP(Linux, Apache, MySQL, PHP)服务的过程。包括软件安装、配置以及服务启动等步骤,并针对不同组件提供了具体的配置指令。


 最低0.47元/天 解锁文章


 1268
1268


 到【灌水乐园】发言


