


小程序学习个人总结
// 包含 公共 头部
要包含的 页面 <import src="..."/>
然后 要包含的地方
<template is="... || name"/>
公共页面放在一个文件夹 用 <template name="...|| name "> ... </template>
// 公共底部 在 app.json 中配置
添加 代码 :
"tabBar": {
    "color": "#000",
    "selectedColor": "#F4BD40",
    "borderStyle": "white",
    "list": [
      {
        "selectedIconPath": "images/home_icon_active.png",
        "iconPath": "images/home_icon.png",
        "pagePath": "pages/index/index",
        "text": "首页"
      },
      {
        "selectedIconPath": "images/class_icon_active.png",
        "iconPath": "images/class_icon.png",
        "pagePath": "pages/index/index",
        "text": "分类"
      },
      {
        "selectedIconPath": "images/cart_icon_active.png",
        "iconPath": "images/cart_icon.png",
        "pagePath": "pages/index/index",
        "text": "购物车"
      },
      {
        "selectedIconPath": "images/per_icon_active.png",
        "iconPath": "images/per_icon.png",
        "pagePath": "pages/index/index",
        "text": "我的"
      }
    ]
  }


"navigationBarBackgroundColor": "#e09629",         -----背景颜色
"navigationBarTitleText": "模仿产品",		   -----小程序标题
"navigationBarTextStyle":"#fff"			   -----默认背景字体颜色
小程序的 wx.getUserInfo 禁止使用
需要获取用户授权时 调用 <button open-type="getUserInfo">获取用户授权</button>
onload 方法 是 页面加载就执行
bindtap 是 点击事件
// navigateTo  可以带参数跳转
wx.navigateTo({
   	url: '../logs/logs?id=1&user=2'
 })


//接受参数

onLoad: function (options) {
// 接收 options 中的 参数
使用 setData 放到本页面
    this.setData({
      id: options.id,
      imgUrl: options.imgUrl
    })
  },
小程序form 表单 的提交
<form bindsubmit="formSubmit">
// 给form  绑定一个事件
        <view class="field clearfix">

            <label for="name"><image src="../../images/phone.png" /></label>

            <input id="name" name="mobile" class="login-input" type="text" placeholder="请输入手机号" />

        </view>

        <view class="field clearfix">

            <label for="password"><image src="../../images/code.png" /></label>

            <input id="password"  class="login-input" type="password" placeholder="请输入验证码" />

            <button class="get-code"  hover-class="code-hover">获取验证码</button>

        </view>

        <view class="field clearfix">

            <label for="password"><image src="../../images/password.png" /></label>

            <input id="password" name="password"  class="login-input" type="password" placeholder="请设置6-20位登录密码" />

        </view>

        <view class="field clearfix">

            <label for="repassword"><image src="../../images/password.png" /></label>

            <input id="repassword" name="repassword"  class="login-input" type="password" placeholder="请输入确认密码" />

        </view>


        <button class="btn_login"  formType="submit">注册</button>
	// 注册按钮点击后form 的事件触发
    </form>
js中的 接受代码
formSubmit:function(e){
	// e.detail.value   这个 里边是  表单 的参数

	//进行校验  校验成功的话提交

	 wx.request({
            url: 'https://shop.yunapply.com/home/Login/register',
            header: {
              "Content-Type": "application/x-www-form-urlencoded"
            },
            method: "POST",
            data:{mobile:e.detail.value.mobile,password:e.detail.value.password},
            success: function(res) {
              if(res.data.status == 0){
                  wx.showToast({
			// 弹框特效
                    title: res.data.info,
                    icon: 'loading',
                    duration: 1500
                  })
              }else{
                  wx.showToast({
                    title: res.data.info,//这里打印出登录成功
                    icon: 'success',
                    duration: 1000
                  })
              }
            }
          })
}
微信发起请求
// 发送请求使用 wx.request

var that = this;
wx.request({
  url: 'test.php', //仅为示例,并非真实的接口地址
  data: {          //参数为json格式数据
     x: '' ,
     y: '',
     z:12
  },
  header: {
      //设置参数内容类型为json
      'content-type': 'application/json'
  },
  success: function(res) {
    console.log(res.data);
    that.setData({
	res:res.data,       //把 数据插入到data 中
    })
  }
})
调用话筒录音
// 开始录音
wx.startRecord({
      success: function (res) {
        var tempFilePath = res.tempFilePath
        console.log(tempFilePath);
        // 这个是录音文件的临时存放地;
      },
      fail: function (res) {
        //录音失败
      }
    });
// 停止录音
stopRecord: function () {
    wx.stopRecord()
  },
小程序的公共模板
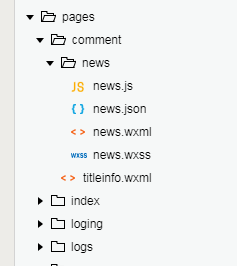
新建模板 然后 再被引用的页面 引入 wxss wxml 页面显示完成
如果是带数据的 页面 传入数据 data="{{}}"
引入js 这里是个坑
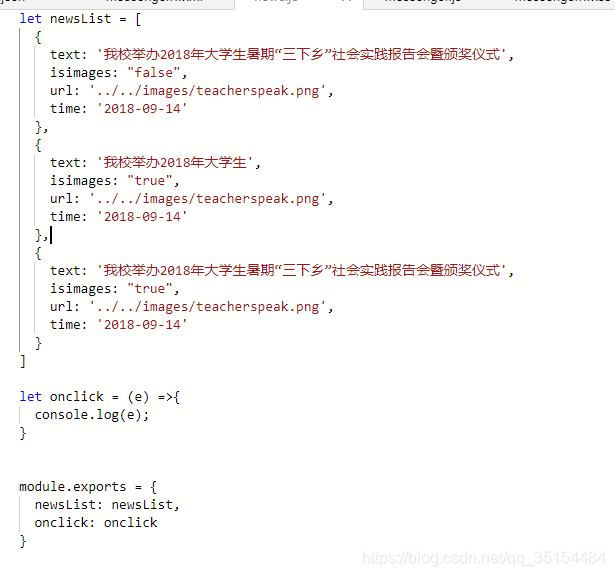
我 的 js 是 把方法和 数据都 抛出去 然后在 要 引入的 页面 接收一下 传给 公共页面


 被折叠的 条评论
为什么被折叠?
被折叠的 条评论
为什么被折叠?
 到【灌水乐园】发言


