


 本文通过Spring Boot搭建了基于RabbitMQ的消息传递系统,并详细展示了如何配置与使用生产者及消费者来发送和接收消息。
Rabbitmq是AMQP协议实现的,它支持多种操作系统,多种编程语言。
想要了解Rabbitmq的一些概念和怎么安装可自行百度,下面我就直接添代码供参考。
首先使用idea 创建一个springboot工程,再pom文件里添加
<!--rabbitmq-->
<dependency>
   <groupId>org.springframework.boot</groupId>
   <artifactId>spring-boot-starter-amqp</artifactId>
</dependency>
修改配置文件application.yml如下:
spring:
  application:
    name: rabbitmq-hello
  rabbitmq:
    host: localhost
    port: 5672
    username: admin
    password: admin
创建生产者类
@Component
public class Sender {
    @Autowired
    AmqpTemplate amqpTemplate;

    public  void  send(){
        String context="hello+"+new Date();
        System.out.println("Sender:"+context);
        this.amqpTemplate.convertAndSend("hello",context);
    }
}
创建消费这类:
@Component
@RabbitListener(queues = "hello")
public class Recevier {

    @RabbitHandler//指定对消息的处理方法
    public  void process(String hello){
        System.out.println("Receiver:"+hello);
    }
}
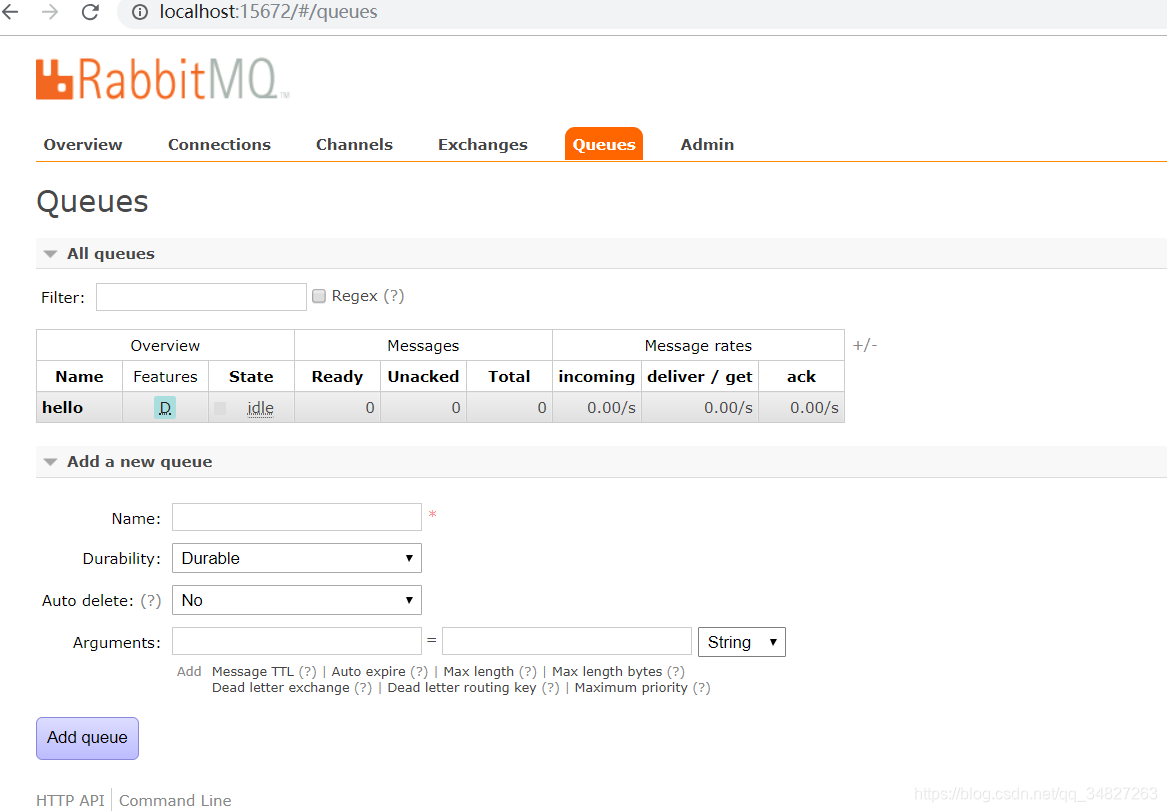
创建rabbitmq 的配置类,用来配置队列,交换机,路由等高级信息。我这里只配了一个队列。
@Configuration
public class RabbitmqConfig {
    @Bean
    public Queue helloQueue(){
        return  new Queue("hello");
    }

}
创建测试单元:
@RunWith(SpringRunner.class)
@SpringBootTest
public class RabbitmqHelloApplicationTests {
@Autowired
private Sender sender;
@Test
public void contextLoads() {
}
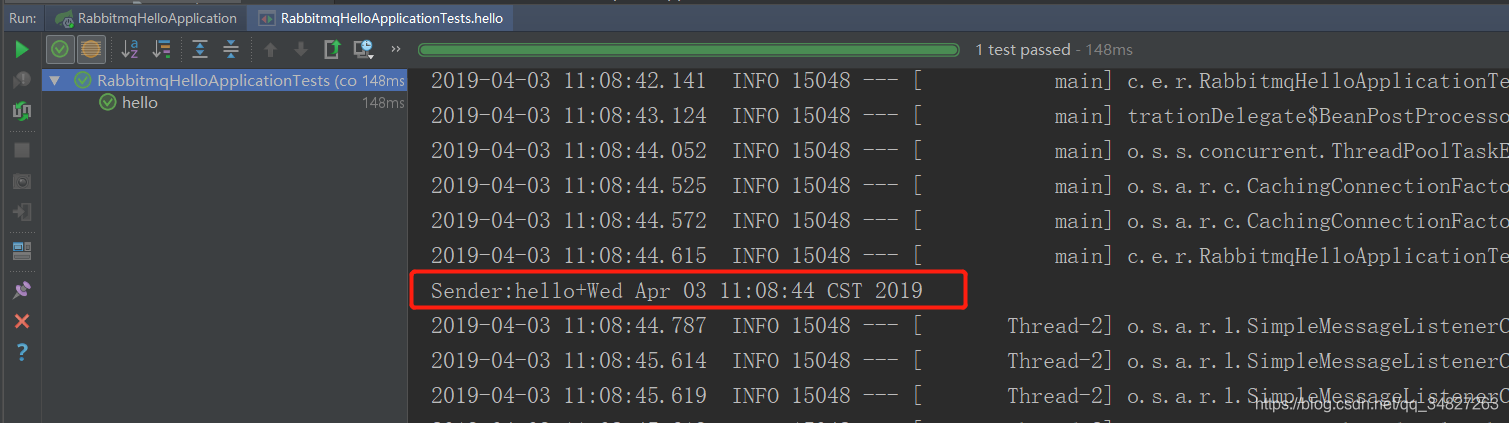
@Test
public void hello(){
sender.send();
}
}
测试:启动应用主类:
RabbitmqHelloApplication
运行测试之后你会看见控制台
切换到主类控制台
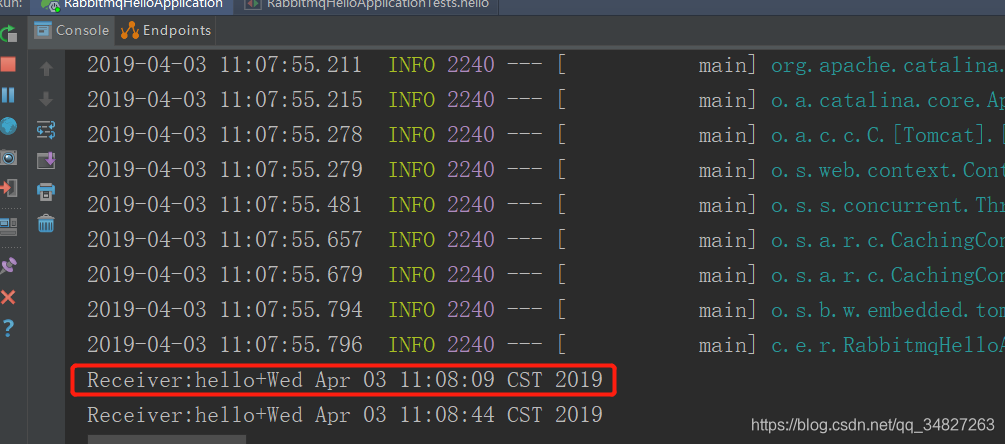
简单的入门就算完成了。


 1637
1637

 被折叠的 条评论
为什么被折叠?
被折叠的 条评论
为什么被折叠?
 到【灌水乐园】发言


