


 本文介绍如何使用uni-app和Node.js快速搭建一个简易聊天室环境,包括环境配置、前后端代码示例及实时消息传递实现。
uni-app+nodejs 制作简易聊天室
环境搭建
零基础推荐使用 HBuilderX
HBuilderX
Windows/Mac下载安装
配置环境
1.安装插件
点击Hbuilder顶部工具栏 -> [工具] -> 插件安装
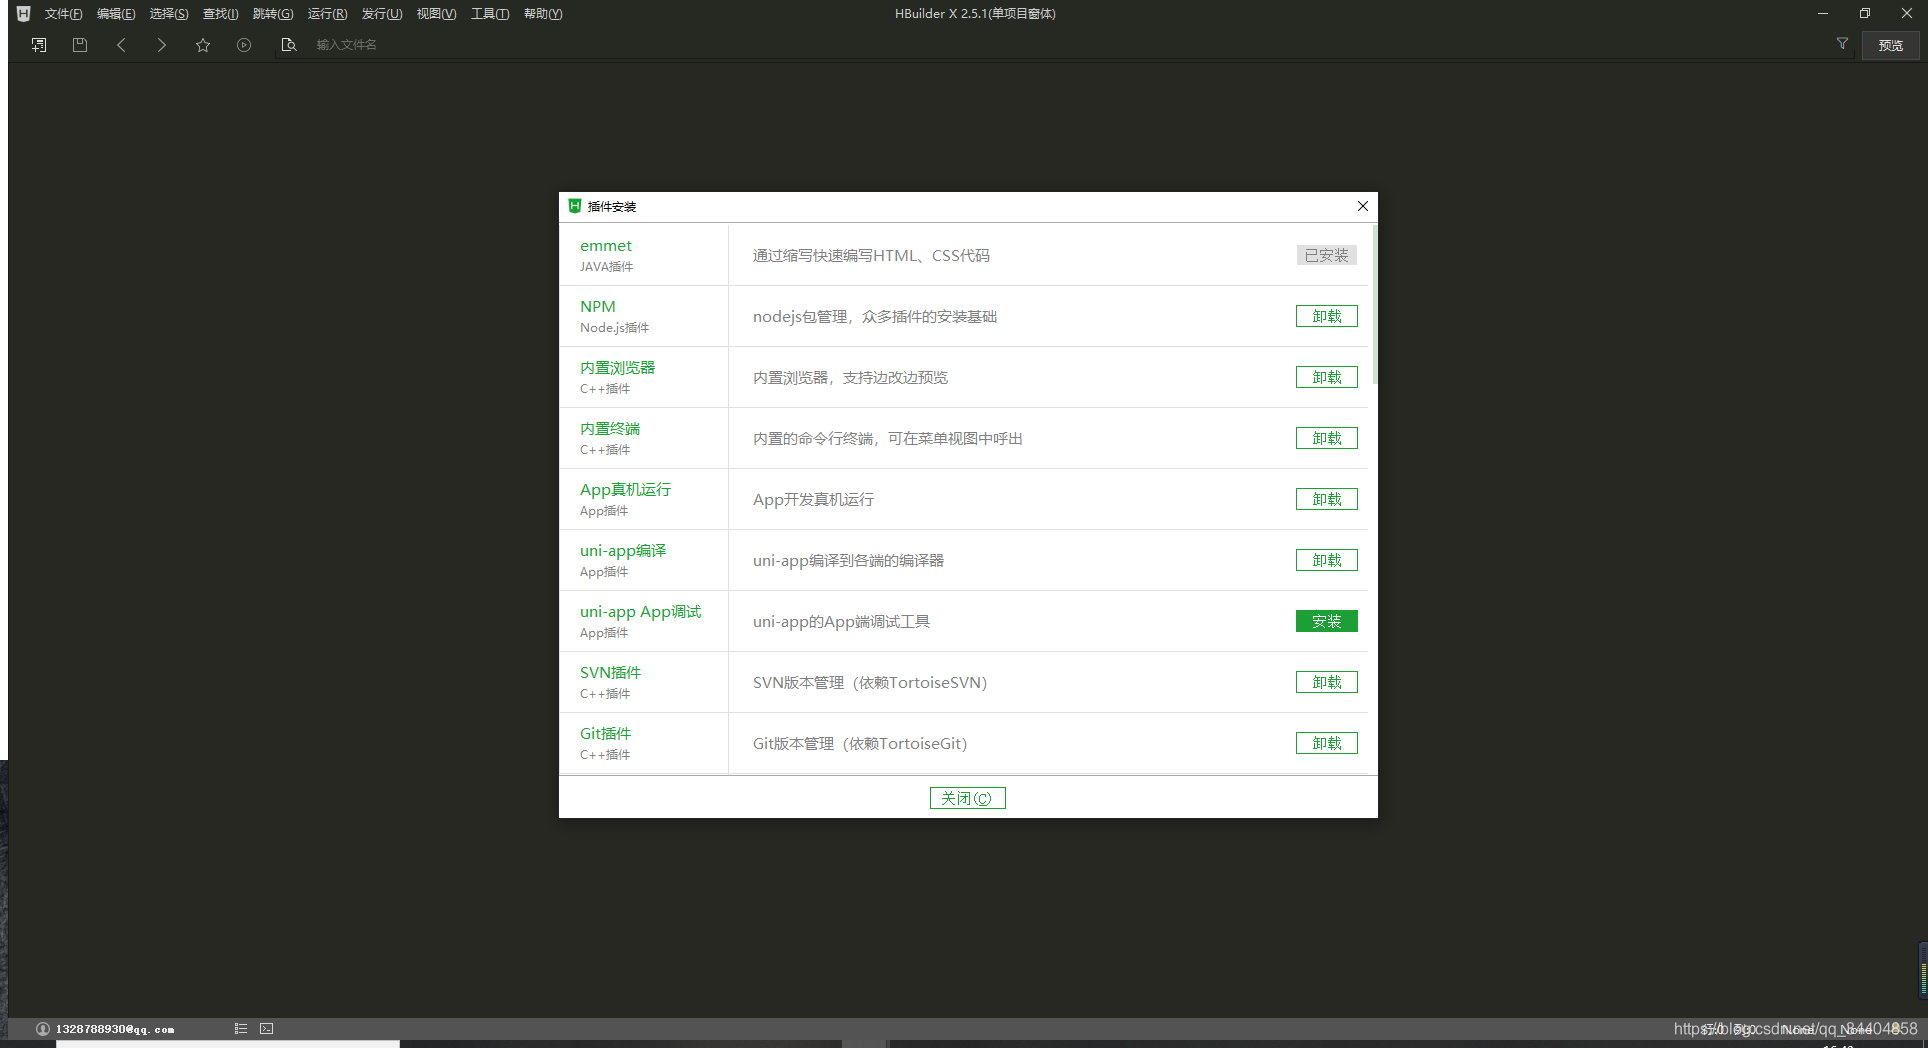
npm插件、uniapp编译,必需安装,语法校验按需安装。
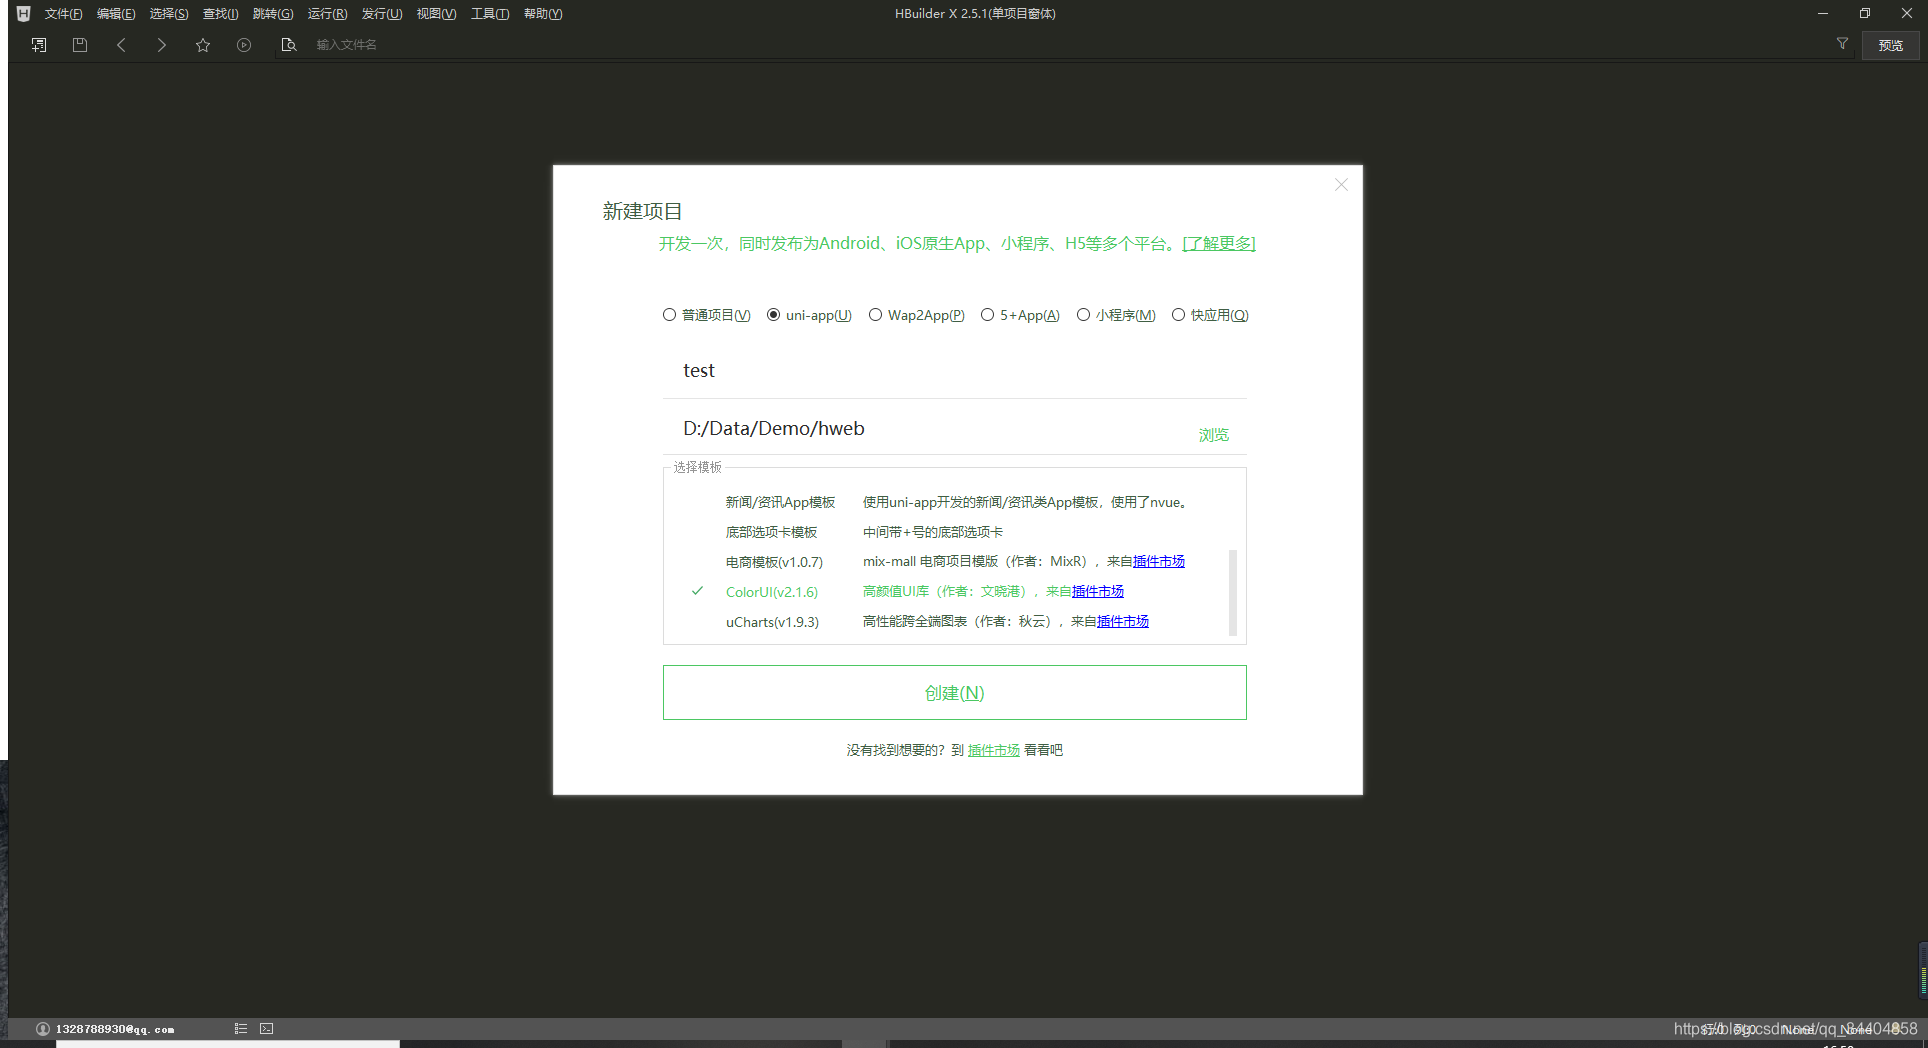
2.搭建项目
文件-> 新建 -> 项目,
选择uniapp项目, 根据需求选择模板(本教程使用colorUI模板)
3.试运行
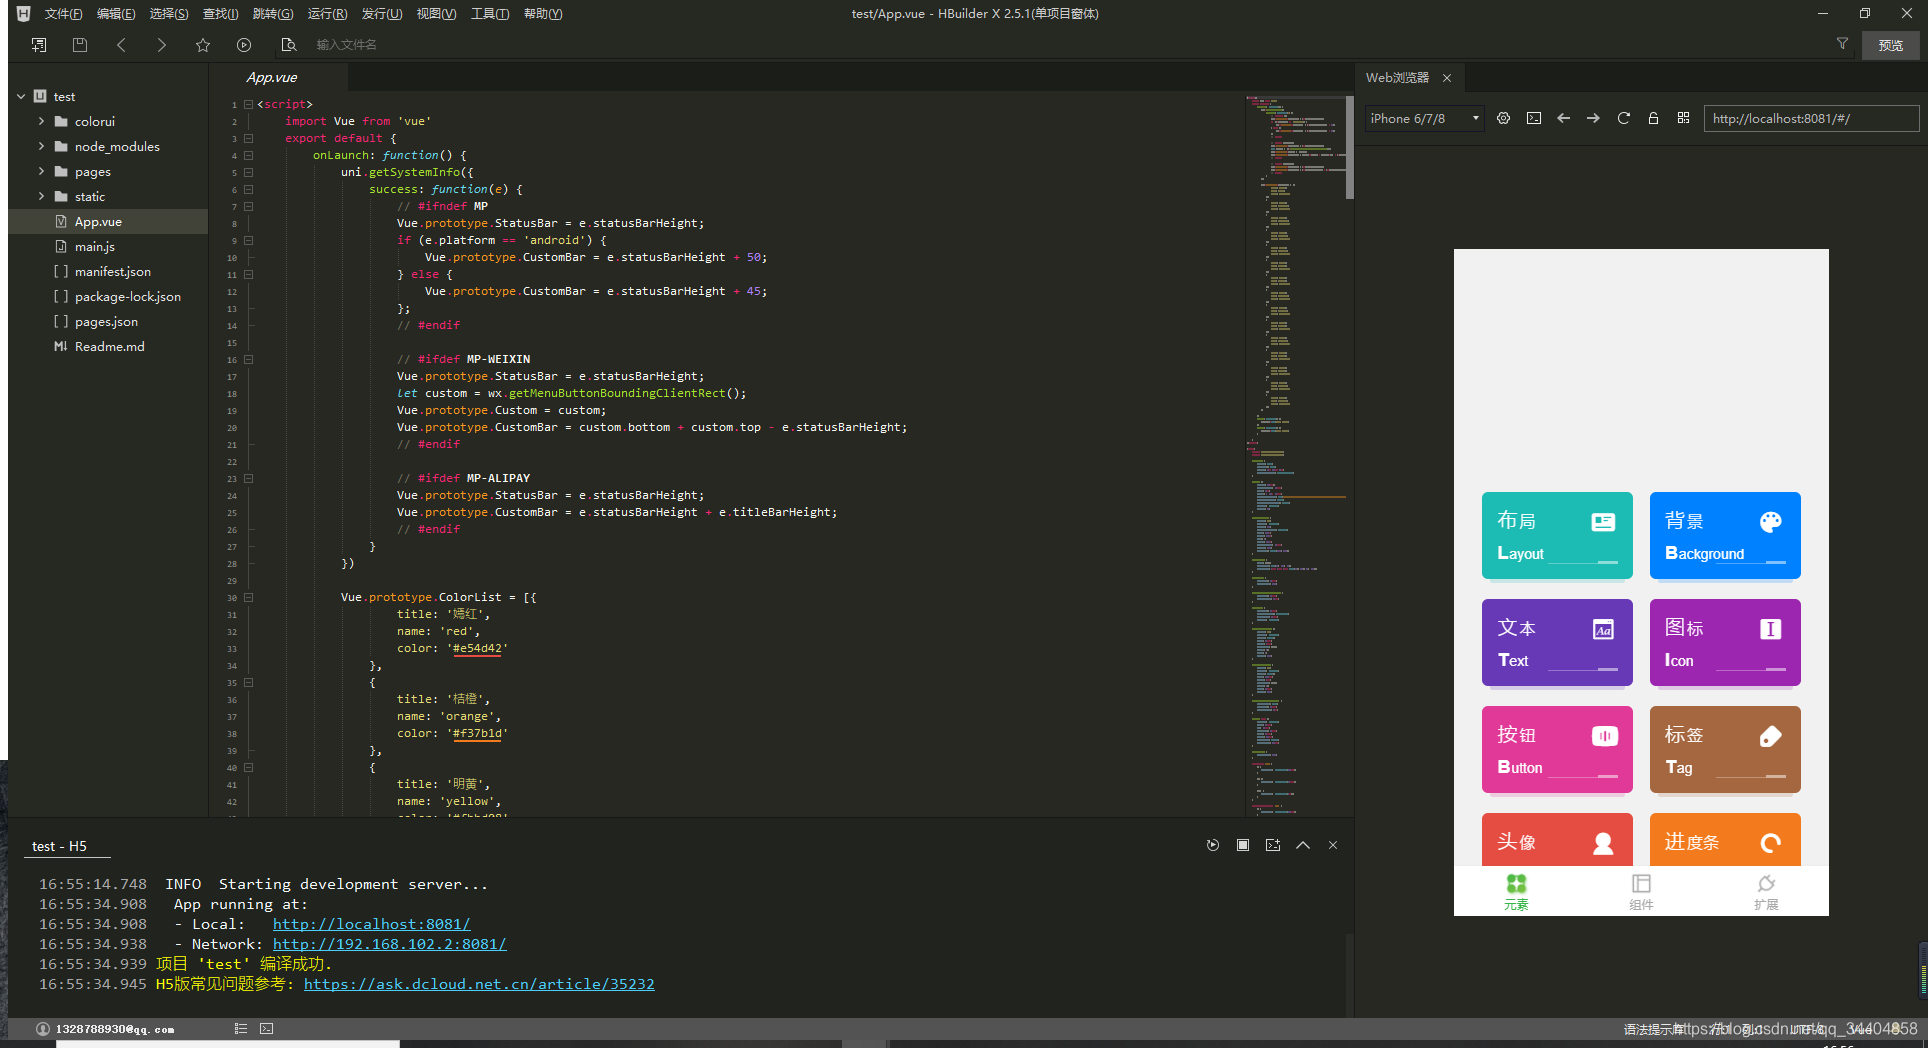
运行->运行到内置浏览器(需安装内置浏览器插件,参考1)
点击项目根目录下的App.vue(或任意项目内的文件) 会在右侧浏览器打开项目(如下方正在编译,要等一会~~)
4.自定义配置
打开main.js 按需使用vuex或其他全局组件。
举例:
Vue.prototype.$http = http
Vue.prototype.$get = (key) => {
	return uni.getStorageSync(key)
}
Vue.prototype.$set = (key, data) => {
	return uni.setStorageSync(key, data)
}
配置后在项目中可直接使用
this.$http.request()
this.$get()
this.$set()
等方法 省去每个组件都 import 的步骤, 或简化代码量。
也可使用 vuex 配置更灵活的编码方式
项目示例
1.前端(H5/小程序)
打开colorui模板中的 组件->聊天
做一个聊天室示例
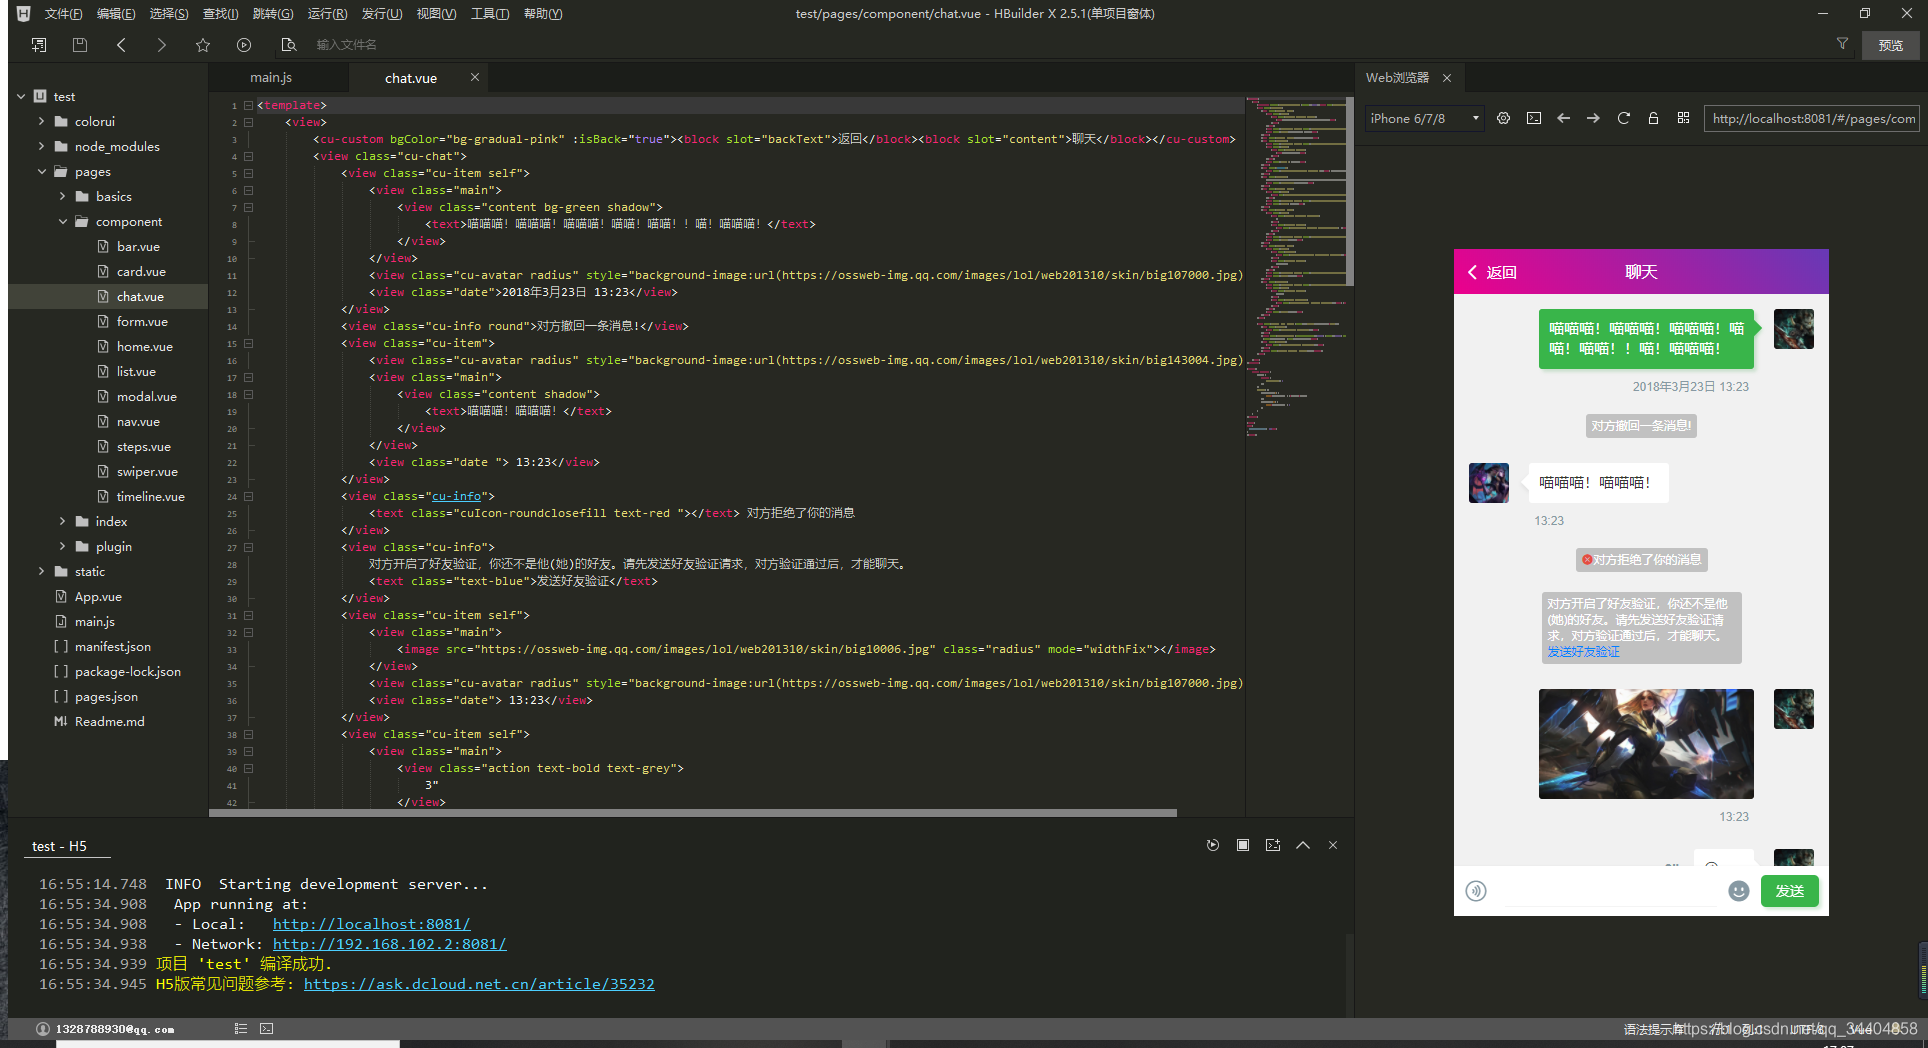
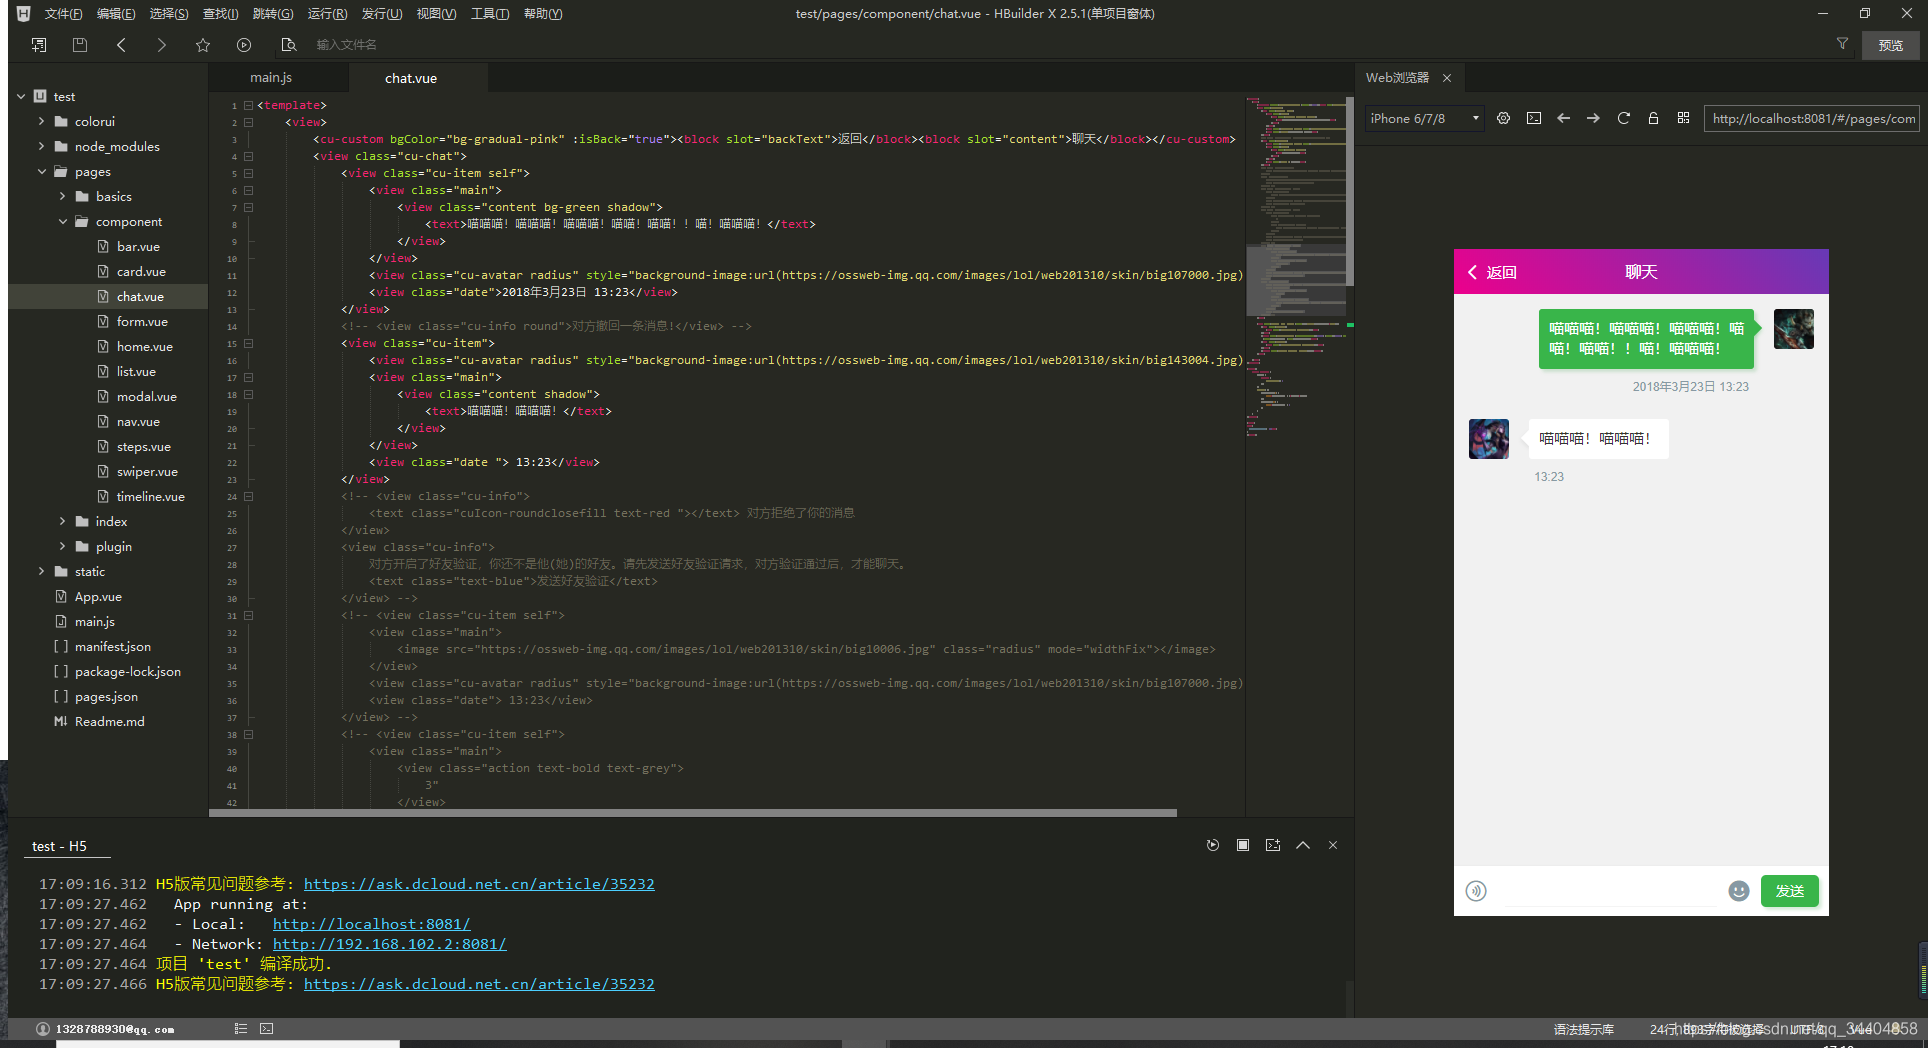
将无用代码注释掉 保留最简单的代码 如下
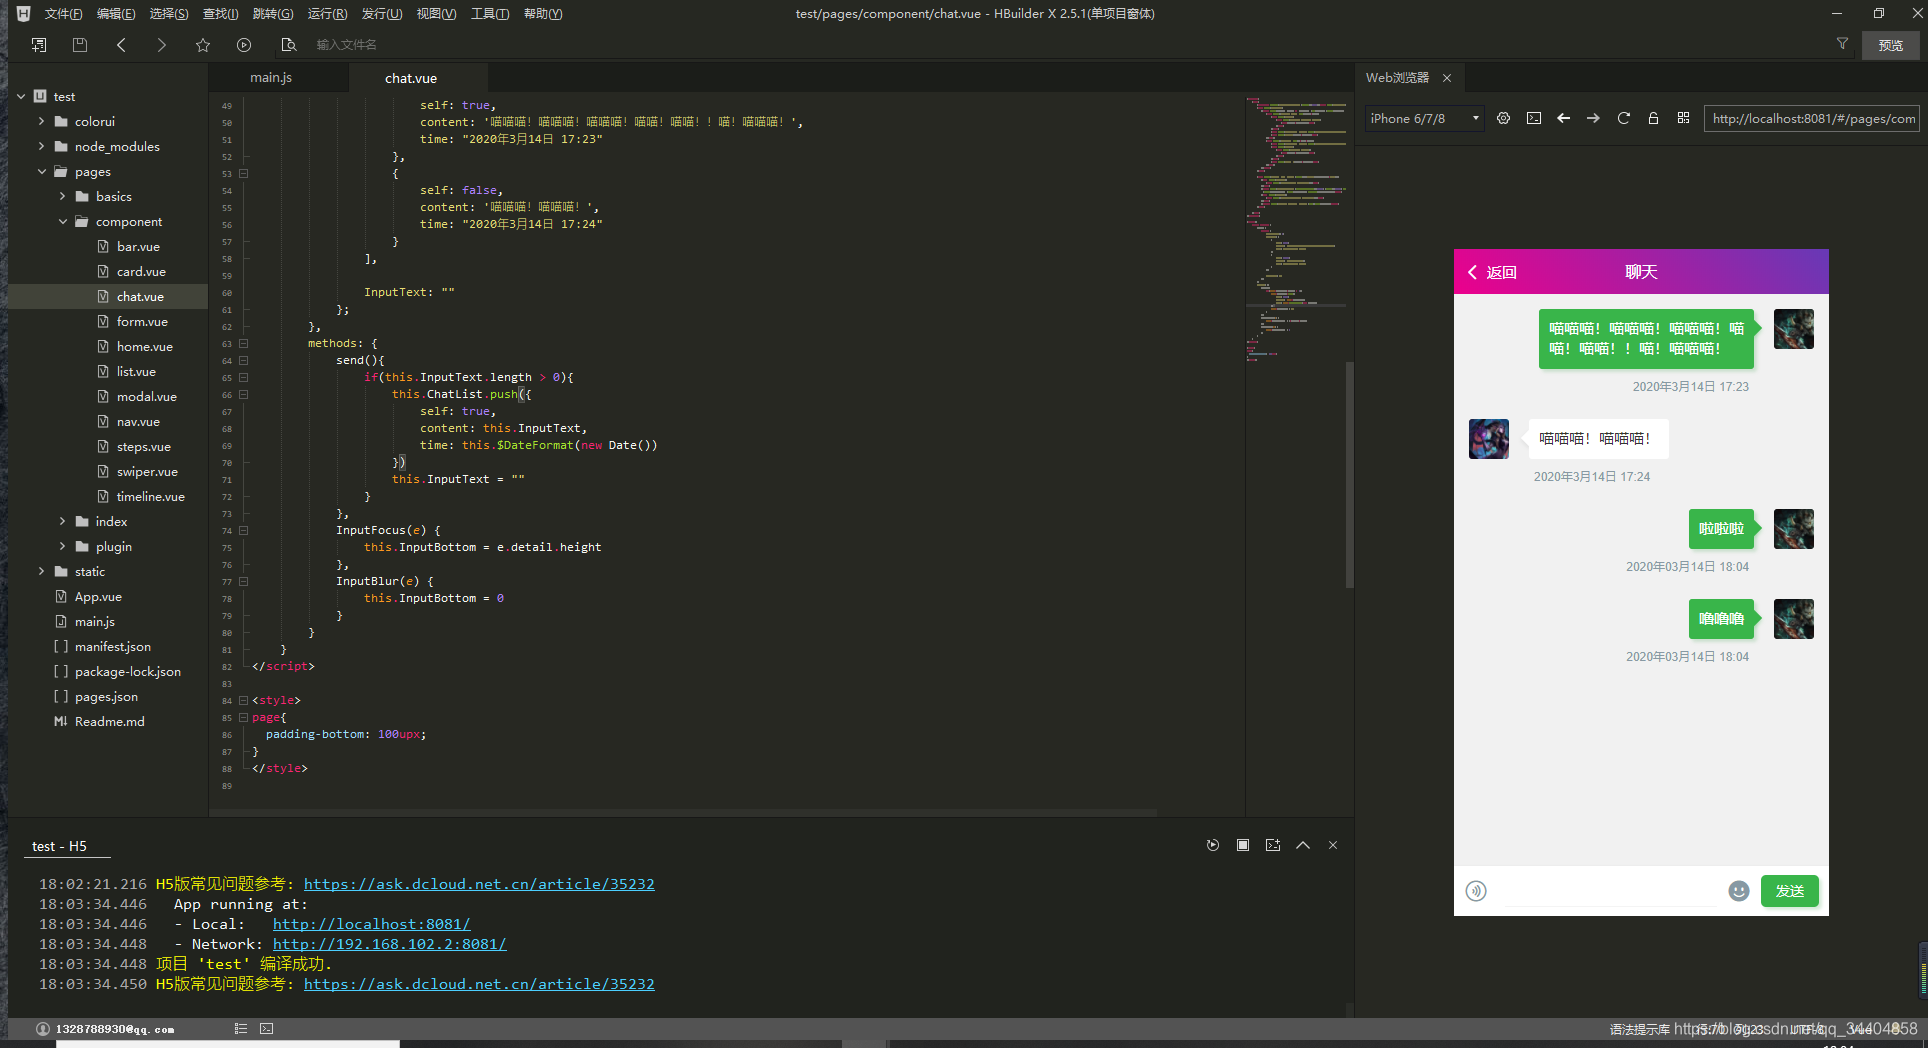
然后将聊天列表数据化,使用json数组 放置在vue的data中, 不熟悉Vue的童鞋可以先学习一下Vue。
data代码示例:
data() {
	return {
		InputBottom: 0,
		ChatList: [
			{
				self: true,
				content: '喵喵喵!喵喵喵!喵喵喵!喵喵!喵喵!!喵!喵喵喵!',
				time: "2020年3月14日 17:23"
			},
			{
				self: false,
				content: '喵喵喵!喵喵喵!',
				time: "2020年3月14日 17:24"
			}
		]
	};
}
创建聊天记录数据列表 与页面显示一一对应
页面使用循环动态赋值:
<view class="cu-chat">
	<block v-for="(item, index) in ChatList" :key="index" :index="index">
		<view class="cu-item self" v-if="item.self">
			<view class="main">
				<view class="content bg-green shadow">
					<text>{{item.content}}</text>
				</view>
			</view>
			<view class="cu-avatar radius" style="background-image:url(https://ossweb-img.qq.com/images/lol/web201310/skin/big107000.jpg);"></view>
			<view class="date">{{item.time}}</view>
		</view>
		<view class="cu-item" v-if="!item.self">
			<view class="cu-avatar radius" style="background-image:url(https://ossweb-img.qq.com/images/lol/web201310/skin/big143004.jpg);"></view>
			<view class="main">
				<view class="content shadow">
					<text>{{item.content}}</text>
				</view>
			</view>
			<view class="date ">{{item.time}}</view>
		</view>
	</block>
</view>
添加发送事件
methods: {
	send(){
		if(this.InputText.length > 0){
			this.ChatList.push({
				self: true,
				content: this.InputText,
				time: new Date()
			})
			this.InputText = ""
		}
	},
	InputFocus(e) {
		this.InputBottom = e.detail.height
	},
	InputBlur(e) {
		this.InputBottom = 0
	}
}
<view class="cu-bar foot input" :style="[{bottom:InputBottom+'px'}]">
	<view class="action">
		<text class="cuIcon-sound text-grey"></text>
	</view>
	<input class="solid-bottom" :adjust-position="false" :focus="false" maxlength="300" cursor-spacing="10"
	 @focus="InputFocus" @blur="InputBlur" v-model="InputText"></input>
	<view class="action">
		<text class="cuIcon-emojifill text-grey"></text>
	</view>
	<button class="cu-btn bg-green shadow" @tap="send()">发送</button>
</view>
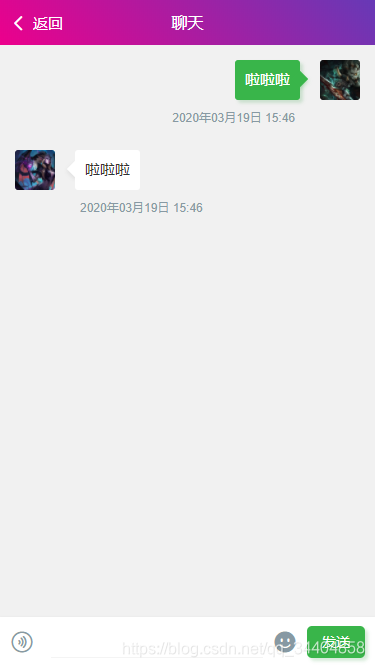
由于日期显示的不规范 需要实现一个DateFormat方法。
在main.js中加入
Vue.prototype.$DateFormat = (date)=>{
	if((typeof date) == "String")
		date = date.replace(/-/g,'/')
	let d = new Date(date);
	return d.getFullYear() + '年' +
	(d.getMonth() < 9? '0'+(d.getMonth() + 1):d.getMonth() + 1) + '月' +
	(d.getDate() <= 9? '0'+d.getDate():d.getDate()) + '日 ' +
	(d.getHours() <= 9? '0'+d.getHours():d.getHours()) + ':' +
	(d.getMinutes() <= 9? '0'+d.getMinutes():d.getMinutes())
}
最后实现效果:
附完整代码
<template>
	<view>
		<cu-custom bgColor="bg-gradual-pink" :isBack="true"><block slot="backText">返回</block><block slot="content">聊天</block></cu-custom>
		<view class="cu-chat">
			<block v-for="(item, index) in ChatList" :key="index" :index="index">
				<view class="cu-item self" v-if="item.self">
					<view class="main">
						<view class="content bg-green shadow">
							<text>{{item.content}}</text>
						</view>
					</view>
					<view class="cu-avatar radius" style="background-image:url(https://ossweb-img.qq.com/images/lol/web201310/skin/big107000.jpg);"></view>
					<view class="date">{{item.time}}</view>
				</view>
				<view class="cu-item" v-if="!item.self">
					<view class="cu-avatar radius" style="background-image:url(https://ossweb-img.qq.com/images/lol/web201310/skin/big143004.jpg);"></view>
					<view class="main">
						<view class="content shadow">
							<text>{{item.content}}</text>
						</view>
					</view>
					<view class="date ">{{item.time}}</view>
				</view>
			</block>
		</view>

		<view class="cu-bar foot input" :style="[{bottom:InputBottom+'px'}]">
			<view class="action">
				<text class="cuIcon-sound text-grey"></text>
			</view>
			<input class="solid-bottom" :adjust-position="false" :focus="false" maxlength="300" cursor-spacing="10"
			 @focus="InputFocus" @blur="InputBlur" v-model="InputText"></input>
			<view class="action">
				<text class="cuIcon-emojifill text-grey"></text>
			</view>
			<button class="cu-btn bg-green shadow" @tap="send()">发送</button>
		</view>

	</view>
</template>

<script>
	export default {
		data() {
			return {
				InputBottom: 0,
				ChatList: [
					{
						self: true,
						content: '喵喵喵!喵喵喵!喵喵喵!喵喵!喵喵!!喵!喵喵喵!',
						time: "2020年3月14日 17:23"
					},
					{
						self: false,
						content: '喵喵喵!喵喵喵!',
						time: "2020年3月14日 17:24"
					}
				],

				InputText: ""
			};
		},
		methods: {
			send(){
				if(this.InputText.length > 0){
					this.ChatList.push({
						self: true,
						content: this.InputText,
						time: this.$DateFormat(new Date())
					})
					this.InputText = ""
				}
			},
			InputFocus(e) {
				this.InputBottom = e.detail.height
			},
			InputBlur(e) {
				this.InputBottom = 0
			}
		}
	}
</script>

<style>
page{
  padding-bottom: 100upx;
}
</style>
2.后端服务部分
新建nodejs项目 使用 uwebsockets
直接上代码
let UWS = require('uWebSockets.js');
UWS.App().ws('/*', {
  message: (ws, message, isBinary) => {
    let ok = ws.send(message, isBinary);
  }
}).any('/*', (res, req) => {
  res.end('Nothing to see here!');
}).listen(9001, (listenSocket) => {
  if (listenSocket) {
    console.log('Listening to port 9001');
  }
});
3.前端监听部分
		data() {
			return {
				InputBottom: 0,
				ChatList: [],

				InputText: "",
				ws: undefined
			};
		},
		mounted() {
			this.ws = new WebSocket("ws://127.0.0.1:9001/")
			this.ws.onopen = () =>{/** 处理打开逻辑 */}
			this.ws.onerror = () =>{/** 处理异常逻辑 */}
			this.ws.onclose = () =>{/** 处理关闭逻辑 */}
			this.ws.onmessage = (event) =>{
				/** 处理监听消息逻辑 */

				this.ChatList.push({
					self: false,
					content: event.data,
					time: this.$DateFormat(new Date())
				})
			}
		},
		methods: {
			send(){
				if(this.InputText.length > 0){
					this.ChatList.push({
						self: true,
						content: this.InputText,
						time: this.$DateFormat(new Date())
					})
					this.ws.send(this.InputText);
					this.InputText = ""
				}
			}
		}
4.最终实现效果
输入任何内容, 服务端都返回相同的内容。
如果想实现更复杂的聊天室 需要更多的编码 本章不多描述 🤞🤞🤞


 4890
4890

 被折叠的 条评论
为什么被折叠?
被折叠的 条评论
为什么被折叠?
 到【灌水乐园】发言


