Pangu_UI (4) 盘古popwindow基类-PanguBasePop
(4) 盘古UI,较为全面的自定义UI框架,帮助你绝对的快速开发!(长期维护中)
盘古popwindow基类-PanguBasePop
无论你想要什么样的popwindow,都可以继承PanguBasepop来实现,基类里面封装了大部分你需要的功能,让使用者更方便,让开发者更便捷!
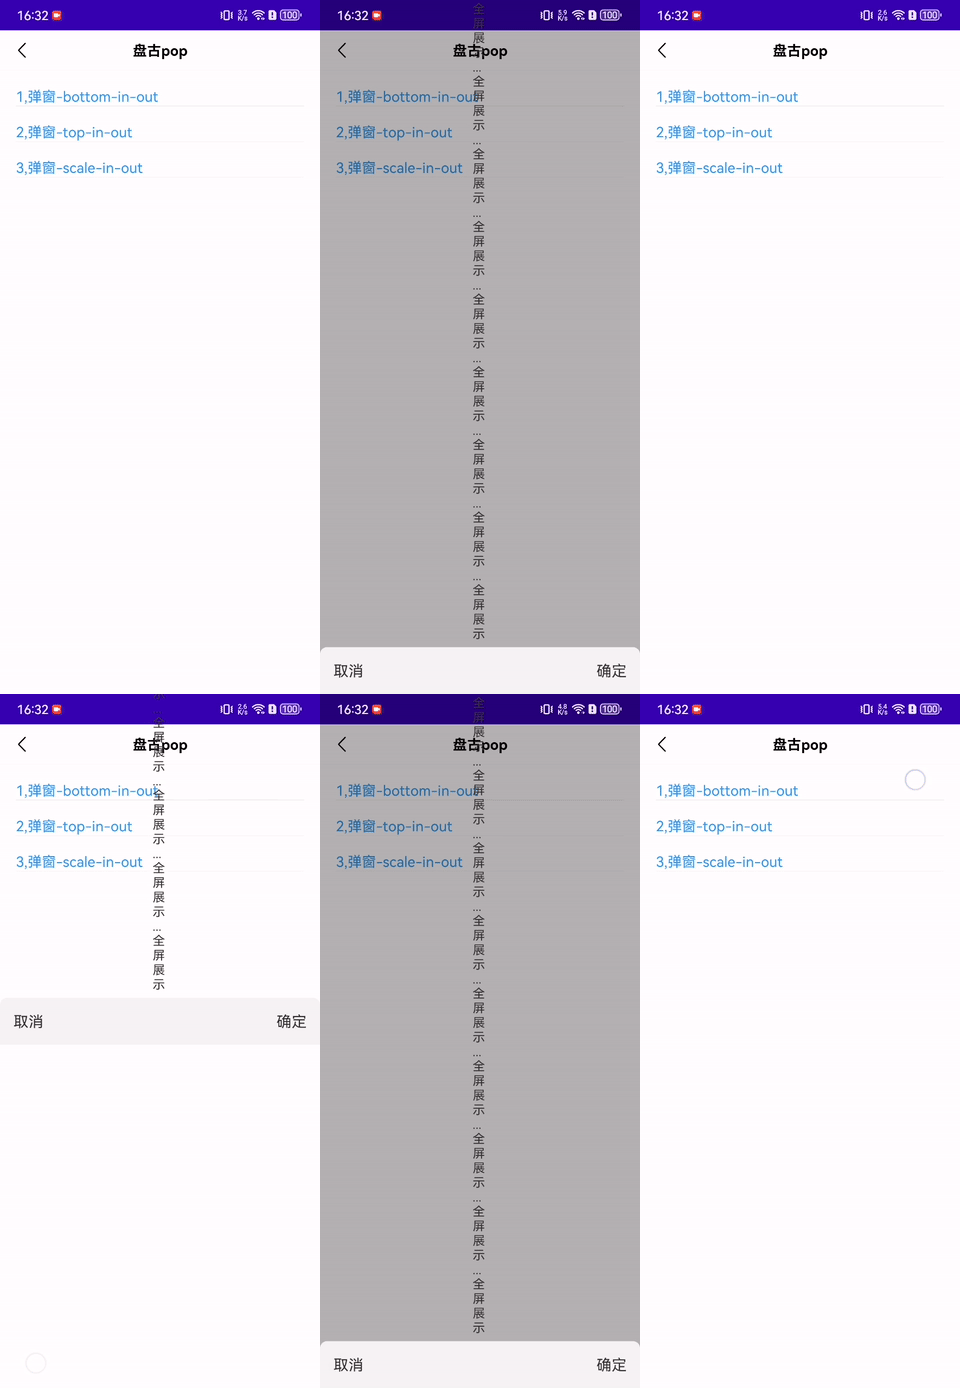
1, 样例展示图

2, 介绍
无论你想要什么样的popwindow,都可以继承PanguBasepop来实现,基类里面封装了大部分你需要的功能,让使用者更方便,让开发者更便捷!
base类方法介绍列表:
| 方法 method | 介绍 introduction |
|---|---|
| PanguBasePop(Context context) | 构造方法:初始化一些需要的内容 |
| void dismiss() | 消失弹窗 |
| setFullScreen(boolean fullScreen) | 是否展示全屏-状态栏 |
| setOnBackPressListener(OnBackPressListener onBackPressListener) | 返回键监听 |
| int getContentViewId() | 布局,需要重新 |
| initData(View layout, Context context) | 初始化方法,需要重新 |
| enum AnimaType | 动画类型枚举, TOP_IN_OUT, BOTTOM_IN_OUT, SCALE_IN_OUT可以自行添加和定义 |
| setAnimaType(AnimaType styleType) | 设置动画类型,styleType {@link AnimaType} |
| showAtCenter() | 展示弹窗,常用 |
| showAsDropDown(View anchor) | 下拉式 弹出 pop菜单 parent 右下角 |
| showToast(String msg) | 吐司 |
3, 使用示例
1,创建pop类继承panguBasepop
  public class PopFullScreenPangu extends PanguBasePop {
  }
2,重写两个抽象方法
    @Override
    protected int getContentViewId() {
        return R.layout.pop_full_screen;
    }

    @Override
    public void initData(View layout, Context context) {

    }
3,调用
   PopFullScreenPangu popFullScreen = new PopFullScreenPangu(this);
   //设置一些属性
   popFullScreen.setAnimaType(PanguBasePop.AnimaType.SCALE_IN_OUT);
   popFullScreen.setOnDismissListener(new PopupWindow.OnDismissListener() {
            @Override
            public void onDismiss() {
                showToast("dismis");
            }
        });
        //弹出
   popFullScreen.showAtCenter();
4, 代码简析和封装心得
1,首先继承PopupWindow
public abstract class PanguBasePop extends PopupWindow {
}
2,构造方法初始化配置,很关键
  public PanguBasePop(Context context) {
        this.mContext = context;
        LayoutInflater mLayoutInflater = (LayoutInflater) context.getSystemService(LAYOUT_INFLATER_SERVICE);
        View view = mLayoutInflater.inflate(getContentViewId(), null);

        setContentView(view);
        setWidth(LinearLayout.LayoutParams.MATCH_PARENT);
        setHeight(LinearLayout.LayoutParams.MATCH_PARENT);

        setWindowAlpha(0.7F);
        setFullScreen(true);

        initData(view, context);
    }
3,布局页面不确定,所以使用抽象方法
protected abstract int getContentViewId();
4,弹窗的方法封装
   /**
     * 展示弹窗,常用
     */
    public void showAtCenter() {
        setBackgroundDrawable(new BitmapDrawable());
        // 使其聚集
        setFocusable(true);
        setOutsideTouchable(true);
        setTouchable(true); // 设置PopupWindow可触摸

        showAtLocation(((Activity) mContext).getWindow().getDecorView(), Gravity.CENTER, 0, 0);
        update();
    }
5,一些特殊的配置,动画,全屏,背景透明度等
 /**
     * 设置动画样式
     *
     * @param styleType {@link AnimaType}
     */
    public void setAnimaType(AnimaType styleType) {

        if (styleType == AnimaType.TOP_IN_OUT) {

            setAnimationStyle(R.style.PopAnim_top_in_out);
        }
        if (styleType == AnimaType.BOTTOM_IN_OUT) {
            setAnimationStyle(R.style.PopAnim_bottom_in_out);
        }
//        if (styleType == AnimaType.LEFT_IN_OUT) {
//
//        }
//        if (styleType == AnimaType.RIGHT_IN_OUT) {
//
//        }
        if (styleType == AnimaType.SCALE_IN_OUT) {
            setAnimationStyle(R.style.PopAnim_scale_in_out);
        }
    }
 /**
     * 是否展示全屏-状态栏
     *
     * @param fullScreen
     */
    public void setFullScreen(boolean fullScreen) {
        setClippingEnabled(!fullScreen);
    }
 /**
     * 设置弹窗背景为透明灰色
     *
     * @param alpha 1,透明 0不透明
     */
    private void setWindowAlpha(float alpha) {
        Context context = getContext();
        if (context instanceof Activity) {
            Activity activity = (Activity) context;

            // 设置背景颜色变暗
            WindowManager.LayoutParams lp = activity.getWindow().getAttributes();
            lp.alpha = alpha;
            activity.getWindow().setAttributes(lp);
        }
    }
到此封装完成,路子很简单,按照正常流程去封装,需要什么写什么,缺什么补什么就完结了!
欢迎来一起探讨封装之路!
5, 获取地址
demo地址,点击查看github
欢迎您扫码安装体验demo


 本文介绍了Pangu_UI中的PanguBasePop弹窗基类,它提供了全屏、动画和自定义功能,通过继承并重写关键方法,开发者可以快速实现各种类型的弹窗。文章包含示例代码和封装心得。


 3684
3684

 被折叠的 条评论
为什么被折叠?


