


灰度算法(效果图)

具体代码
// 将图像转换为灰度图,并保留Alpha通道
const convertToGrayscale = (imageData) => {
  const data = imageData.data
  for (let i = 0; i < data.length; i += 4) {
    const r = data[i]
    const g = data[i + 1]
    const b = data[i + 2]
    const a = data[i + 3] // 保留Alpha通道

    // 计算灰度值
    const gray = 0.299 * r + 0.587 * g + 0.114 * b

    // 将RGB通道设置为灰度值,Alpha通道保持不变
    data[i] = data[i + 1] = data[i + 2] = gray
    data[i + 3] = a // 保持Alpha通道值
  }
  return imageData
}
双线性插值(效果图)
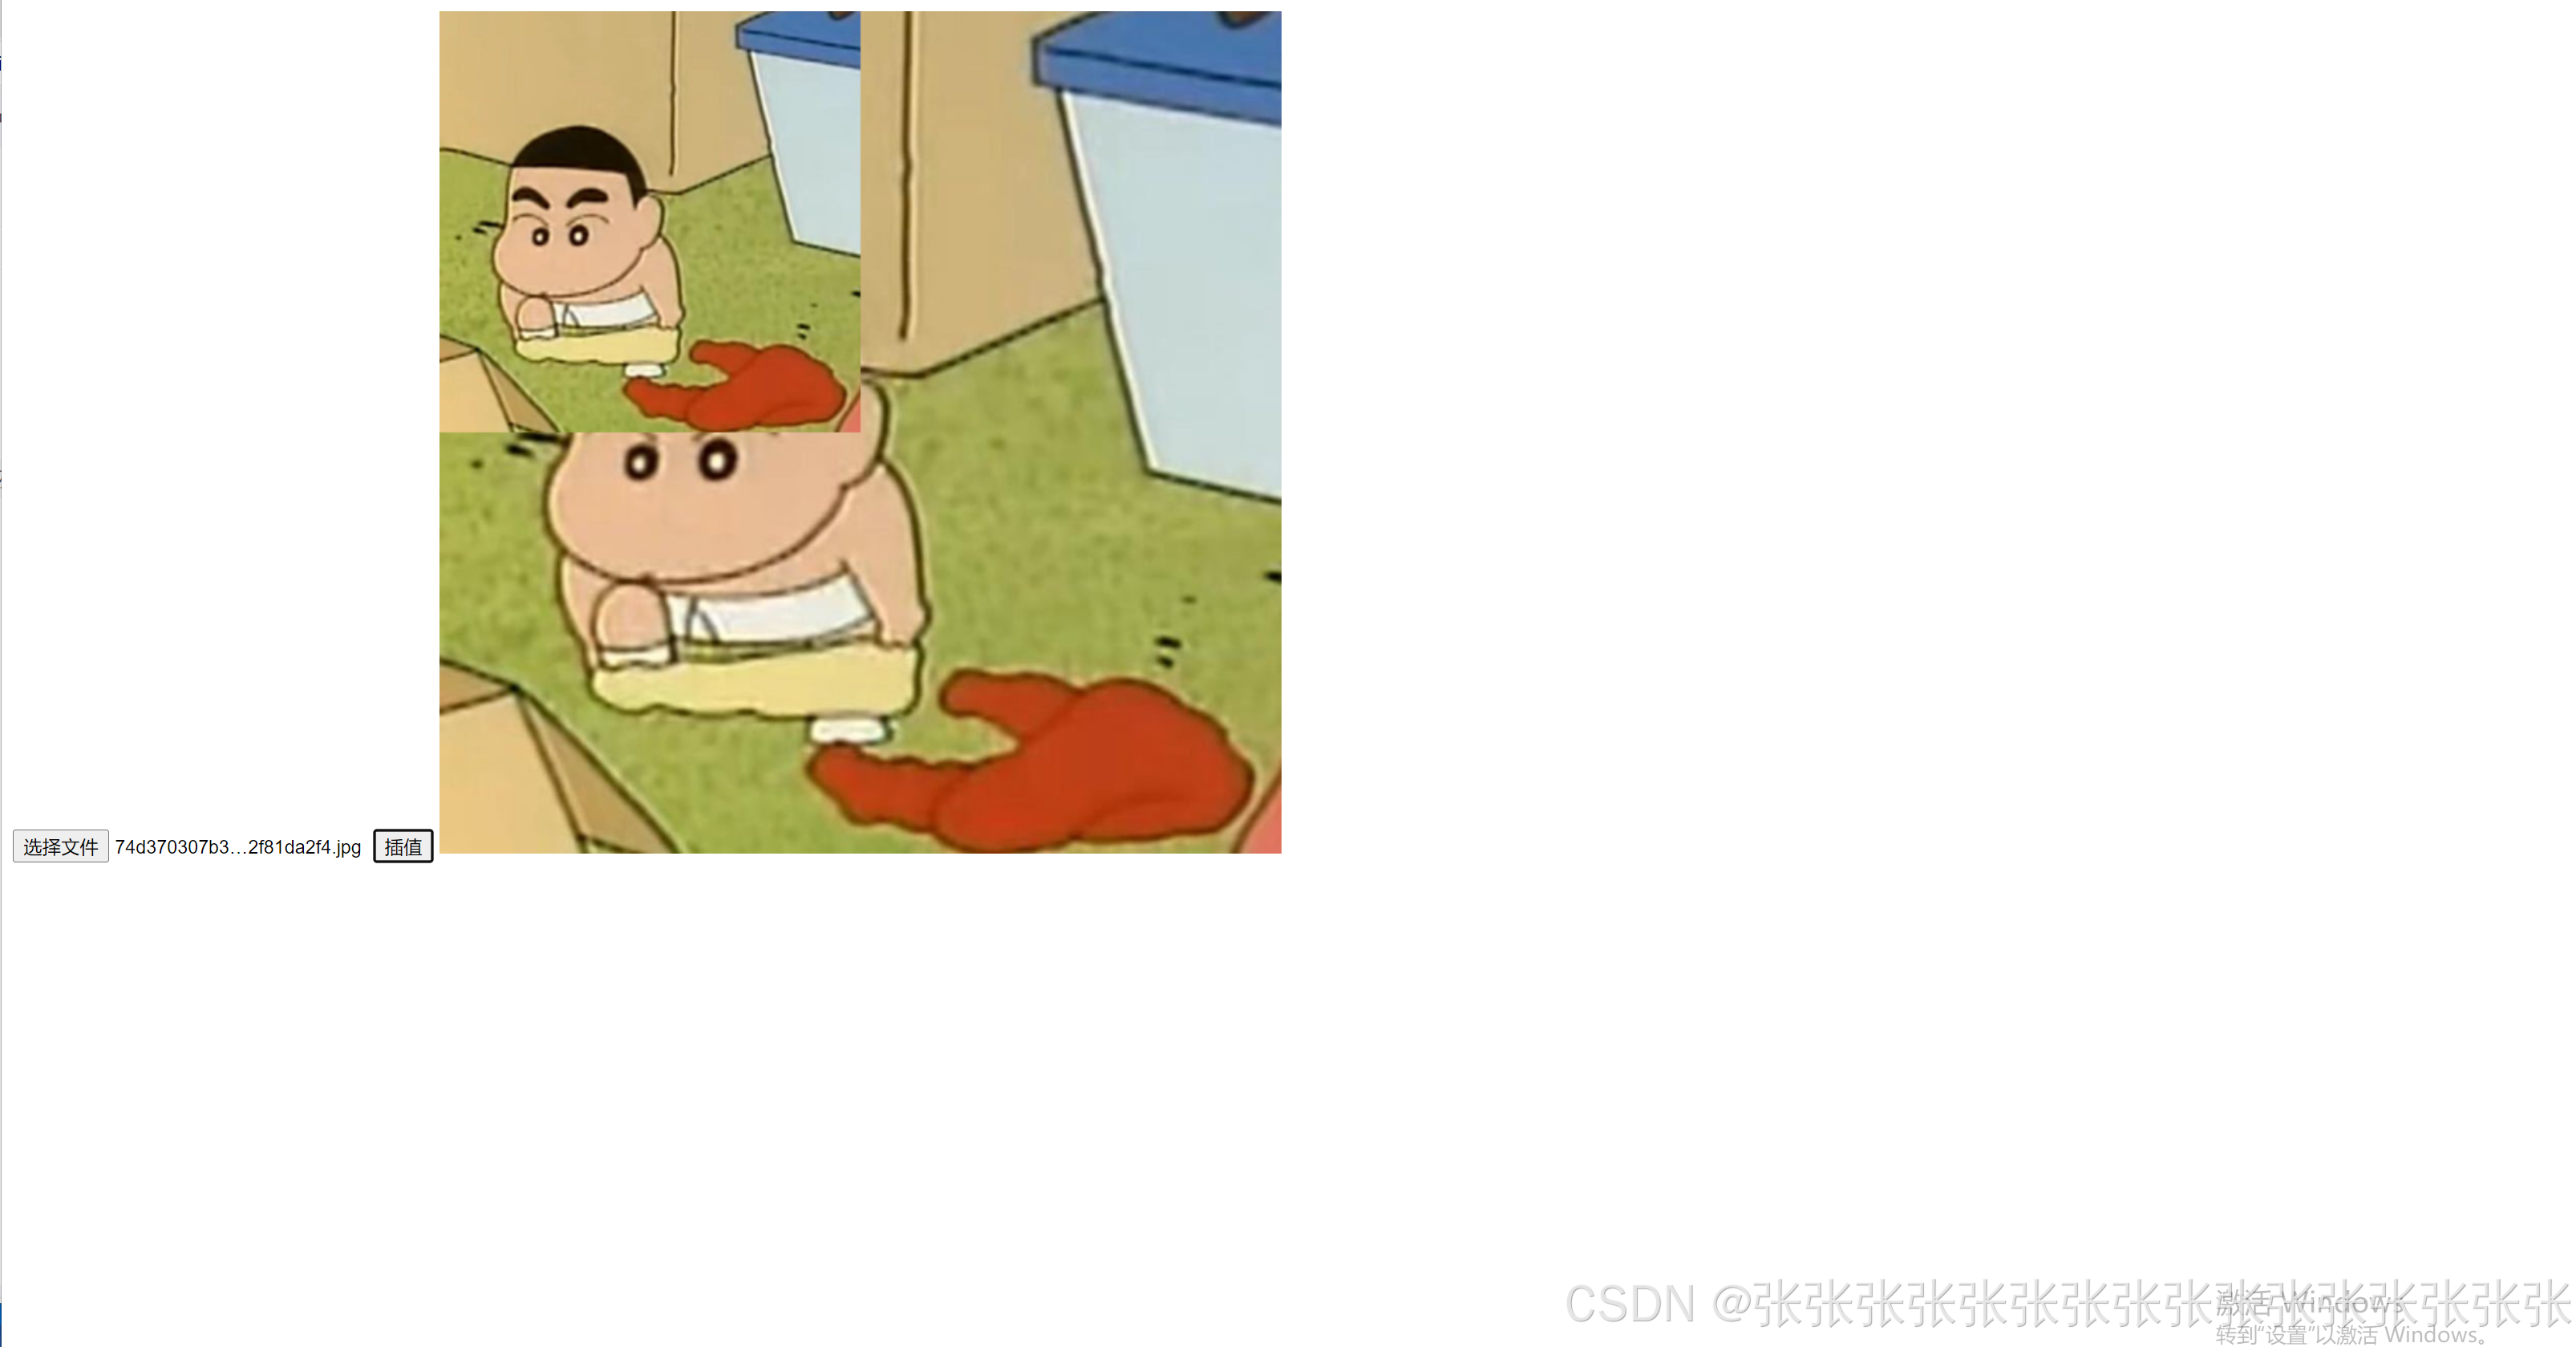
<!-- 插值 -->
<!DOCTYPE html>
<html lang="en">
  <head>
    <meta charset="UTF-8" />
    <meta name="viewport" content="width=device-width, initial-scale=1.0" />
    <title>图片工具</title>
  </head>
  <body>
    <input type="file" id="imageInput" accept="image/*" />

    <button id="enlargeButton">插值</button>
    <canvas id="canvas"></canvas>
    <!-- <img id="outputImage" /> -->

    <script>
      function bilinearInterpolation(
        imageData,
        originalWidth,
        originalHeight,
        newWidth,
        newHeight
      ) {
        const newImageData = new ImageData(newWidth, newHeight);
        const originalPixels = imageData.data; // 原始图像像素数据
        const newPixels = newImageData.data; // 新图像像素数据

        // 遍历每一个新图像的像素
        for (let i = 0; i < newHeight; i++) {
          for (let j = 0; j < newWidth; j++) {
            // 计算新像素在原图像中的浮动位置 映射关系 坐标是从0开始的
            const x = (j * (originalWidth - 1)) / (newWidth - 1);
            const y = (i * (originalHeight - 1)) / (newHeight - 1);

            // 获取四个邻近像素的坐标
            const x1 = Math.floor(x);
            const y1 = Math.floor(y);
            const x2 = Math.min(x1 + 1, originalWidth - 1);
            const y2 = Math.min(y1 + 1, originalHeight - 1);

            // 获取四个邻近像素的颜色值(RGBA)
            const Q11 = getPixel(originalPixels, x1, y1, originalWidth);
            const Q12 = getPixel(originalPixels, x1, y2, originalWidth);
            const Q21 = getPixel(originalPixels, x2, y1, originalWidth);
            const Q22 = getPixel(originalPixels, x2, y2, originalWidth);

            // 在 x 方向进行线性插值
            const R1 = interpolate(Q11, Q21, x, x1);
            const R2 = interpolate(Q12, Q22, x, x1);

            // 在 y 方向进行线性插值
            const P = interpolate(R1, R2, y, y1);

            // 将插值结果放入新图像 这里是引用类型 会修改自身
            setPixel(newPixels, j, i, newWidth, P);
          }
        }

        return newImageData;
      }

      // 获取像素 (R, G, B, A)
      function getPixel(pixels, x, y, width) {
        const index = (y * width + x) * 4;
        return {
          r: pixels[index],
          g: pixels[index + 1],
          b: pixels[index + 2],
          a: pixels[index + 3],
        };
      }

      // 进行线性插值
      function interpolate(P1, P2, t, t1) {
        const factor = (t - t1) / (t1 + 1 - t1);
        return {
          r: P1.r + (P2.r - P1.r) * factor,
          g: P1.g + (P2.g - P1.g) * factor,
          b: P1.b + (P2.b - P1.b) * factor,
          a: P1.a + (P2.a - P1.a) * factor,
        };
      }

      // 设置新图像像素
      function setPixel(pixels, x, y, width, color) {
        const index = (y * width + x) * 4;
        pixels[index] = color.r;
        pixels[index + 1] = color.g;
        pixels[index + 2] = color.b;
        pixels[index + 3] = color.a;
      }

      function nearestNeighborInterpolation(
        imageData,
        width,
        height,
        scaleX,
        scaleY,
        ctx
      ) {
        const newWidth = Math.round(width * scaleX);
        const newHeight = Math.round(height * scaleY);
        console.log(ctx);
        const newImageData = ctx.createImageData(newWidth, newHeight);
        const data = imageData.data;
        const newData = newImageData.data;

        for (let y = 0; y < newHeight; y++) {
          for (let x = 0; x < newWidth; x++) {
            const srcX = Math.floor(x / scaleX);
            const srcY = Math.floor(y / scaleY);
            const srcIndex = (srcY * width + srcX) * 4;
            const destIndex = (y * newWidth + x) * 4;
            newData[destIndex] = data[srcIndex];
            newData[destIndex + 1] = data[srcIndex + 1];
            newData[destIndex + 2] = data[srcIndex + 2];
            newData[destIndex + 3] = data[srcIndex + 3];
          }
        }

        return newImageData;
      }

      document
        .getElementById("enlargeButton")
        .addEventListener("click", function () {
          const file = document.getElementById("imageInput").files[0];
          const reader = new FileReader();
          reader.onload = function (e) {
            const img = new Image();
            img.onload = function () {
              const canvas = document.getElementById("canvas");
              const ctx = canvas.getContext("2d");
              canvas.width = 600;
              canvas.height = 600;
              ctx.drawImage(img, 0, 0, 600, 600);

              const imageData = ctx.getImageData(0, 0, 600, 600);

              console.log(imageData);
              const newImageData = bilinearInterpolation(
                imageData,
                600,
                600,
                300,
                300
              );
              ctx.putImageData(newImageData, 0, 0);
              console.log(newImageData);
            };
            img.src = e.target.result;
          };
          reader.readAsDataURL(file);
        });
    </script>
  </body>
</html>
结论:对比两个imageData插值是有效的


 310
310

 被折叠的 条评论
为什么被折叠?
被折叠的 条评论
为什么被折叠?
 到【灌水乐园】发言


