


 本文详细介绍了在华为云服务器上使用Docker镜像部署Nacos2.2.3版本的过程,包括环境配置、安装步骤、安全组设置、数据库连接和权限配置,以及Docker运行命令和后续验证方法。
环境配置
| 服务器 | 云耀云服务器L |
| 操作系统 | CentOS 7.9 64bit | 公共镜像 |
| JDK | 64 bit JDK 1.8+ |
| Maven | Maven 3.2.x+ |
| nacos-server | 2.2.3 |
下载地址
| 官方github | Release 2.2.3 (May 25th, 2023) · alibaba/nacos · GitHub |
| 百度网盘 | 链接:https://pan.baidu.com/s/1K8UE6iJL2ZnosUY83bUd0w 提取码:6038 |
安装流程
使用SSH工具将包上传到服务器

解压nacos-server-2.2.3.tar.gz
tar -zxvf nacos-server-2.2.3.tar.gz

目录结构
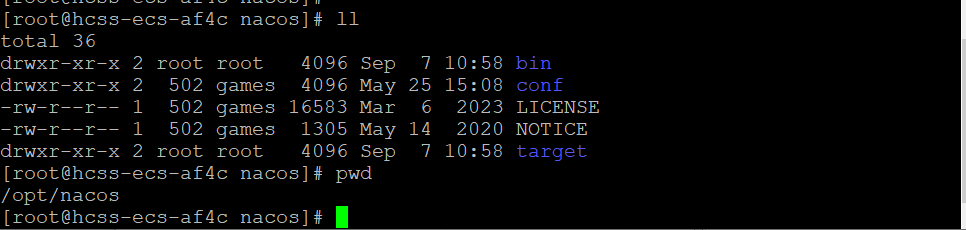
实例演示
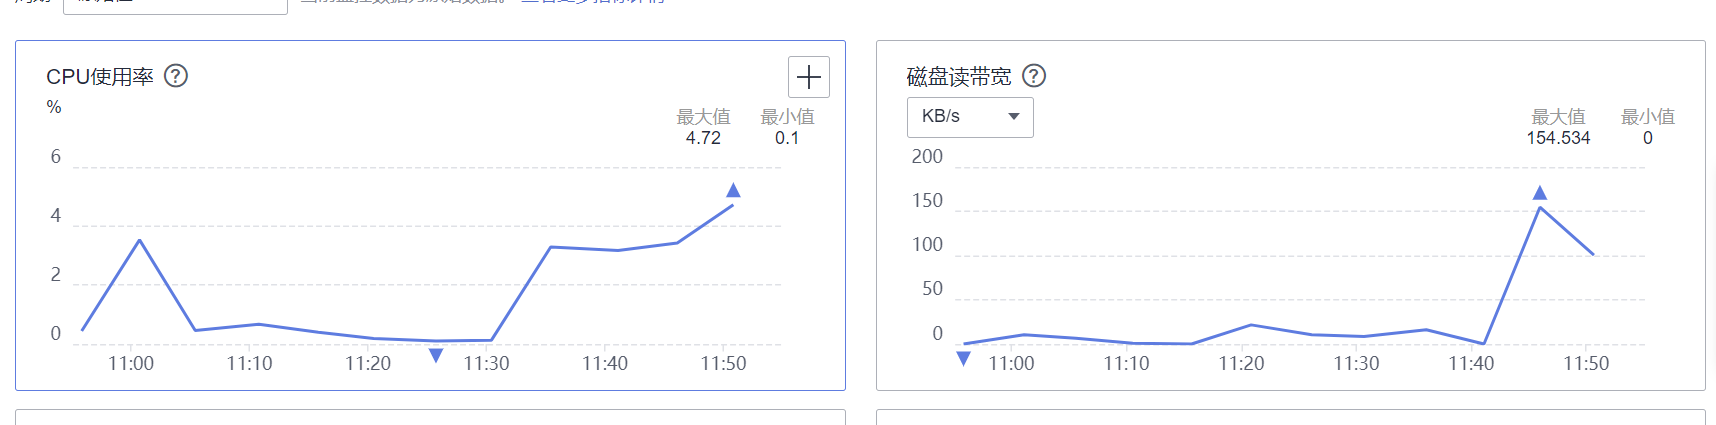
安装前后性能参数
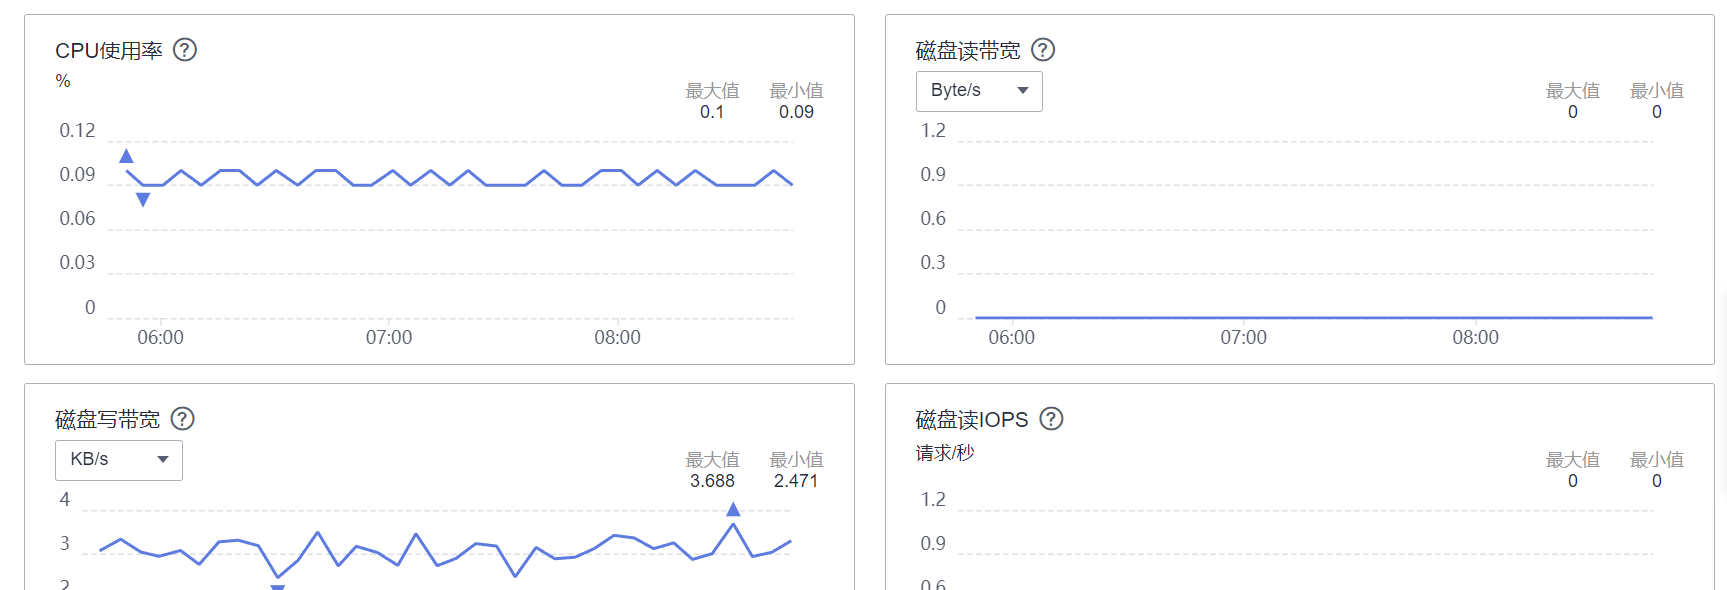
修改配置前
# 启动命令
sh startup.sh -m standalone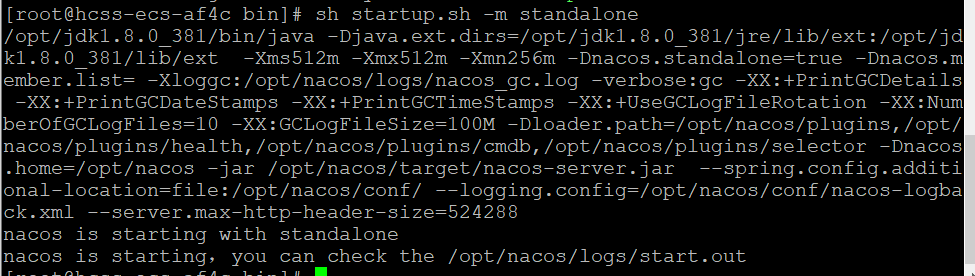
启动日志
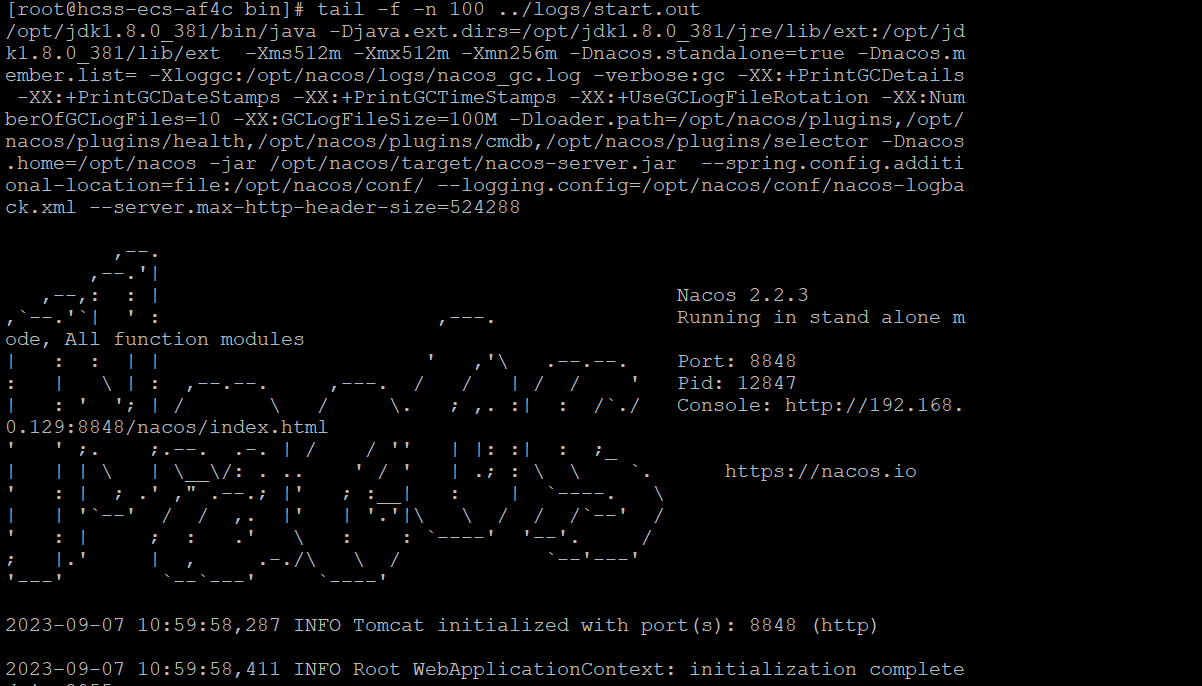
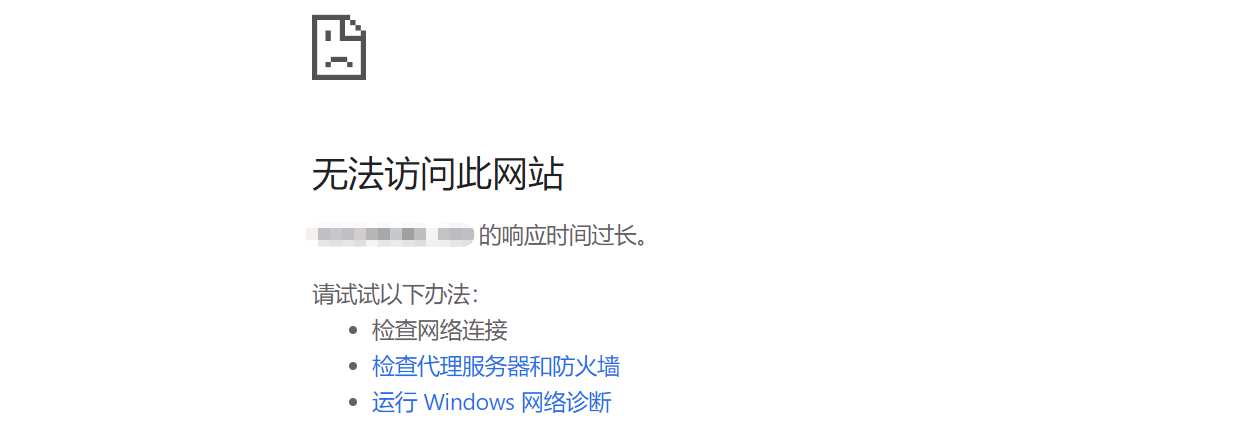
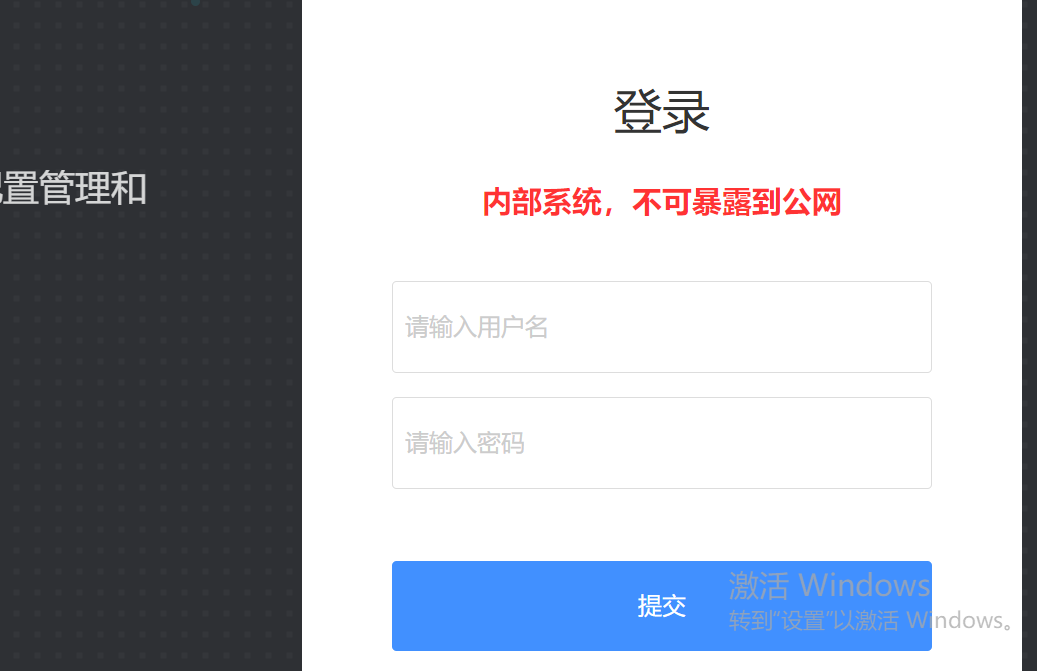
使用IP:8848浏览器访问
关闭服务
sh shutdown.sh
修改配置参数
# spring
server.servlet.contextPath=${SERVER_SERVLET_CONTEXTPATH:/nacos}
server.contextPath=/nacos
server.port=${NACOS_APPLICATION_PORT:8848}
spring.datasource.platform=mysql
nacos.cmdb.dumpTaskInterval=3600
nacos.cmdb.eventTaskInterval=10
nacos.cmdb.labelTaskInterval=300
nacos.cmdb.loadDataAtStart=false
db.num=1
db.url=jdbc:mysql://自己的ip:自己的port/nacos?characterEncoding=utf8&connectTimeout=1000&socketTimeout=3000&autoReconnect=true&allowPublicKeyRetrieval=true&serverTimezone=GMT%2B8
#db.url.1=jdbc:mysql://${MYSQL_SERVICE_HOST}:${MYSQL_SERVICE_PORT:3306}/${MYSQL_SERVICE_DB_NAME}?${MYSQL_SERVICE_DB_PARAM:characterEncoding=utf8&connectTimeout=1000&socketTimeout=3000&autoReconnect=true&useSSL=false}
db.user=*****
db.password=******
### The auth system to use, currently only 'nacos' is supported
nacos.core.auth.system.type=nacos

nacos.core.auth.enabled=true


### The token expiration in seconds:
nacos.core.auth.plugin.nacos.token.expire.seconds=${NACOS_AUTH_TOKEN_EXPIRE_SECONDS:18000}

### The default token:
nacos.core.auth.plugin.nacos.token.secret.key=${NACOS_AUTH_TOKEN:SecretKey012345678901234567890123456789012345678901234567890123456789}

### Turn on/off caching of auth information. By turning on this switch, the update of auth information would have a 15 seconds delay.
nacos.core.auth.caching.enabled=${NACOS_AUTH_CACHE_ENABLE:false}
nacos.core.auth.enable.userAgentAuthWhite=${NACOS_AUTH_USER_AGENT_AUTH_WHITE_ENABLE:false}
nacos.core.auth.server.identity.key=${NACOS_AUTH_IDENTITY_KEY:serverIdentity}
nacos.core.auth.server.identity.value=${NACOS_AUTH_IDENTITY_VALUE:security}
server.tomcat.accesslog.enabled=${TOMCAT_ACCESSLOG_ENABLED:false}
server.tomcat.accesslog.pattern=%h %l %u %t "%r" %s %b %D
# default current work dir
server.tomcat.basedir=""
## spring security config
### turn off security
nacos.security.ignore.urls=${NACOS_SECURITY_IGNORE_URLS:/,/error,/**/*.css,/**/*.js,/**/*.html,/**/*.map,/**/*.svg,/**/*.png,/**/*.ico,/console-fe/public/**,/v1/auth/**,/v1/console/health/**,/actuator/**,/v1/console/server/**}
# metrics for elastic search
management.metrics.export.elastic.enabled=false
management.metrics.export.influx.enabled=false

nacos.naming.distro.taskDispatchThreadCount=10
nacos.naming.distro.taskDispatchPeriod=200
nacos.naming.distro.batchSyncKeyCount=1000
nacos.naming.distro.initDataRatio=0.9
nacos.naming.distro.syncRetryDelay=5000
nacos.naming.data.warmup=true
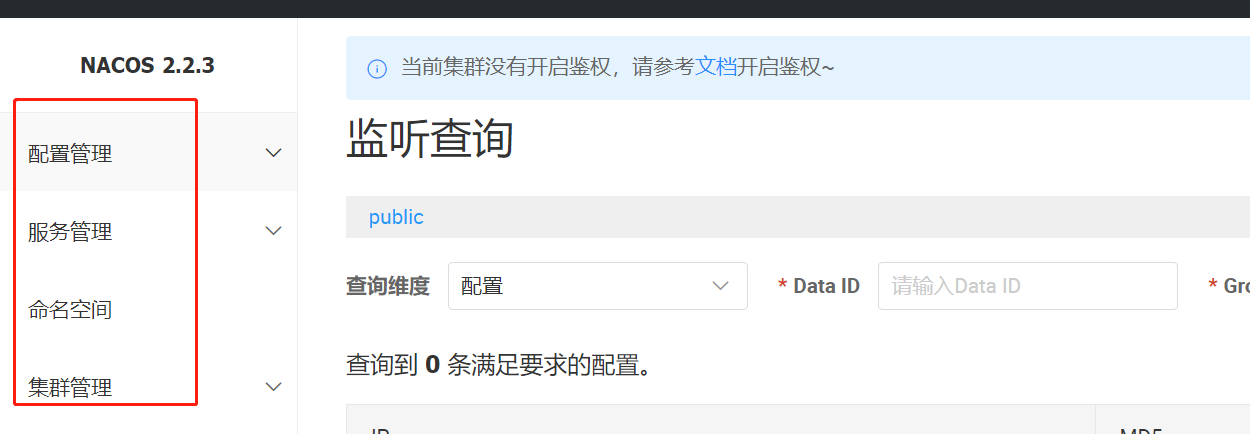
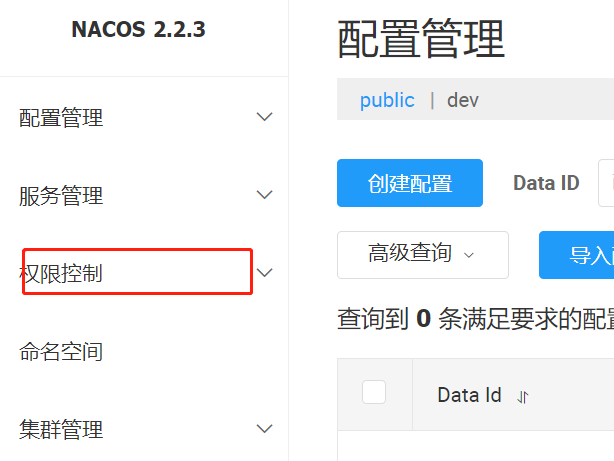
启用权限

配置自己的数据库

启动后,默认用户名密码(nacos/nacos)
配置权限后会多出一个权限菜单
Docker 部署Nacos
查询镜像
docker search nacos 拉取镜像
拉取镜像
docker pull nacos/nacos-server启动
docker  run \
	--name nacos -d \
	-p 8848:8848 \
	--privileged=true \
	--restart=always \
	-e JVM_XMS=256m \
	-e JVM_XMX=256m \
	-e MODE=standalone \
	-e PREFER_HOST_MODE=hostname \
	-v /data/logs/:/home/nacos/logs/ \
	-v /data/data/:/home/nacos/data/ \
	-v /data/nacos.properties:/home/nacos/conf/application.properties \
	nacos/nacos-server
成功验证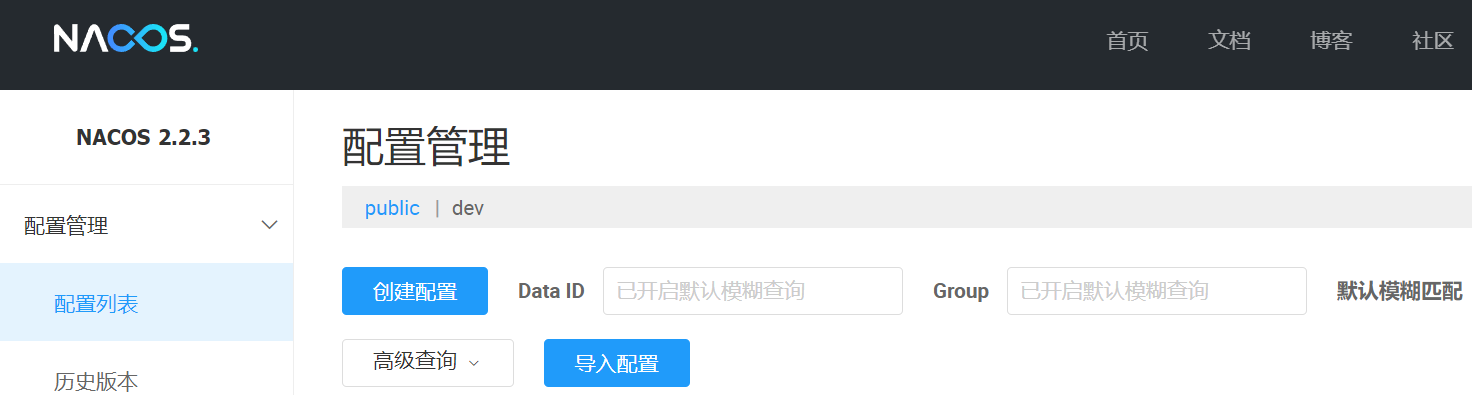
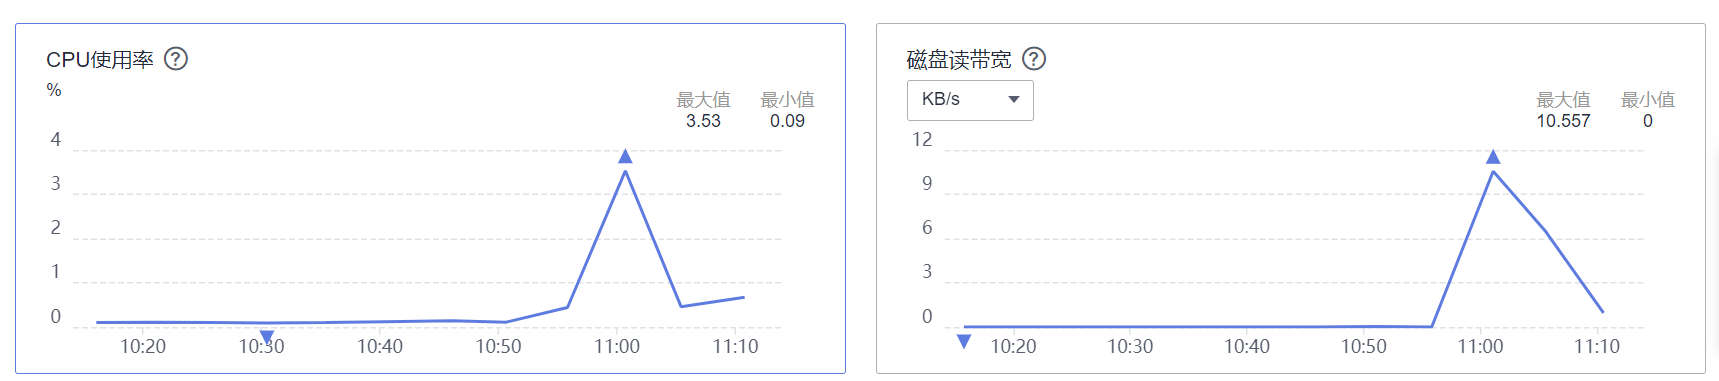
指标变化
🌹 以上分享 华为云服务器Docker镜像部署Nacos的全过程,请指教🤝。
🌹🌹 如你对技术也感兴趣,欢迎交流。
🌹🌹🌹 如有需要,请👍点赞💖收藏🐱🏍分享 


 1139
1139

 被折叠的 条评论
为什么被折叠?
被折叠的 条评论
为什么被折叠?
 到【灌水乐园】发言


