


SpringBoot集成Swagger
1.添加pom依赖
  <dependency>
      <groupId>io.springfox</groupId>
      <artifactId>springfox-swagger2</artifactId>
      <version>2.9.2</version>
  </dependency>
  <!-- swagger-ui -->
    <dependency>
       <groupId>io.springfox</groupId>
       <artifactId>springfox-swagger-ui</artifactId>
       <version>2.9.2</version>
    </dependency>
2.编写配置类
@Configuration
@EnableSwagger2
public class swaggerConfig {
@Bean
public Docket createRestApi() {
return new Docket(DocumentationType.SWAGGER_2)
.apiInfo(apiInfo())
.select()
//为当前包路径
.apis(RequestHandlerSelectors.any())
.paths(PathSelectors.any())
.build();
// return new Docket(DocumentationType.SWAGGER_2).select().apis(RequestHandlerSelectors.withMethodAnnotation(ApiOperation.class)).build();
}
//构建 api文档的详细信息函数,注意这里的注解引用的是哪个
private ApiInfo apiInfo() {
return new ApiInfoBuilder()
//页面标题
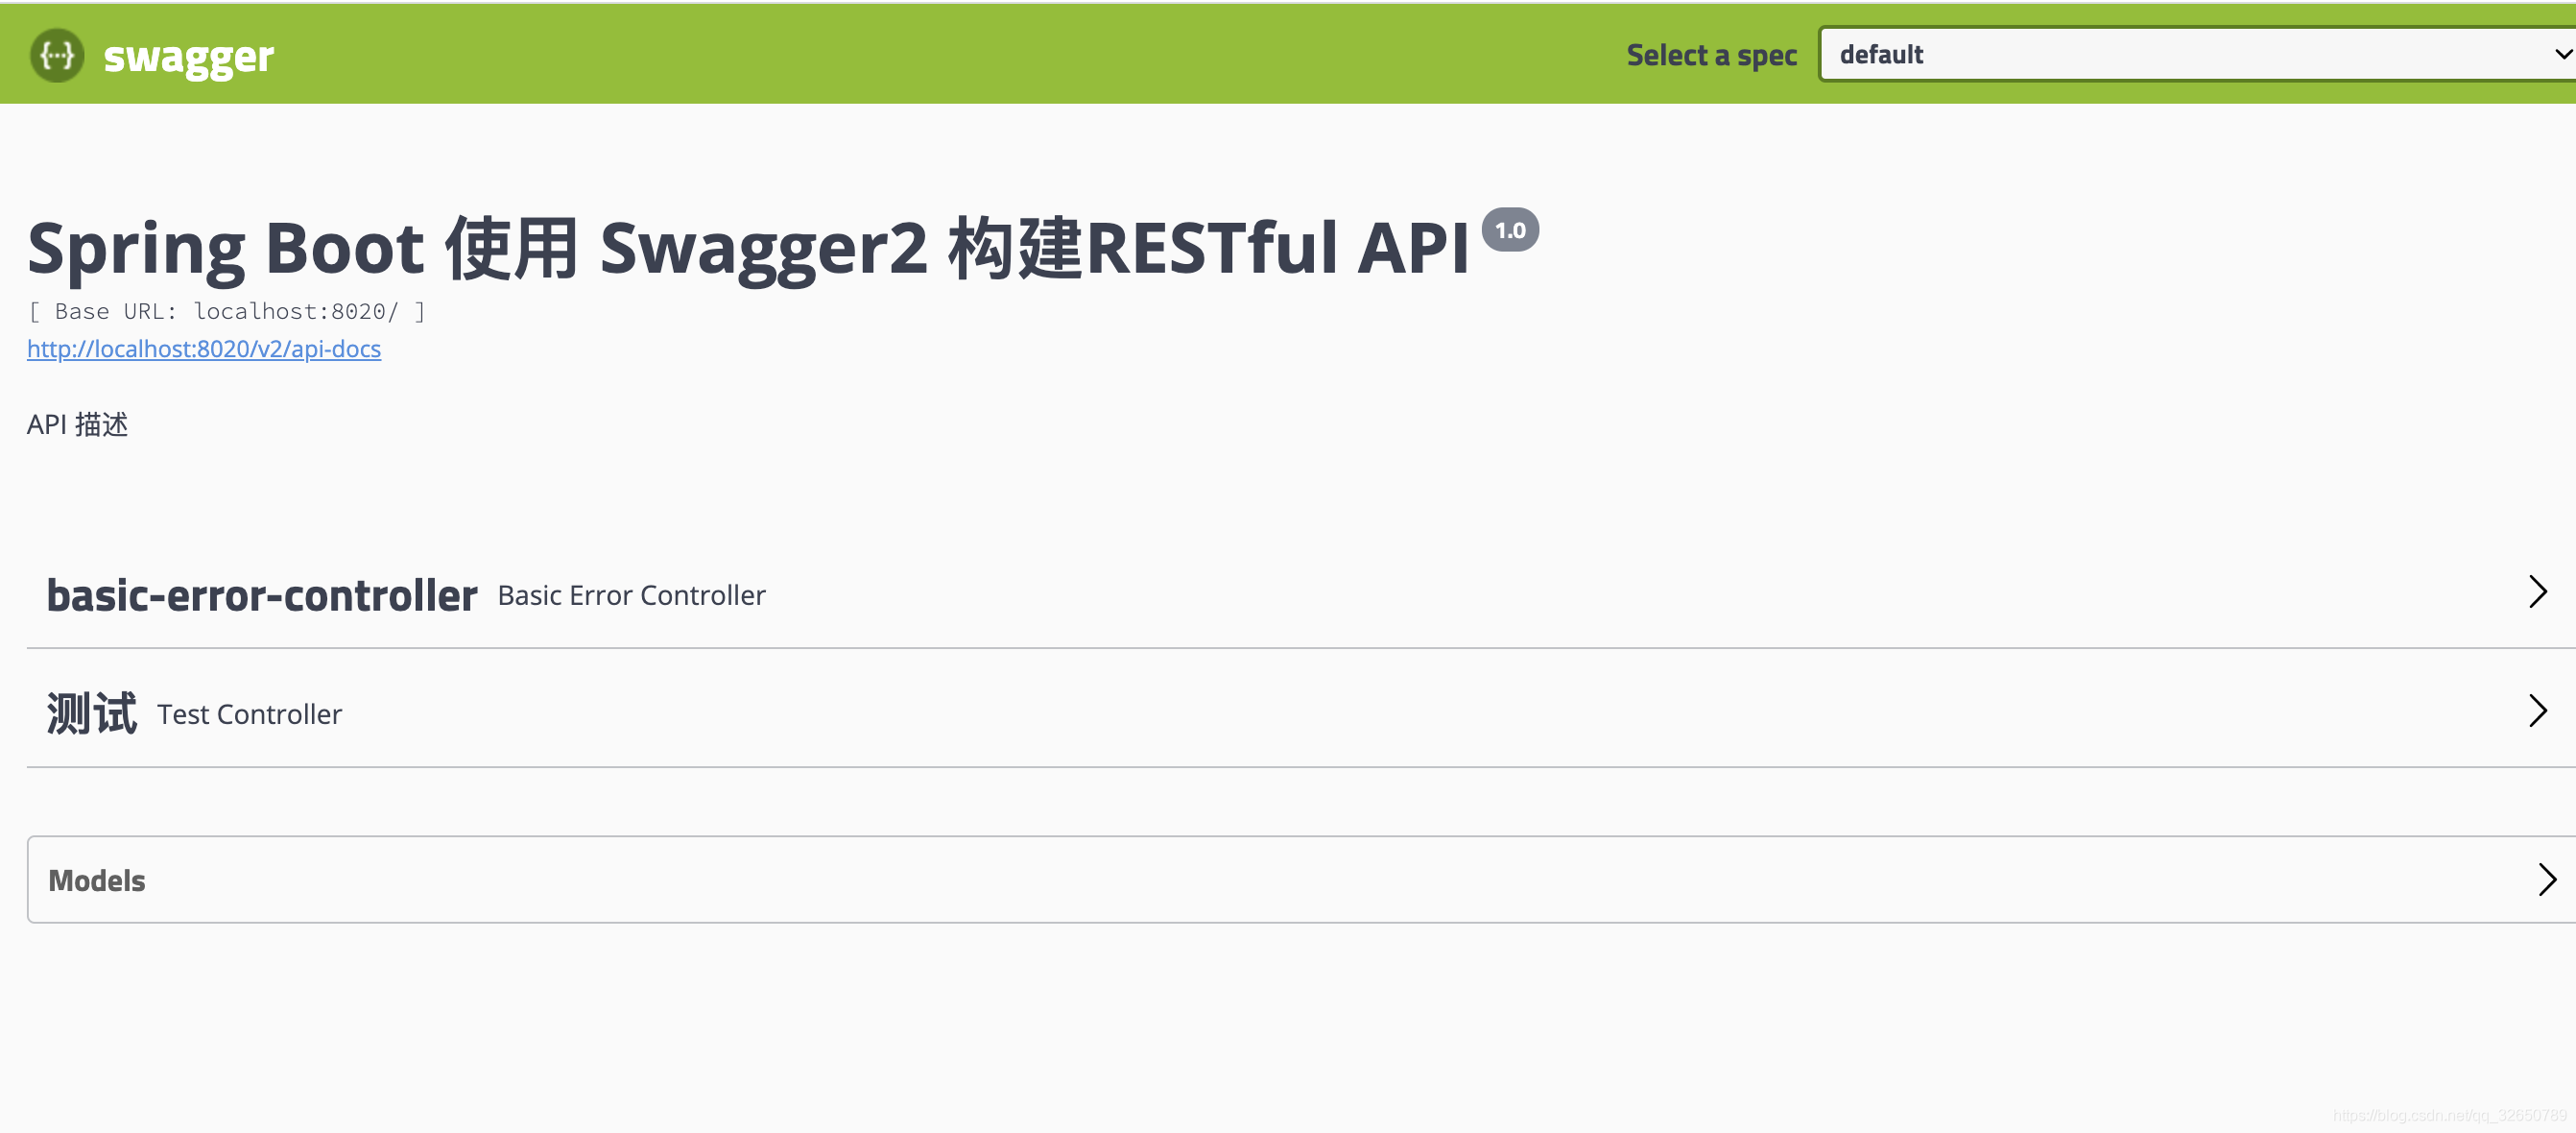
.title("Spring Boot 使用 Swagger2 构建RESTful API")
//版本号
.version("1.0")
//描述
.description("API 描述")
.build();
}
}
3.主要注解介绍
@Api:作用在类上,对类的一个描述
@ApiOperation:作用在方法上
@ApiParam:作用在参数上
简单的例子
@RestController
@RequestMapping("/baseTest")
@Validated
@Api(tags = "测试")
public class TestController {


    @GetMapping("/test3")
    @ApiOperation("测试接口")
    public String  test3(){
        return "1";
    }

}
4.测试验证
浏览器输入ip:端口/swagger-ui.html


 被折叠的 条评论
为什么被折叠?
被折叠的 条评论
为什么被折叠?
 到【灌水乐园】发言


