


 本文介绍如何在SpringMvc项目中快速整合Swagger2,通过3步实现API文档自动生成。包括添加依赖、配置类及启动项目,最后访问Swagger界面查看效果。
SpringMvc+Swagger2整合
一、准备工作
正常可运行Controller的WEB项目
二、添加代码如下,只需3步
- POM
<dependency>
           <groupId>io.springfox</groupId>
           <artifactId>springfox-swagger2</artifactId>
           <version>2.7.0</version>
       </dependency>
       <dependency>
           <groupId>io.springfox</groupId>
           <artifactId>springfox-swagger-ui</artifactId>
           <version>2.7.0</version>
       </dependency>
- 增加类,放在项目中
@Configuration
@EnableWebMvc
@ComponentScan(basePackages = "com.xxx.controller")//controller的包路径
@EnableSwagger2
public class Swagger2 {

    @Bean
    public Docket createRestApi() {
        return new Docket(DocumentationType.SWAGGER_2)
                .apiInfo(apiInfo())
                .select()
                .apis(RequestHandlerSelectors.basePackage("com.xxx.controller"))
                // .paths(PathSelectors.any())
                .build();
    }

    private ApiInfo apiInfo() {
        return new ApiInfoBuilder()
                .title("xxxx系统 APIs")
                .description("")
                .termsOfServiceUrl("")
                .version("1.0")
                .build();
    }

}
- mvc-xml中增加(直接copy,不需要修改)
<mvc:resources mapping="swagger-ui.html" location="classpath:/META-INF/resources/"/><!--必须-->
    <mvc:resources mapping="/webjars/**" location="classpath:/META-INF/resources/webjars/"/><!--必须-->
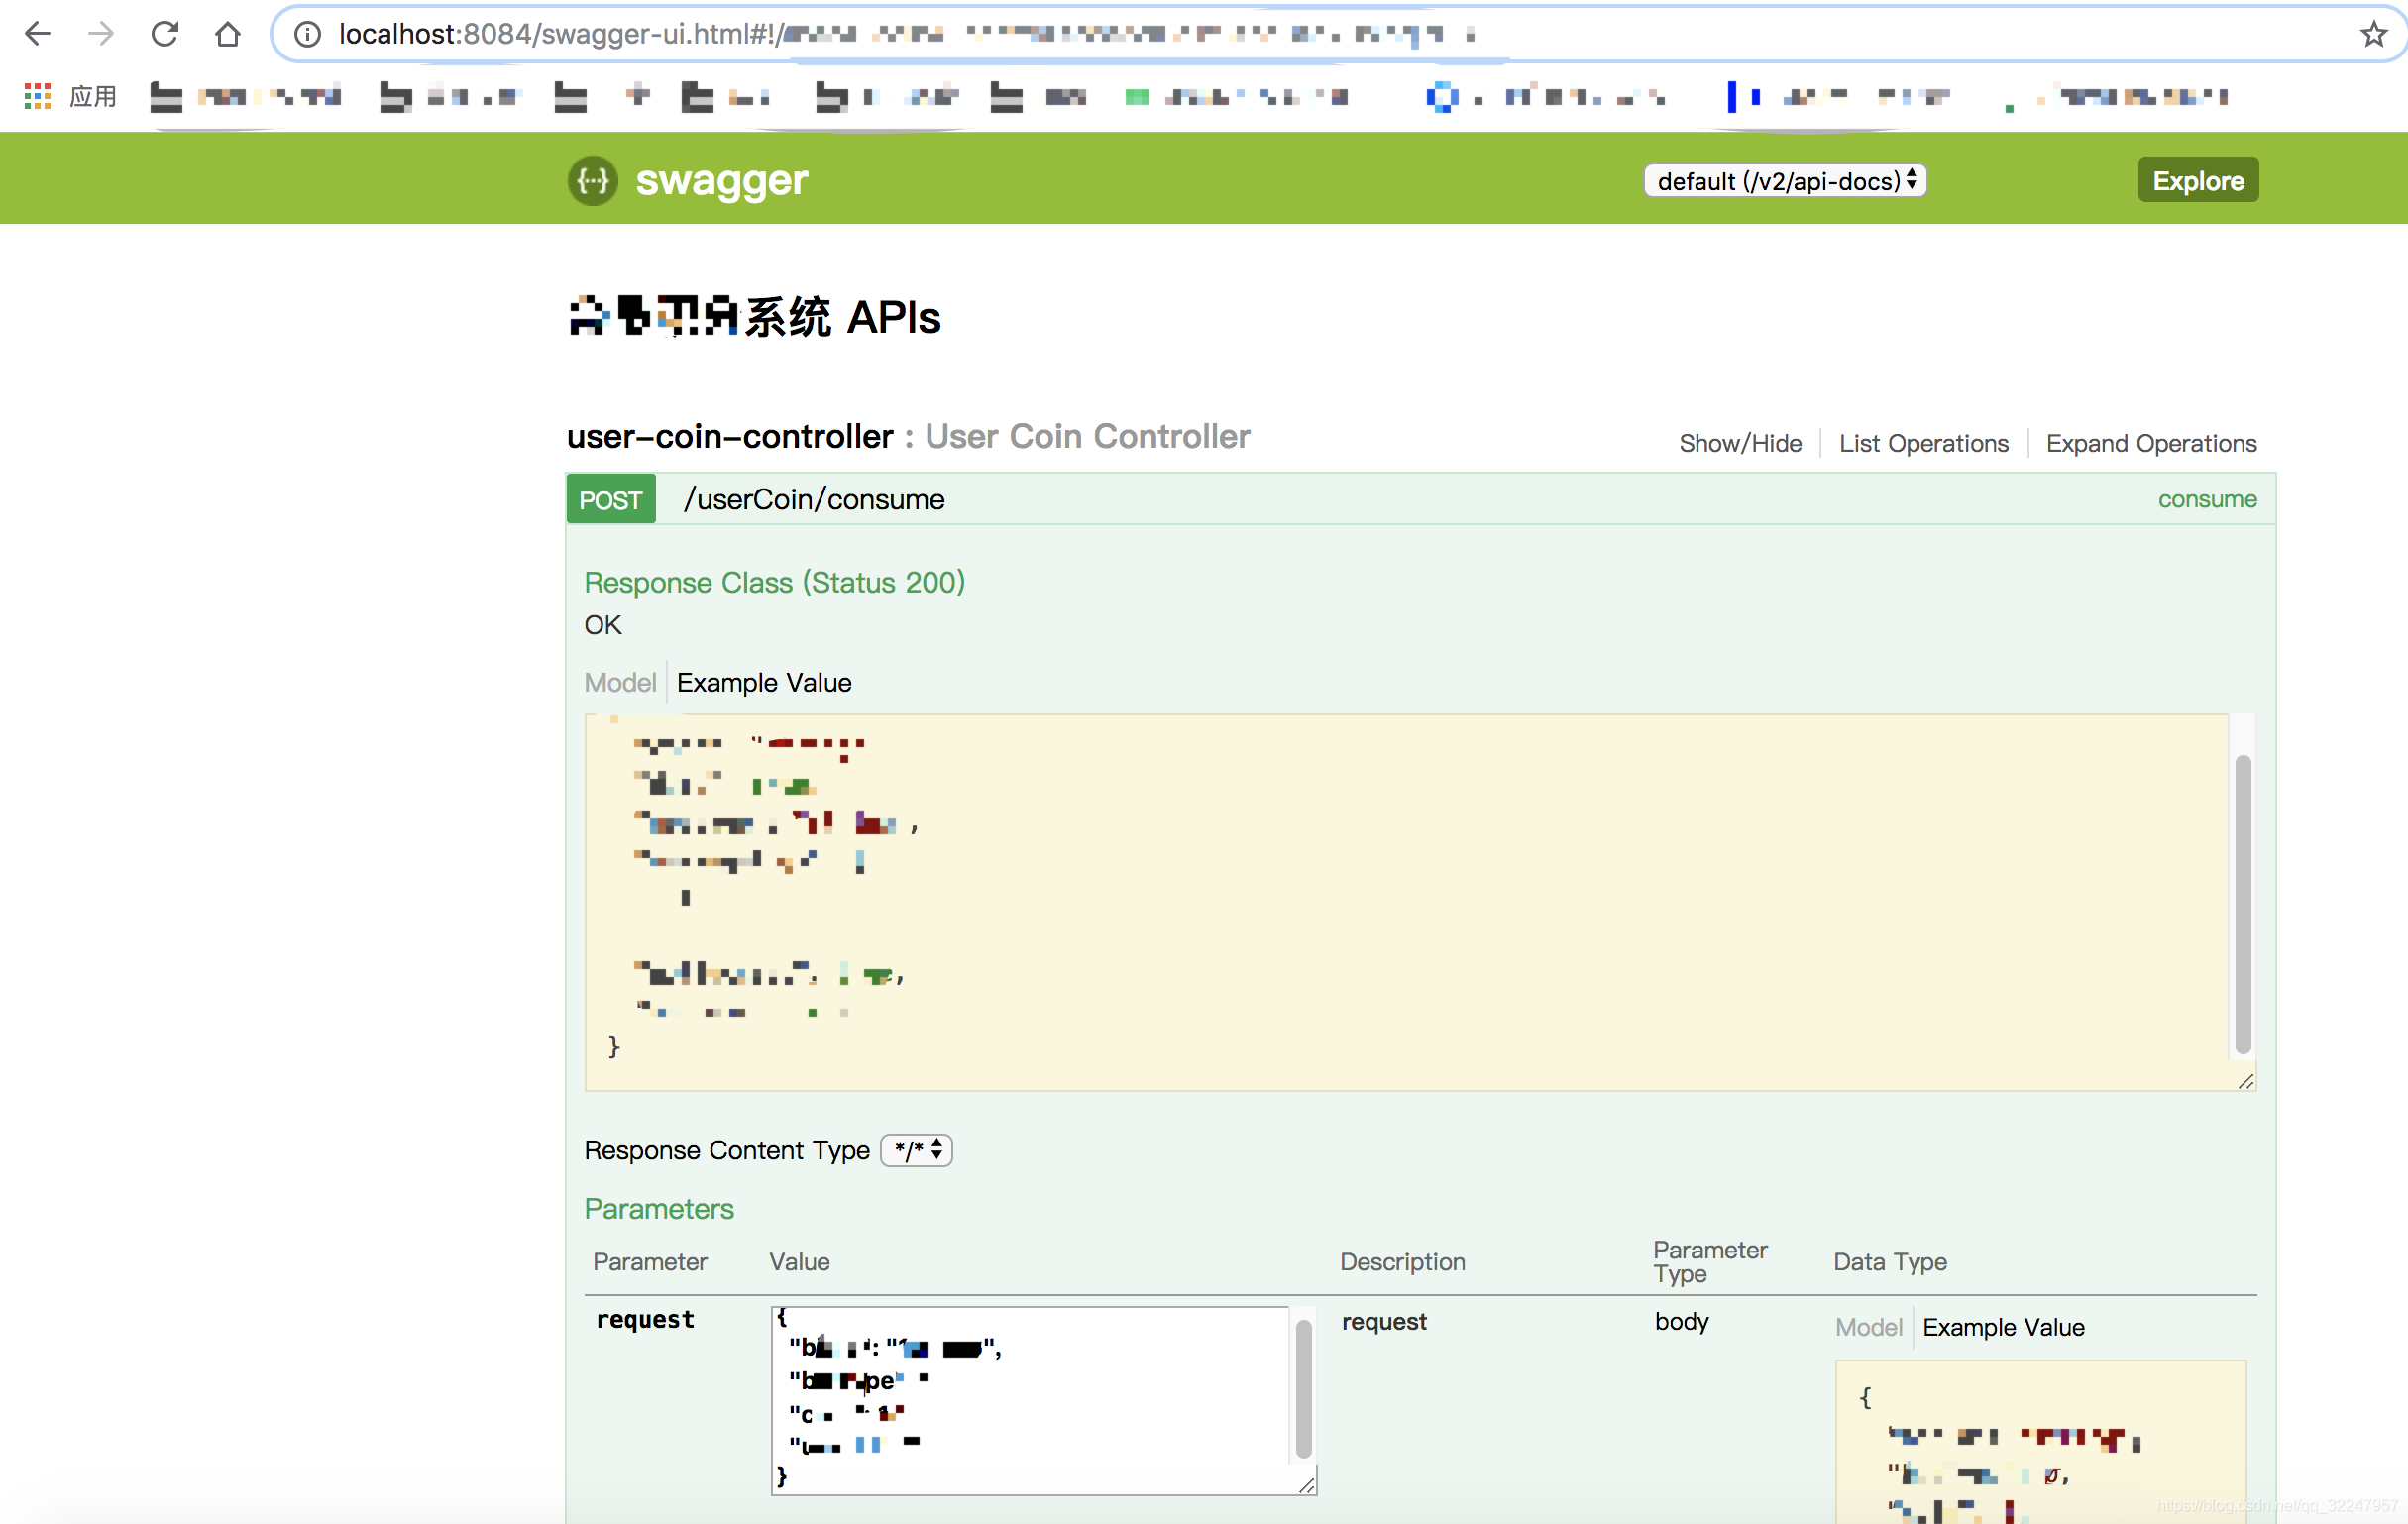
三、启动
http://localhost:8080/swagger-ui.html
如果配置了项目名称,则
http://localhost:8080/xxxx/swagger-ui.html


 361
361

 被折叠的 条评论
为什么被折叠?
被折叠的 条评论
为什么被折叠?
 到【灌水乐园】发言


