


1、关闭selinux和防火墙
vim /etc/selinux/config
systemctl stop firewalld.service
systemctl mask firewalld.service
2、下载并安装zabbix安装包(网页下载)
firefox: https://repo.zabbix.com/zabbix/4.0/rhel/7/x86_64/zabbix-release-4.0-1.el7.noarch.rpm
rpm -ivh zabbix-release-4.0-1.el7.noarch.rpm
3、安装zabbix相关软件
yum -y install zabbix-server-mysql zabbix-web-mysql zabbix-get zabbix-agent
4、安装数据库(mariadb)
yum -y install mariadb-server mariadb
5、修改数据库配置文件避免出现乱码
vim /etc/my.cnf

6、启动数据库
systemctl start mariadb.service
systemctl enabled mariadb.service
7、创建数据库
Mysql
create database zabbix ;
show databases ;
8、设置用户权限(用户zabbix 密码zabbix)
grant all privileges on zabbix.* to zabbix@‘localhost’ identified by ‘zabbix’
9、测试 用用户zabbix登陆数据库
mysql -uzabbix -pzabbix
10、导入数据库
zcat /usr/share/doc/zabbix-server-mysql*/create.sql.gz | mysql -uzabbix -pzabbix zabbix
11、验证是否导入成功
mysql -uzabbix -pzabbix
Use zabbix ;
Show tables ;
12、搜索查看配置文件 /etc/zabbix/zabbix_server.conf
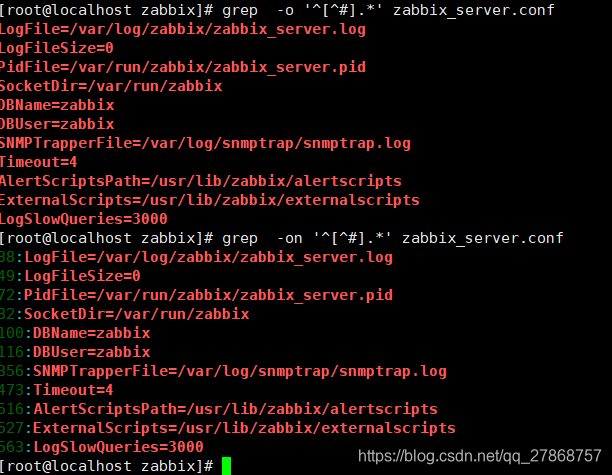
13、修改配置文件 /etc/zabbix/zabbix_server.conf
Vim /etc/zabbix/zabbix_server.conf
92设置范围: 这里设置的是“localhost”
101 :配置数据库名字
117:设置数据库用户
126:设置数据库密码
14、为Zabbix前端配置PHP
cd /etc/httpd/conf.d/
vim zabbix.conf
20 php_value date.timezone Asia/Shanghai
----------------------时间范文:命令timedatectl:
Local time: 五 2019-01-25 15:27:00 CST
Universal time: 五 2019-01-25 07:27:00 UTC
RTC time: 五 2019-01-25 07:27:00
Time zone: Asia/Shanghai (CST, +0800)
NTP enabled: yes
NTP synchronized: yes
RTC in local TZ: no
DST active: n/a
15、启动Zabbix server和agent进程
systemctl start httpd.service
systemctl is-active httpd.service
systemctl enable httpd.service
systemctl start zabbix-server.service
systemctl is-active zabbix-server.service
systemctl enabled zabbix-server.service
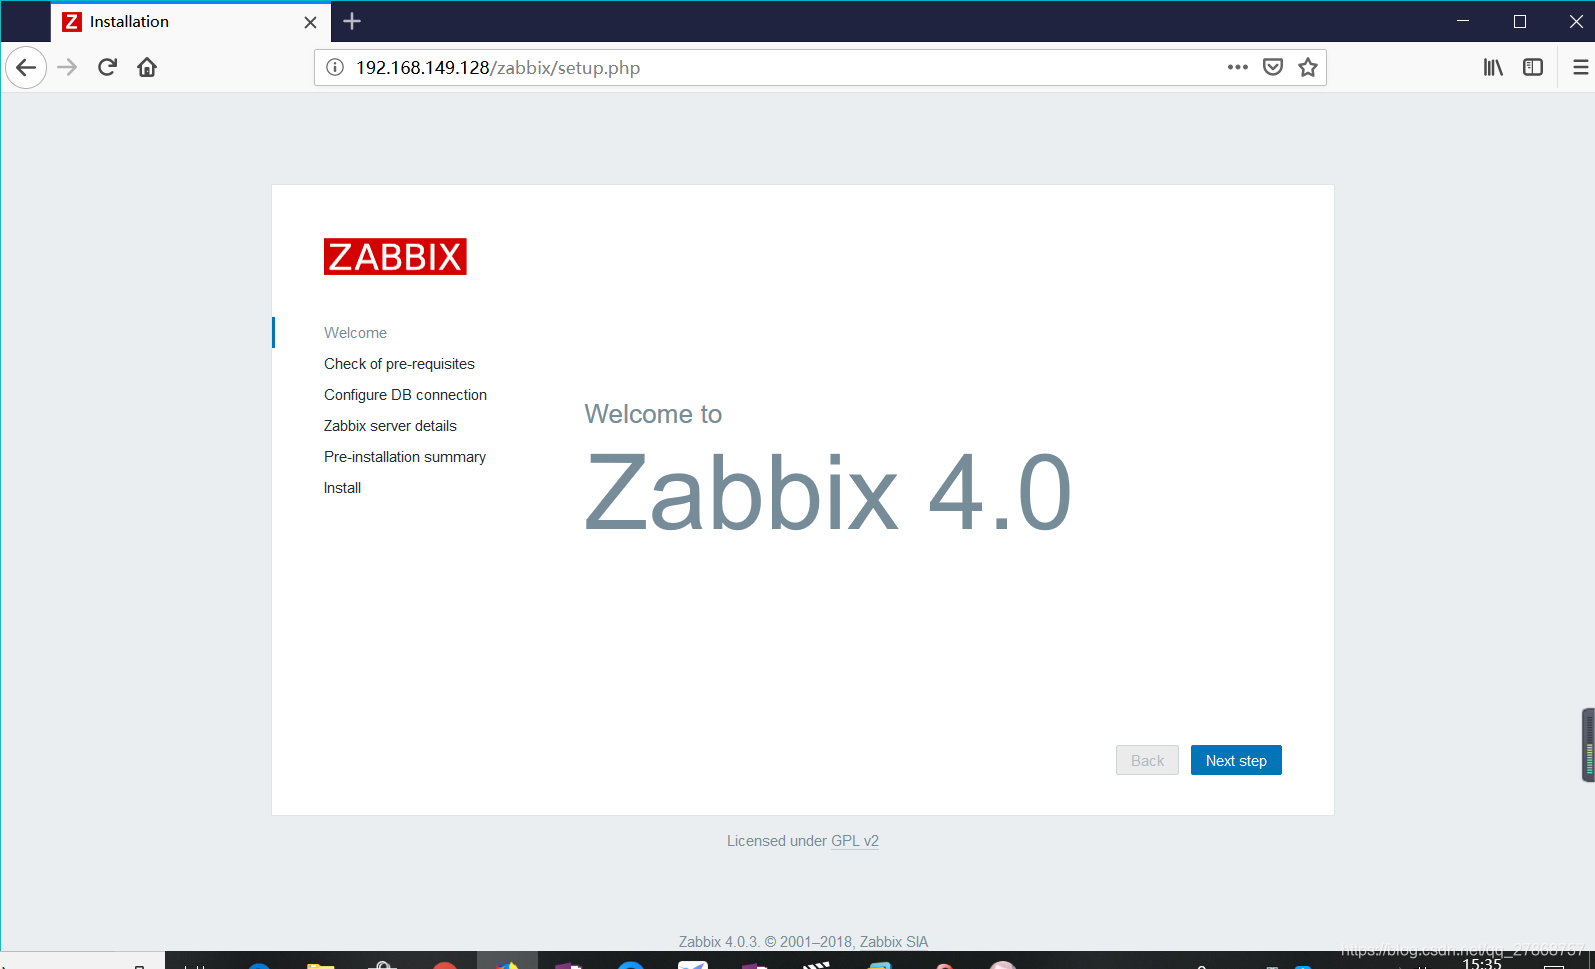
16、网页访问zabbix
http://zabbix服务器的IP地址/zabbix/setup.php


 1万+
1万+

 被折叠的 条评论
为什么被折叠?
被折叠的 条评论
为什么被折叠?
 到【灌水乐园】发言


