


ubuntu基本环境配置
文章目录
各种依赖包下载地址
http://cn.archive.ubuntu.com/ubuntu/pool/main/liba/libaio/
中科大源下载deb
http://mirrors.ustc.edu.cn/ubuntu-ports/pool/main/
清华源中下载deb源
https://mirrors.tuna.tsinghua.edu.cn/
Get:1 http://cn.archive.ubuntu.com/ubuntu jammy/main amd64 mysql-common all 5.8+1.0.8 [7,212 B]
Get:2 http://cn.archive.ubuntu.com/ubuntu jammy-updates/main amd64 libmysqlclient21 amd64 8.0.32-0ubuntu0.22.04.2 [1,299 kB]
Get:3 http://cn.archive.ubuntu.com/ubuntu jammy-updates/main amd64 libpcrecpp0v5 amd64 2:8.39-13ubuntu0.22.04.1 [16.5 kB]
Get:4 http://cn.archive.ubuntu.com/ubuntu jammy/universe amd64 proj-data all 8.2.1-1 [10.0 MB]
Get:5 http://cn.archive.ubuntu.com/ubuntu jammy/universe amd64 libproj22 amd64 8.2.1-1 [1,257 kB]
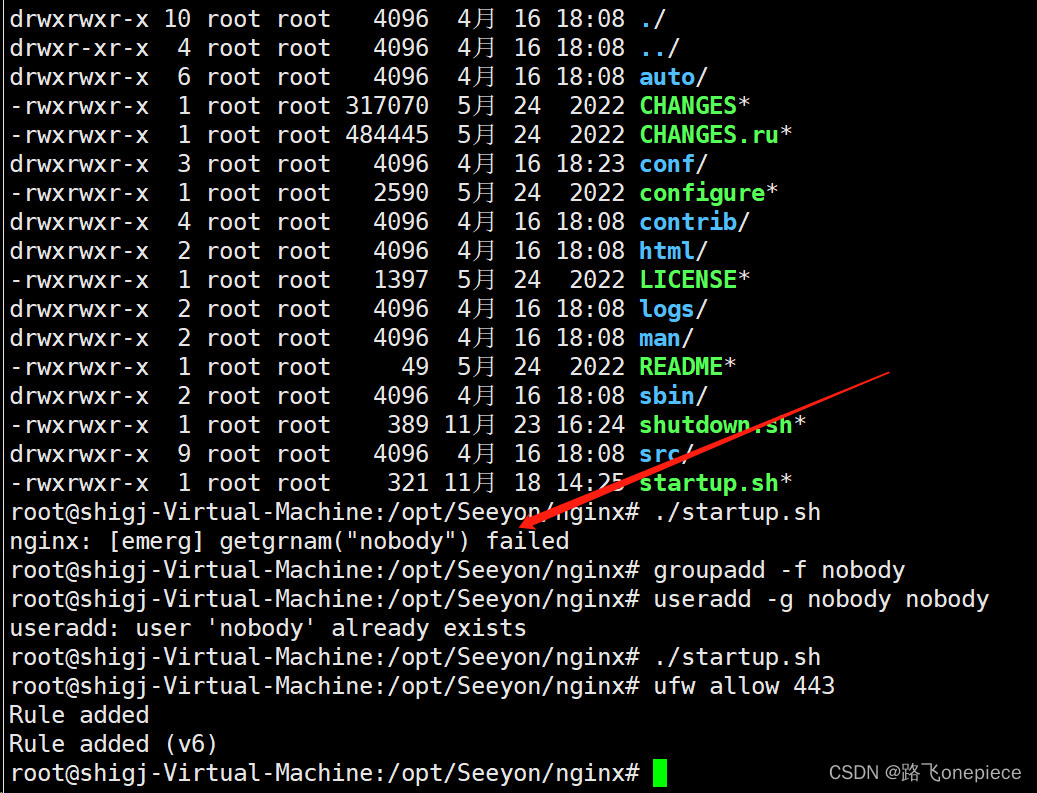
一、使用root账号进行远程连接
执行shell脚本文件时候报错如下

解决办法

nginx: [emerg] getpwnam(“nobody“) failed
最初安装操作系统的时候默认自定义用户名,密码但是没有设置root的密码,因此需要进行root密码设置
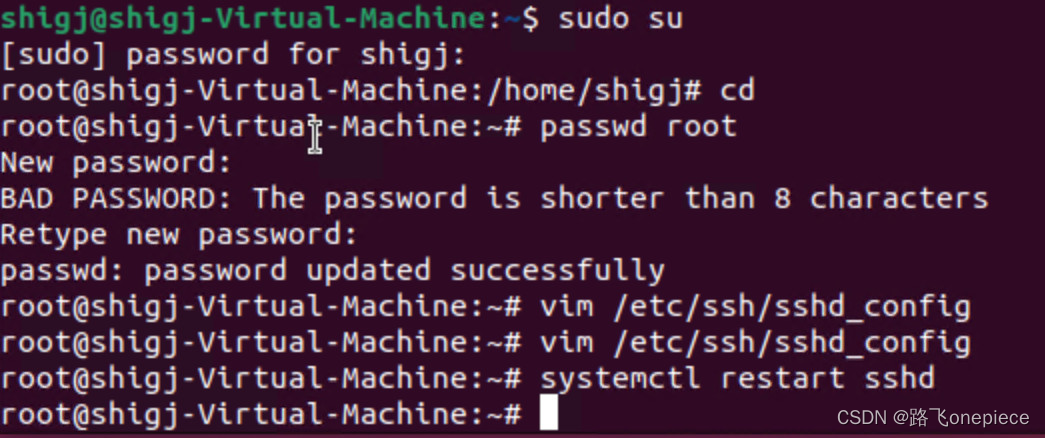
此时并不能使用root账号进行远程连接
vim /etc/ssh/sshd_config
PermitRootLogin yes ## 最底下添加
permitRootLogin yes
二、防火墙相关设置
一般安装完毕操作系统后防火墙默认是关闭的
2.1启用
开启防火墙并设置开机自启动
ufw enable
ufw default deny
root@shigj-Virtual-Machine:~# ufw status verbose
Status: active
Logging: on (low)
Default: deny (incoming), allow (outgoing), disabled (routed)
New profiles: skip
2.2开放和关闭端口
ufw allow 3306 允许外部访问3306端口(tcp/udp)
ufw allow from 192.168.xx.xx 允许此IP访问所有的本机端口
ufw allow proto tcp from 192.168.0.0/24 to any port 22  允许指定的IP段访问特定端口
ufw delete allow smtp 删除上面建立的某条规则
ufw delete allow 3306    删除3306端口
ufw status           查看所有开放端口
三、数据库mysql安装(8.0.32)
安装依赖包
root@shigj-Virtual-Machine:~# apt-cache search libaio
libaio-dev - Linux kernel AIO access library - development files
libaio1 - Linux kernel AIO access library - shared library

root@shigj-Virtual-Machine:~# dpkg -i libaio1_0.3.113-4_amd64.deb
Selecting previously unselected package libaio1:amd64.
(Reading database ... 202878 files and directories currently installed.)
Preparing to unpack libaio1_0.3.113-4_amd64.deb ...
Unpacking libaio1:amd64 (0.3.113-4) ...
Setting up libaio1:amd64 (0.3.113-4) ...
Processing triggers for libc-bin (2.35-0ubuntu3.1) ...
root@shigj-Virtual-Machine:~# dpkg -i libaio
libaio1_0.3.113-4_amd64.deb     libaio-dev_0.3.113-4_amd64.deb
root@shigj-Virtual-Machine:~# dpkg -i libaio-dev_0.3.113-4_amd64.deb
(Reading database ... 202883 files and directories currently installed.)
Preparing to unpack libaio-dev_0.3.113-4_amd64.deb ...
Unpacking libaio-dev:amd64 (0.3.113-4) over (0.3.113-4) ...
Setting up libaio-dev:amd64 (0.3.113-4) ...
Processing triggers for man-db (2.10.2-1) ...
上传二进制文件安装包并移动到/usr/local
root@shigj-Virtual-Machine:~# tar -xf mysql-8.0.32-linux-glibc2.12-x86_64.tar.xz
root@shigj-Virtual-Machine:~# mv mysql /usr/local/
root@shigj-Virtual-Machine:~# cd /usr/local/
root@shigj-Virtual-Machine:/usr/local# ls -l
total 36
drwxr-xr-x 2 root root 4096  2月 23 11:57 bin
drwxr-xr-x 2 root root 4096  2月 23 11:57 etc
drwxr-xr-x 2 root root 4096  2月 23 11:57 games
drwxr-xr-x 2 root root 4096  2月 23 11:57 include
drwxr-xr-x 3 root root 4096  2月 23 11:57 lib
lrwxrwxrwx 1 root root    9  4月 15 22:38 man -> share/man
drwxr-xr-x 9 root root 4096  4月 16 16:50 mysql
drwxr-xr-x 2 root root 4096  2月 23 11:57 sbin
drwxr-xr-x 7 root root 4096  2月 23 11:59 share
drwxr-xr-x 2 root root 4096  2月 23 11:57 src
创建组以及用户
[root@test ~]# groupadd mysql
[root@test ~]# useradd -r -g mysql -s /bin/false mysql
[root@test ~]# id mysql
uid=997(mysql) gid=1000(mysql) groups=1000(mysql)
创建数据目录并赋予权限
root@shigj-Virtual-Machine:/usr/local# mkdir -p  /usr/local/mysql/data
root@shigj-Virtual-Machine:/usr/local# chown -R mysql:mysql /usr/local/mysql
root@shigj-Virtual-Machine:/usr/local# vim /etc/my.cnf
[client]
#不推荐使用默认端口
port=3308
default-character-set=utf8mb4
[mysql]
default-character-set=utf8mb4
[mysqld]
#不推荐使用默认端口
port=3308
#绝对路径依据实际情况修改
basedir=/usr/local/mysql/
datadir=/usr/local/mysql/data/
# tmpdir=/mysql/data/temp/
# socket=/tmp/mysql.sock
socket=/usr/local/mysql/mysql.sock
pid-file=/usr/local/mysql/data/mysql.pid
expire_logs_days = 5
# General and Slow logging.
log-output=FILE
general-log=0
general_log_file=/usr/local/mysql/data/mysql-8.0-general.log
slow-query-log=1
slow_query_log_file=/usr/local/mysql/data/mysql-8.0-slow.log
long_query_time=10
# Error Logging.
log-error=/usr/local/mysql/data/mysql-8.0.err

# Remove leading # to set options mainly useful for reporting servers.
# The server defaults are faster for transactions and fast SELECTs.
# Adjust sizes as needed, experiment to find the optimal values.
# join_buffer_size = 128M
# sort_buffer_size = 2M
# read_rnd_buffer_size = 2M
#
# Remove leading # to revert to previous value for default_authentication_plugin,
# this will increase compatibility with older clients. For background, see:
# https://dev.mysql.com/doc/refman/8.0/en/server-system-variables.html
# sysvar_default_authentication_plugin
# default-authentication-plugin=mysql_native_password
# default_authentication_plugin=caching_sha2_password
default_authentication_plugin=mysql_native_password
default-storage-engine=INNODB
character-set-server=utf8mb4
max_connections=600
max_connect_errors=100
transaction_isolation=READ-COMMITTED
max_allowed_packet=64M
default-time-zone='+8:00'
log_timestamps=system
lower_case_table_names=1
table_open_cache=2000
tmp_table_size=512M
key_buffer_size=512M

innodb_flush_log_at_trx_commit=1
innodb_log_buffer_size=16M
#
# Remove leading # and set to the amount of RAM for the most important data
# cache in MySQL. Start at 70% of total RAM for dedicated server, else 10%.
innodb_buffer_pool_size=4G
#
# Remove the leading "# " to disable binary logging
# Binary logging captures changes between backups and is enabled by
# default. It's default setting is log_bin=binlog
# disable_log_bin
#
innodb_log_file_size=1G
innodb_autoextend_increment=64
innodb_buffer_pool_instances=8
innodb_open_files=300
innodb_file_per_table=1
初始化数据库,记住生成的随机密码,本例中随机密码为rR,as(6/U.k1
root@shigj-Virtual-Machine:/usr/local# chown mysql:mysql /etc/my.cnf
root@shigj-Virtual-Machine:/usr/local/mysql/bin#./mysqld --defaults-file=/etc/my.cnf --basedir=/usr/local/mysql/ --datadir=/usr/local/mysql/data/ --user=mysql --initialize
root@shigj-Virtual-Machine:/usr/local/mysql/bin# cat /usr/local/mysql/data/mysql-8.0.err
2023-04-16T17:02:02.386293+08:00 0 [Warning] [MY-011068] [Server] The syntax 'expire-logs-days' is deprecated and will be removed in a future release. Please use binlog_expire_logs_seconds instead.
2023-04-16T17:02:02.386376+08:00 0 [Warning] [MY-010918] [Server] 'default_authentication_plugin' is deprecated and will be removed in a future release. Please use authentication_policy instead.
2023-04-16T17:02:02.386394+08:00 0 [System] [MY-013169] [Server] /usr/local/mysql/bin/mysqld (mysqld 8.0.32) initializing of server in progress as process 22001
2023-04-16T17:02:02.425464+08:00 0 [Warning] [MY-013907] [InnoDB] Deprecated configuration parameters innodb_log_file_size and/or innodb_log_files_in_group have been used to compute innodb_redo_log_capacity=2147483648. Please use innodb_redo_log_capacity instead.
2023-04-16T17:02:02.426710+08:00 1 [System] [MY-013576] [InnoDB] InnoDB initialization has started.
2023-04-16T17:02:07.315391+08:00 1 [System] [MY-013577] [InnoDB] InnoDB initialization has ended.
2023-04-16T17:02:12.149433+08:00 0 [Warning] [MY-010161] [Server] You need to use --log-bin to make --expire_logs_days work.
2023-04-16T17:02:12.417020+08:00 6 [Note] [MY-010454] [Server] A temporary password is generated for root@localhost: rR,as(6/U.k1
编辑systemd文件(不要添加此处内容)
root@shigj-Virtual-Machine:~# vim /usr/lib/systemd/mysql.service
[Unit]
Description=MySQL Server
After=network.target
[Service]
Type=simple
ExecStart=/usr/local/mysql/bin/mysqld --defaults-file=/etc/my.cnf
User=mysql
Group=mysql
TimeoutSec=300
PrivateTmp=true
[Install]
WantedBy=multi-user.target
配置mysql服务
[root@test bin]# cp /usr/local/mysql/support-files/mysql.server /etc/init.d/mysql
[root@test bin]# service mysql restart
Shutting down MySQL. SUCCESS!
Starting MySQL...... SUCCESS!
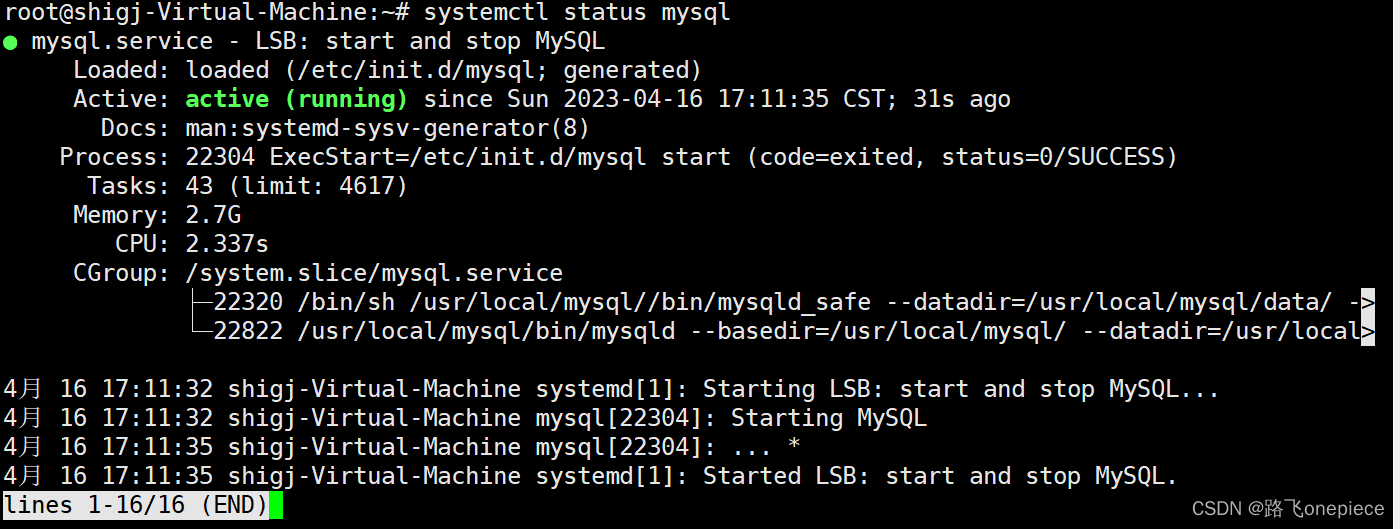
root@shigj-Virtual-Machine:~# systemctl daemon-reload
root@shigj-Virtual-Machine:~# systemctl restart mysql
配置环境变量
root@shigj-Virtual-Machine:~# vi /etc/profile
root@shigj-Virtual-Machine:~# source /etc/profile
登陆报错问题处理
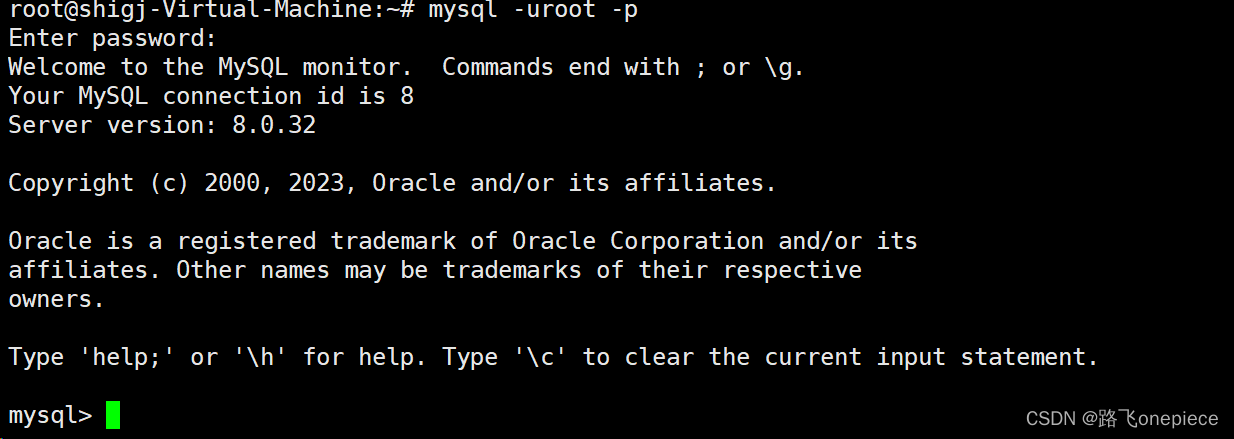
root@shigj-Virtual-Machine:~# mysql -uroot -p
mysql: error while loading shared libraries: libtinfo.so.5: cannot open shared object file: No such file or directory
解决办法
root@shigj-Virtual-Machine:~# find /usr/ -name 'libtinfo*'
/usr/share/doc/libtinfo6
/usr/lib/x86_64-linux-gnu/libtinfo.so.6.3
/usr/lib/x86_64-linux-gnu/libtinfo.so.6
root@shigj-Virtual-Machine:~# ln -s /usr/lib/x86_64-linux-gnu/libtinfo.so.6.3 /usr/lib/x86_64-linux-gnu/libtinfo.so.5
root@shigj-Virtual-Machine:~# mysql -uroot -p
Enter password:
ERROR 2002 (HY000): Can't connect to local MySQL server through socket '/tmp/mysql.sock' (2)
修改配置文件my.cnf并重启数据库

设置root账号远程链接方式
mysql> ALTER USER 'root'@'localhost' IDENTIFIED BY 'newpwd654321';
Query OK, 0 rows affected (0.02 sec)
mysql> flush privileges;
mysql> use mysql;
Reading table information for completion of table and column names
You can turn off this feature to get a quicker startup with -A

Database changed
mysql> update user set host='%' where user = 'root';
Query OK, 1 row affected (0.02 sec)
Rows matched: 1  Changed: 1  Warnings: 0

mysql> update user set plugin='mysql_native_password' where user = 'root';
Query OK, 0 rows affected (0.00 sec)
Rows matched: 1  Changed: 0  Warnings: 0

mysql> grant all on *.* to 'root'@'%';
ERROR 1410 (42000): You are not allowed to create a user with GRANT
mysql> flush privileges;
Query OK, 0 rows affected (0.01 sec)

mysql> grant all on *.* to 'root'@'%';
Query OK, 0 rows affected (0.02 sec)

mysql> flush privileges;
Query OK, 0 rows affected (0.01 sec)
创建seeyon账号设置密码为oapwd654321,允许协同服务器10.3.4.239远程访问数据库
create user 'seeyon'@'10.3.4.239' identified by 'oapwd654321';
flush privileges;
grant all privileges on *.* to 'seeyon'@'10.3.4.239';
flush privileges;
如果允许所有服务器通过seeyon账号远程访问数据库,则执行
create user 'seeyon'@'%' identified by 'oapwd654321';
flush privileges;
grant all privileges on *.* to 'seeyon'@'%';
flush privileges;
CREATE DATABASE V8X DEFAULT CHARACTER SET UTF8MB4;
操作系统防火墙中添加数据库端口(本例中是3308)允许访问策略。
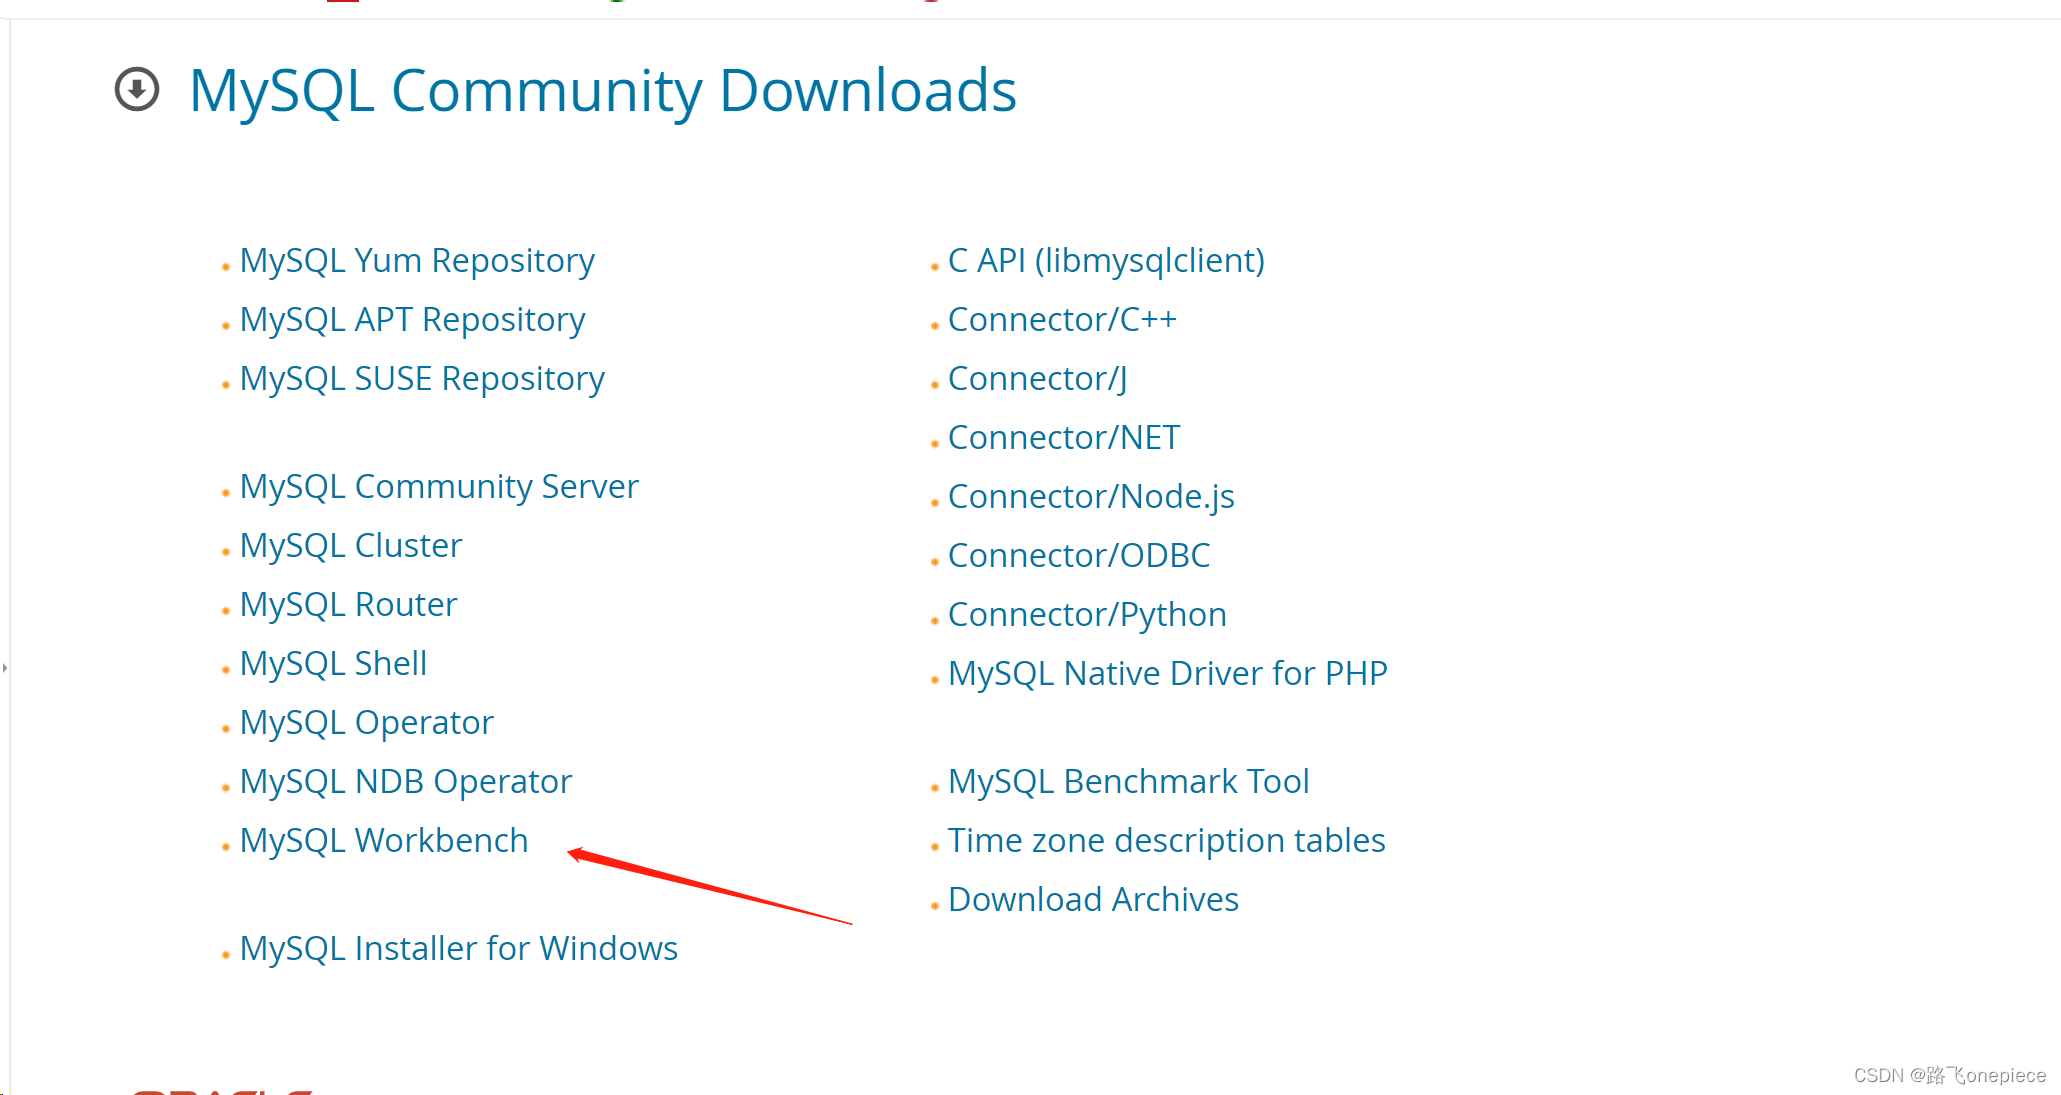
四、工具mysqlworkbench(8.0.32)
https://dev.mysql.com/downloads/
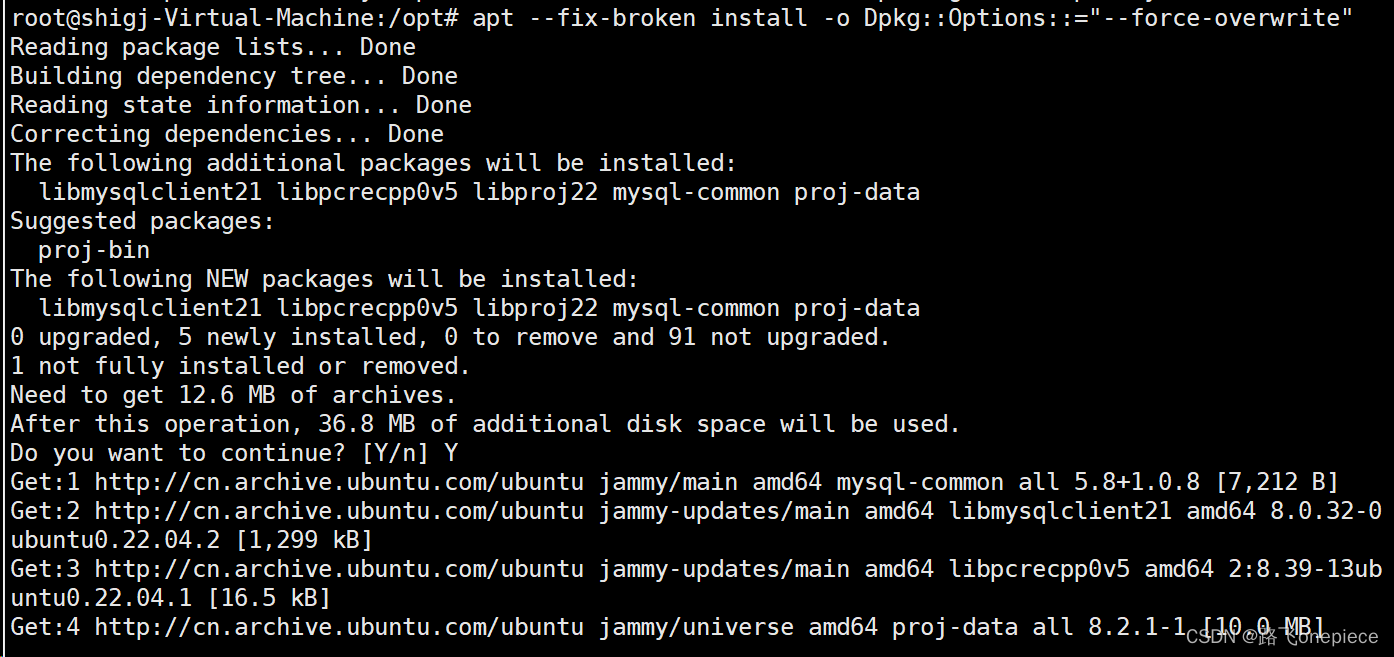
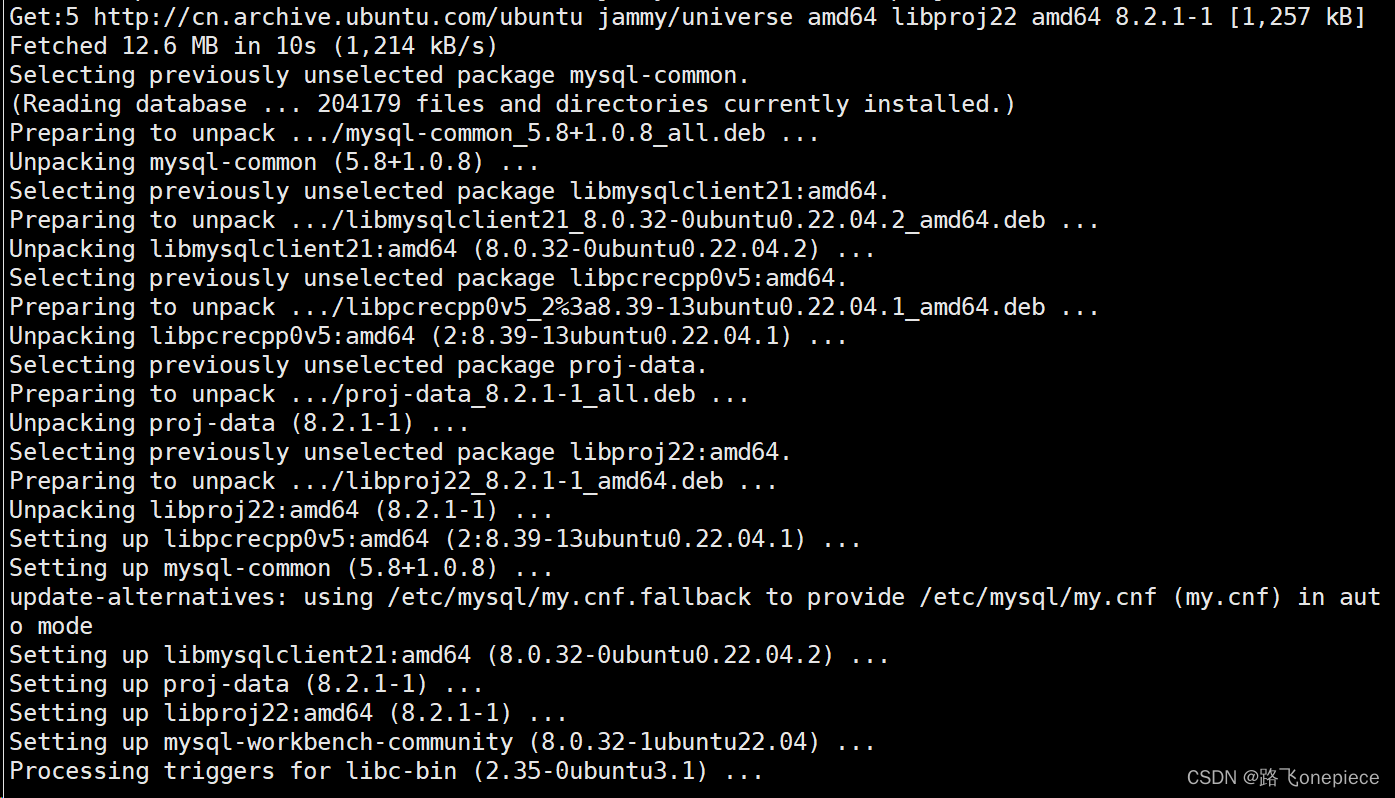
root@shigj-Virtual-Machine:/opt# dpkg -i mysql-workbench-community_8.0.32-1ubuntu22.04_amd64.deb
root@shigj-Virtual-Machine:/opt# apt --fix-broken install -o Dpkg::Options::="--force-overwrite"
root@ecs-xtbg-0005:~# mysql-workbench
然后在图形界面搜索mysqlworkbench
五、配置NFS服务
5.1环境准备
NFS服务端:Ubuntu 20.04 LTS ,IP地址:172.16.1.2
NFS客户端:Ubuntu 20.04 LTS ,IP地址:172.16.1.6
5.2安装NFS服务端
apt-get install nfs-kernel-server
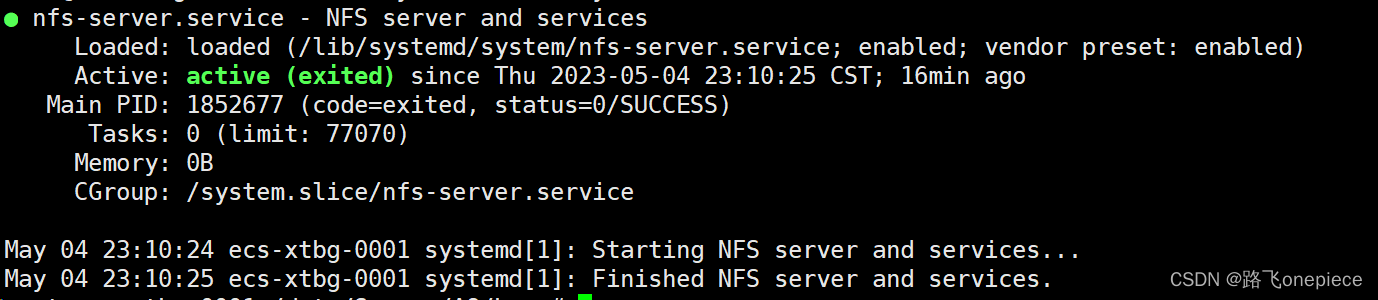
检查启动状态
systemctl status nfs-server
mkdir -p /mnt/share 创建共享文件
通过编辑/etc/exports配置文件,来允许哪些客户端可以访问该共享
vim /etc/exports
#如果只允许一个客户端访问,可以只写一个客户端的IP地址
/mnt/share 172.16.1.6(rw,sync,no_subtree_check)
如果只允许多个客户端访问,可以向如下一样写
/mnt/share 172.16.1.7(rw,sync,no_subtree_check)
/mnt/share 172.16.1.8(rw,sync,no_subtree_check)
/mnt/share 172.16.1.9(rw,sync,no_subtree_check)
#如果运行一个网段的客户端访问,可以这样写:
/mnt/share 172.16.1.*(rw,sync,no_subtree_check)
或者
/mnt/share 172.16.1.0/24(rw,sync,no_subtree_check)
配置文件中的权限解释:
rw 允许读写
sync 文件同时写入硬盘和内存
no_subtree_check 即使输出目录是一个子目录,nfs服务器也不检查其父目录的权限,这样可以提高效率
使用下面命令将共享文件夹启用并生效:
exportfs -arv
使用showmount -e 172.16.1.2查看是否可以看到共享目录:
5.3配置客户端
NFS客户端:Ubuntu 20.04 LTS ,IP地址:172.16.1.6
#在Ubuntu20.04中安装客户端:nfs-common
apt-get install nfs-common
#在Centos8中安装客户端:nfs-utils
yum -y install nfs-utils
[root@localhost ~]# mkdir -p /mnt/client
最后,挂载NFS共享目录,如下所示:
[root@localhost ~]# mount 172.16.1.2:/mnt/share /mnt/client


 1162
1162

 被折叠的 条评论
为什么被折叠?
被折叠的 条评论
为什么被折叠?
 到【灌水乐园】发言


