 使用libyuv进行I420、NV12、NV21图像resize操作


 本文介绍了如何利用libyuv库进行I420、NV12和NV21格式的图像resize。详细讲述了自定义结构过程,包括I420的简单resize以及NV12和NV21的resize方法,通过分离UV、resize UV后再合并来实现。并附带了resize前后的图片对比。
首先自定义定义的结构
class Scaler {
  struct Buffer {
    uint32_t width, height;
    uint8_t *data[3];
    uint32_t stride[3];
    ColorFormat color;
  };
  enum ColorFormat {
    YUV_I420 = 0,
    YUV_NV21,
    YUV_NV12,
    BGR ,
    RGB ,
    BGRA,
    RGBA,
    ABGR,
    ARGB,
  };
void Scaler::LibyuvResize_NV21(const Buffer *src,
                             Buffer *dst);
void Scaler::LibyuvResize_I420(const Buffer *src,
                               Buffer *dst);
};
1、I420的resize
这个最简单,libyuv中提供现成的接口
void Scaler::LibyuvResize_I420(const Buffer *src,
                               Buffer *dst) {
  // you should make complete info of buffer src, stride data width height
  dst->stride[0] = dst->width;
  dst->stride[1] = dst->width >> 1;
  dst->stride[2] = dst->width >> 1;
  uint32_t dst_y_size = dst->width * dst->height;
  uint32_t dst_u_size = dst->stride[1] * (dst->height >> 1);
  //uint32_t dst_v_size = dst->stride[2] * (dst->height >> 1);
  dst->data[1] = dst->data[0] + dst_y_size;
  dst->data[2] = dst->data[1] + dst_u_size;
  dst->color = Scaler::ColorFormat::YUV_I420;

  libyuv::I420Scale(src->data[0], src->stride[0],
                    src->data[1], src->stride[1],
                    src->data[2], src->stride[2],
                    src->width, src->height,
                    dst->data[0], dst->stride[0],
                    dst->data[1],dst->stride[1],
                    dst->data[2],dst->stride[2],
                    dst->width, dst->height,
                    libyuv::FilterMode::kFilterNone);
}
结果
原图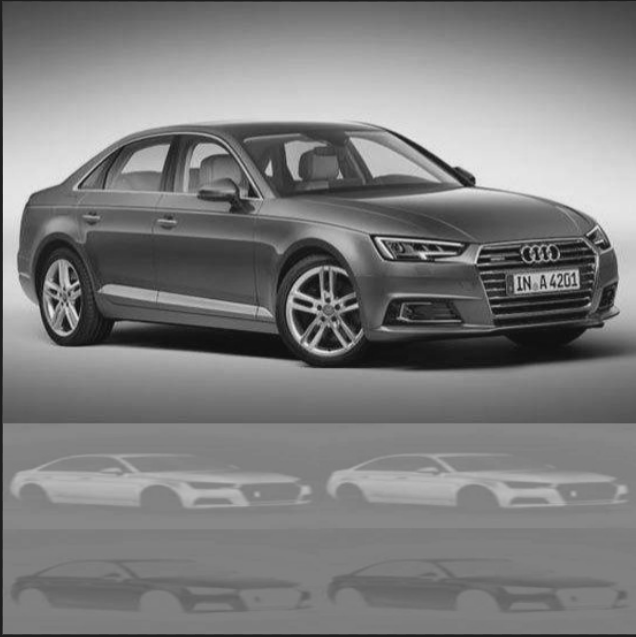
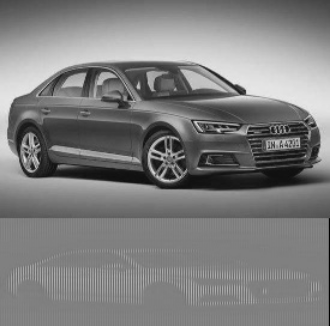
resize结果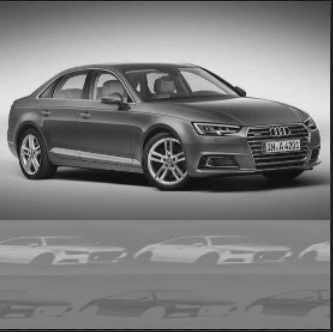
NV12或NV12的resize
libyuv中没有直接提供nv21或者nv12的resize,这里我进行了简单的分离uv, resize uv,最后再merge resize_u_v
NV21和NV12相似只提供一种
void Scaler::LibyuvResize_NV21(const Buffer *src,
                             Buffer *dst) {
  uint32_t src_halfheight = SUBSAMPLE(src->height, 1, 1);
  uint32_t src_halfwidth = SUBSAMPLE(src->width, 1, 1);
  dst->stride[0] = dst->width;
  dst->stride[1] = dst->width;
  dst->stride[2] = 0;
  dst->color = src->color;
  // resize y_plane
  libyuv::ScalePlane(src->data[0], src->stride[0],
                        src->width, src->height,
                        dst->data[0], dst->stride[0],
                        dst->width, dst->height,
                        libyuv::FilterMode::kFilterNone);
  // Split VUplane
  uint8_t* uv_data = new uint8_t[src->width * src->height / 2];
  uint8_t* v_data = uv_data;
  uint8_t* u_data = uv_data + src->width * src->height / 4;
  //malloc memory to store temp u v
  uint8_t* temp_uv_data = new uint8_t[dst->width * dst->height / 2];
  uint8_t* temp_v_data = temp_uv_data;
  uint8_t* temp_u_data = temp_uv_data + dst->width * dst->height / 4;
  libyuv::SplitUVPlane(src->data[1], src->stride[1],
                       v_data, src->stride[1] >> 1,
                       u_data, src->stride[1] >> 1,
                       src_halfwidth, src_halfheight);
  // resize u and v
  libyuv::ScalePlane(u_data, src->stride[1] >> 1,
                    src->width >> 1, src_halfheight,
                    temp_u_data, dst->stride[1] >> 1,
                    dst->width >> 1, dst->height >> 1,
                    libyuv::FilterMode::kFilterNone);

  libyuv::ScalePlane(v_data, src->stride[1] >> 1,
                    src->width >> 1, src_halfheight,
                    temp_v_data, dst->stride[1] >> 1,
                    dst->width >> 1, dst->height >> 1,
                    libyuv::FilterMode::kFilterNone);

  libyuv::MergeUVPlane(temp_v_data, dst->stride[1] >> 1,
                       temp_u_data, dst->stride[1] >> 1,
                       dst->data[1], dst->stride[1],
                       dst->width >> 1, dst->height >> 1);
  delete[] uv_data;
  u_data = v_data = uv_data = nullptr;
  delete[] temp_uv_data;
  temp_u_data = temp_v_data = temp_uv_data = nullptr;
}
NV resize结果
原图

resize结果


 610
610

 被折叠的 条评论
为什么被折叠?
被折叠的 条评论
为什么被折叠?
 到【灌水乐园】发言


