


 本文详细介绍了使用SoapUI和JMeter进行Webservice接口测试的方法,包括部署Webservice接口服务、创建SOAP项目、模拟客户端及服务器等步骤,并通过具体示例展示了整个测试流程。
转载至博文:https://www.cnblogs.com/Owen-ET/p/8984895.html#no1
按照原来的步骤来测试。
STEP1:部署webservice接口服务
1、下载soupUI并安装;
2、新建一个接口描述文件,例如MathUtil.wsdl
<?xml version="1.0" encoding="UTF-8"?>
<wsdl:definitions targetNamespace="http://sean.com"
xmlns:apachesoap="http://xml.apache.org/xml-soap"
xmlns:impl="http://sean.com"
xmlns:intf="http://sean.com"
xmlns:wsdl="http://schemas.xmlsoap.org/wsdl/"
xmlns:wsdlsoap="http://schemas.xmlsoap.org/wsdl/soap/"
xmlns:xsd="http://www.w3.org/2001/XMLSchema">
<wsdl:types>
<schema elementFormDefault="qualified"
targetNamespace="http://sean.com"
xmlns="http://www.w3.org/2001/XMLSchema">
<element name="add">
<complexType>
<sequence>
<element name="x" type="xsd:int"/>
<element name="y" type="xsd:int"/>
</sequence>
</complexType>
</element>
<element name="addResponse">
<complexType>
<sequence>
<element name="addReturn" type="xsd:int"/>
</sequence>
</complexType>
</element>
</schema>
</wsdl:types>
<wsdl:message name="addResponse">
<wsdl:part element="impl:addResponse" name="parameters">
</wsdl:part>
</wsdl:message>
<wsdl:message name="addRequest">
<wsdl:part element="impl:add" name="parameters">
</wsdl:part>
</wsdl:message>
<wsdl:portType name="MathUtil">
<wsdl:operation name="add">
<wsdl:input message="impl:addRequest" name="addRequest">
</wsdl:input>
<wsdl:output message="impl:addResponse" name="addResponse">
</wsdl:output>
</wsdl:operation>
</wsdl:portType>
<wsdl:binding name="MathUtilSoapBinding" type="impl:MathUtil">
<wsdlsoap:binding style="document"
transport="http://schemas.xmlsoap.org/soap/http"/>
<wsdl:operation name="add">
<wsdlsoap:operation soapAction=""/>
<wsdl:input name="addRequest">
<wsdlsoap:body use="literal"/>
</wsdl:input>
<wsdl:output name="addResponse">
<wsdlsoap:body use="literal"/>
</wsdl:output>
</wsdl:operation>
</wsdl:binding>
<wsdl:service name="MathUtilService">
<wsdl:port binding="impl:MathUtilSoapBinding" name="MathUtil">
<wsdlsoap:address
location="http://localhost:8080/webservice_create/services/MathUtil"/>
</wsdl:port>
</wsdl:service>
</wsdl:definitions>
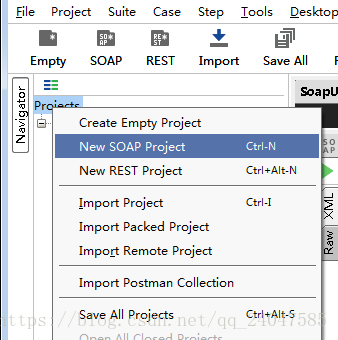
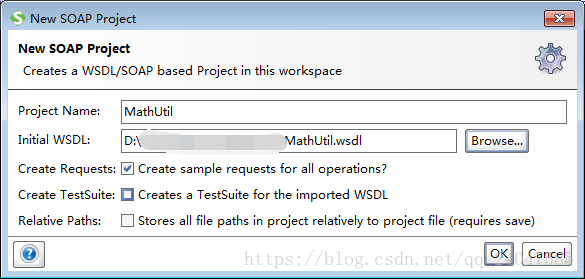
3、打开SoapUI,选择新建的接口描述文件MathUtil.wsdl在SoapUI中创建一个SOAP项目
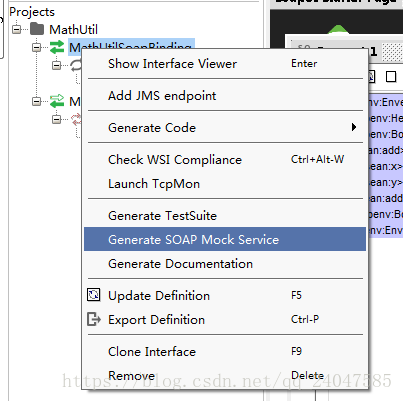
 此步骤是在soup项目下创建一个模拟客户端。
4、在模拟接口客户端上右键生成一个接口模拟服务端,服务端的名字可自行命名,但是后续用JMeter测试时使用一致的服务名
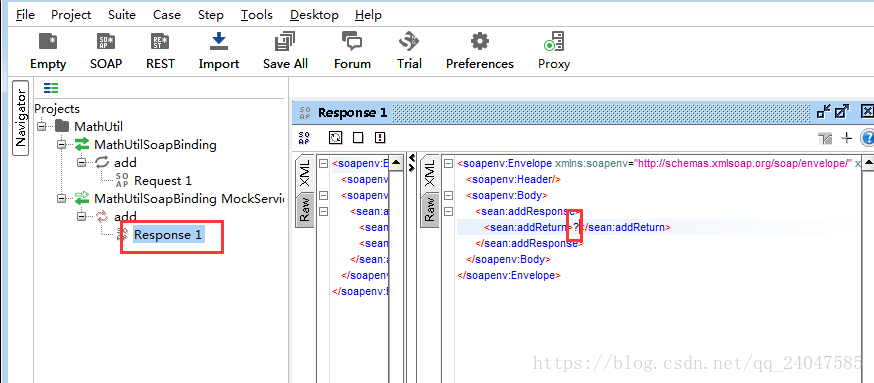
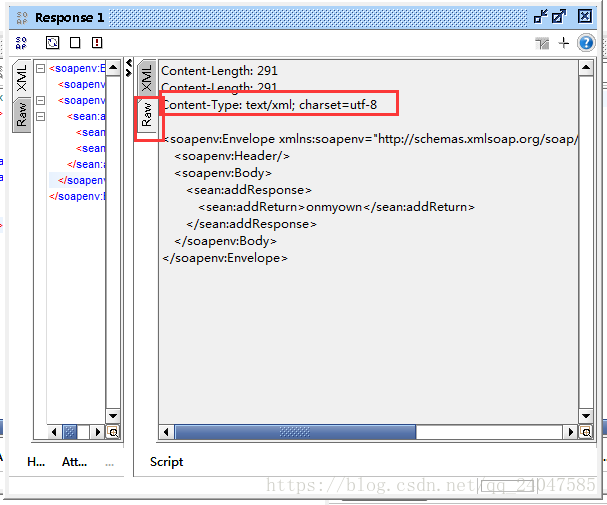
5、双击response1,修改里面的问号为固定字符;我修改为onmyown,后测试发现不修改也可以;
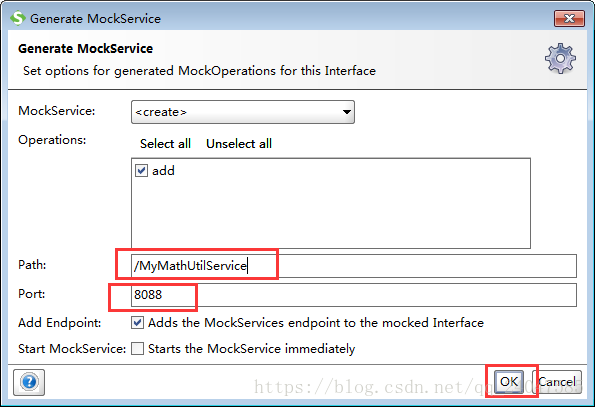
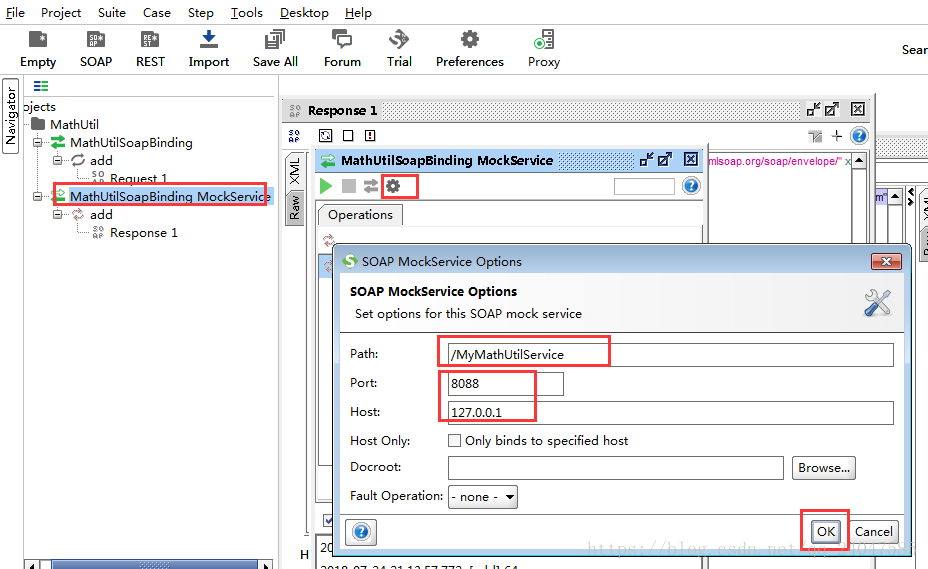
6、双击创建的接口模拟服务器,点击设置按钮,配置相关的IP,接口服务名,端口;点击OK;之后点击绿色按钮运行;
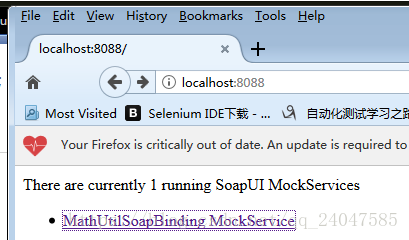
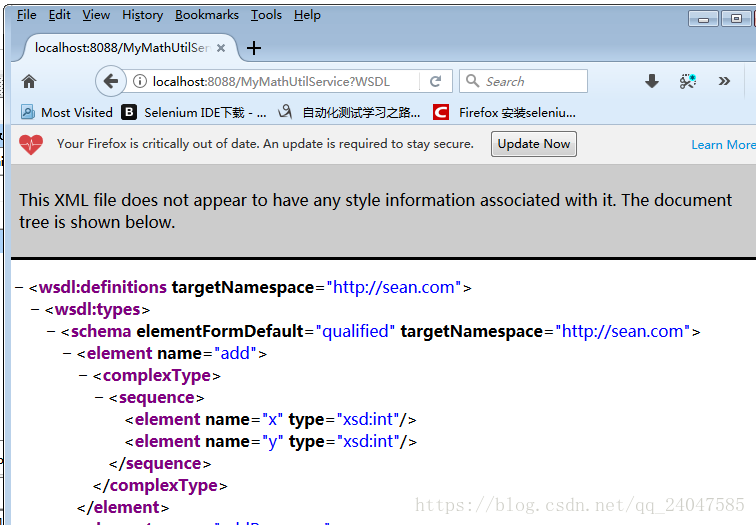
7、在浏览器中输入IP和端口;出现以下页面,并点击链接,出现接口描述文件内容即已经正常配置。
STEP 2:用JMeter测试webservice接口
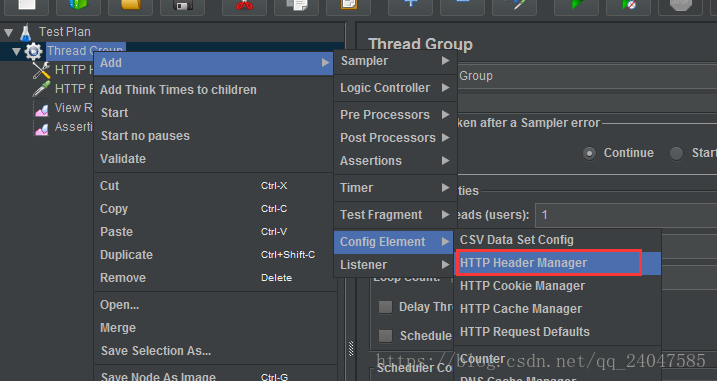
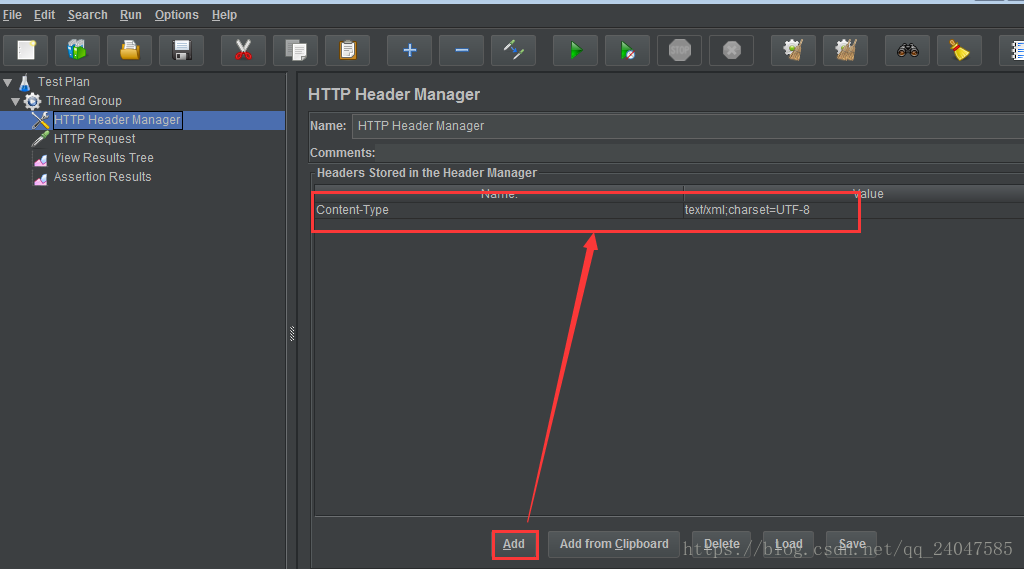
1、新建线程组(步骤略)-----添加HTTP信息头管理器;添加一行名称和值:Content-Type: text/xml;charset=UTF-8
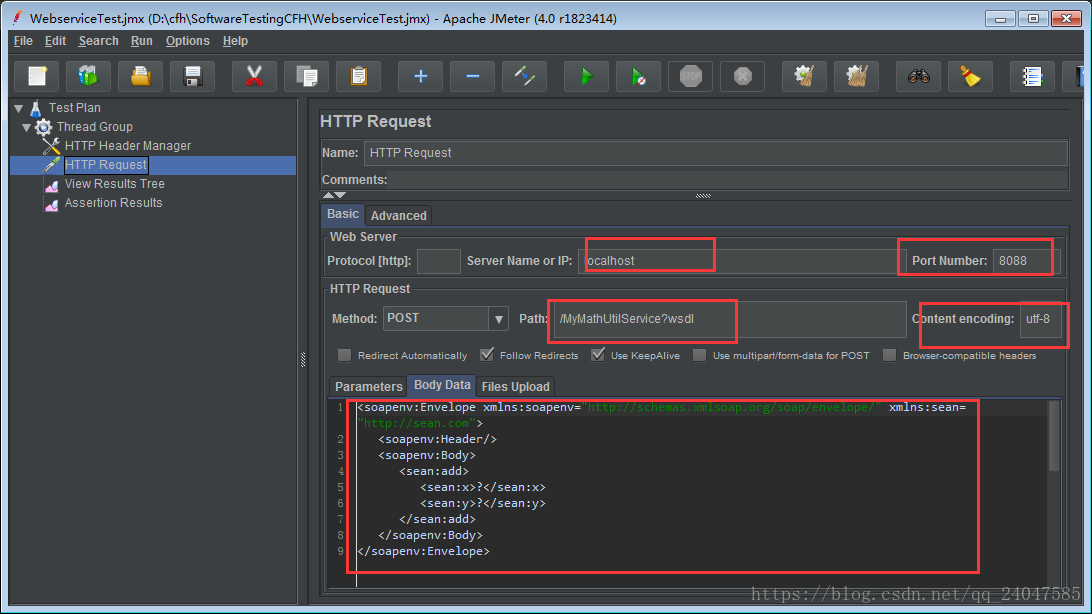
2、添加HTTP请求,在body-data中写入相关的request1中的内容,其他相关设置见下图;
3、添加查看结果树监听器,点击运行之后,测试通过。
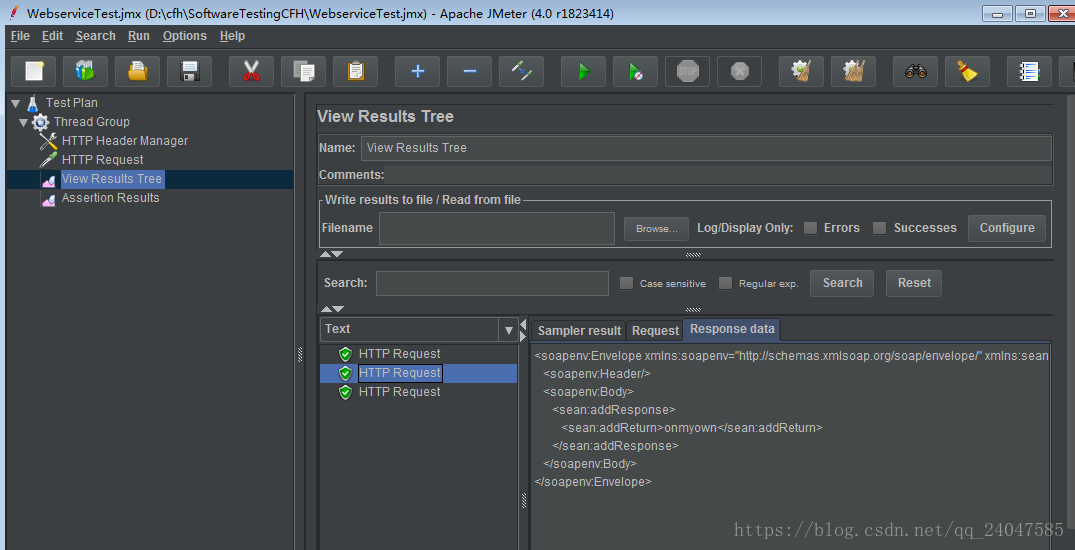
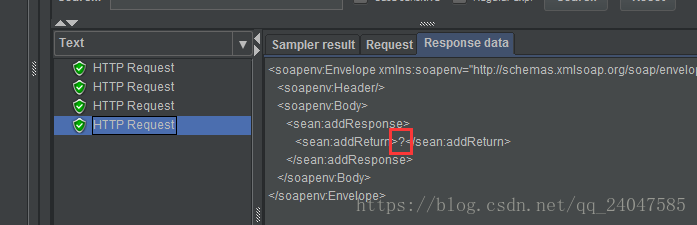 问号也能正常运行;
其他参考文章:https://blog.youkuaiyun.com/fanxiyanhong/article/details/51468870
附加:一个测试weather服务API的例子。参考地址:https://www.yiibai.com/jmeter/jmeter-web-service-api-test-plan.html


 1864
1864

 被折叠的 条评论
为什么被折叠?
被折叠的 条评论
为什么被折叠?
 到【灌水乐园】发言


