


Codeblocks 17.12 + Qt 4.8.7 开发环境搭建
一、QT4.8.7 64位编译
-
QT4.8.7下载链接,由于之前在编译opencv那篇博客中下载使用mingw64,而官方提供编译好的是32位的,所以选择下载源码,重新编译64位的。
-
使用mingw64编译qt4.8.7,参考博客https://blog.youkuaiyun.com/markl22222/article/details/20734085
-
按照参考链接编译,是编译静态库的,如果编译动态库,可以将-static去掉或者换成-shared。
-
编译步骤
- 解压源代码
- 运行configure
configure -confirm-license -opensource -prefix "E:\QT\Qt4.8.7" -debug-and-release -static -platform win32-g++ -nomake demos -nomake examples -nomake tests -fast - 将源码bin路径加入PATH中
- 将源码目录下mkspecs复制到prefix目录(我的是E:\QT\Qt4.8.7)下
- 编译前可以将下面出现的错误提前修改
- 执行mingw32-make && mingw32-make install,如果觉得编译慢,可以试试mingw32-make -j4 && mingw32-make install
-
编译过程中错误解决方法:参考链接:https://blog.youkuaiyun.com/trouble_makers/article/details/77944438
-
错误一、api/qcoloroutput_p.h: 74: 60: 错误:shift expression ‘(1048575 << 20)’ overflows [-fpermissive]
解决方法:找到qt-everywhere-opensource-src-4.8.7\src\xmlpatterns\api\qcoloroutput_p.h这个文件,在第73行进行以下修改// ForegroundMask = ((1 << ForegroundShift) - 1) << ForegroundShift, // BackgroundMask = ((1 << BackgroundShift) - 1) << BackgroundShift ForegroundMask = 0x1f << ForegroundShift, BackgroundMask = 0x7 << BackgroundShift -
错误二、3rdparty\javascriptcore\JavaScriptCore/wtf/TypeTraits.h: 173: 69: error: ‘std::tr1’ has not been declared
解决方法:找到qt-everywhere-opensource-src-4.8.7\src\3rdparty\javascriptcore\JavaScriptCore\wtf\TypeTraits.h这个文件,在第28行
// #include <type_traits> #include <tr1/type_traits> -
错误三、3rdparty\javascriptcore\JavaScriptCore/wtf/HashTable.h: 272: 89: error: call of overloaded ‘swap(std::pair<QTWTF::RefPtrQTJSC::UStringImpl, QTJSC::SymbolTableEntry>&, std::pair<QTWTF::RefPtrQTJSC::UStringImpl, QTJSC::SymbolTableEntry>&)’ is ambiguous
解决方法:找到qt-everywhere-opensource-src-4.8.7\mkspecs\win32-g++\qmake.conf第39行QMAKE_CXXFLAGS = $$QMAKE_CFLAGS修改为以下
QMAKE_CXXFLAGS = $$QMAKE_CFLAGS -std=gnu++98 -
错误四、tmp/obj/release_static/main.o: file not recognized: File truncated
解决方法:删掉报错的这个main.o文件,重新编译
在编译过程中,电脑不知为何卡住,等我重启重新编译会报这个错误
-
二、Codeblocks 配置 QT4
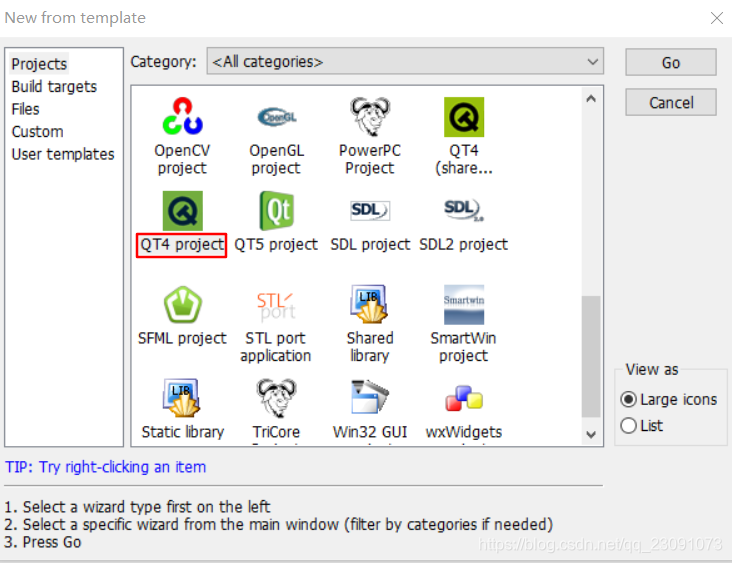
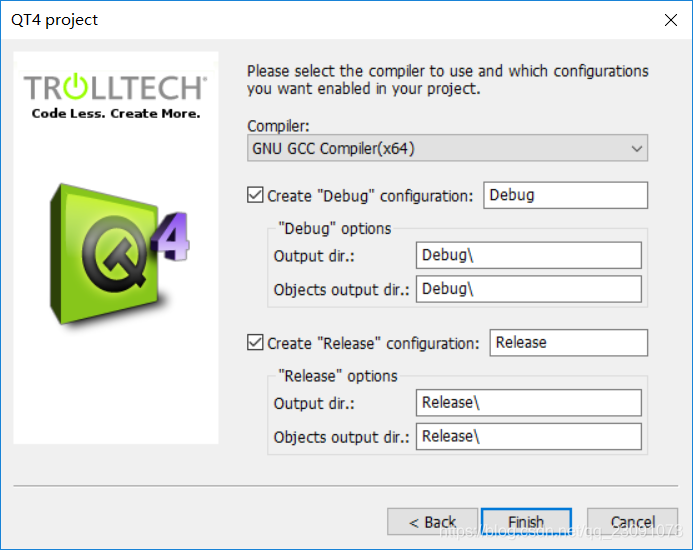
- 新建一个QT4project
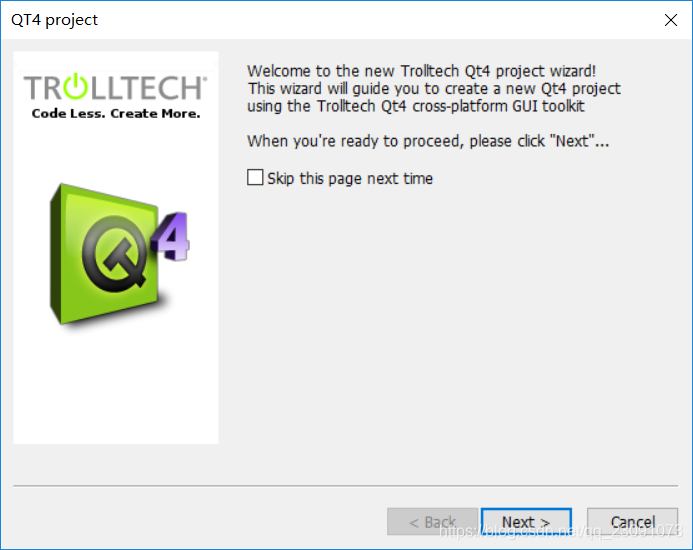
- 下一步
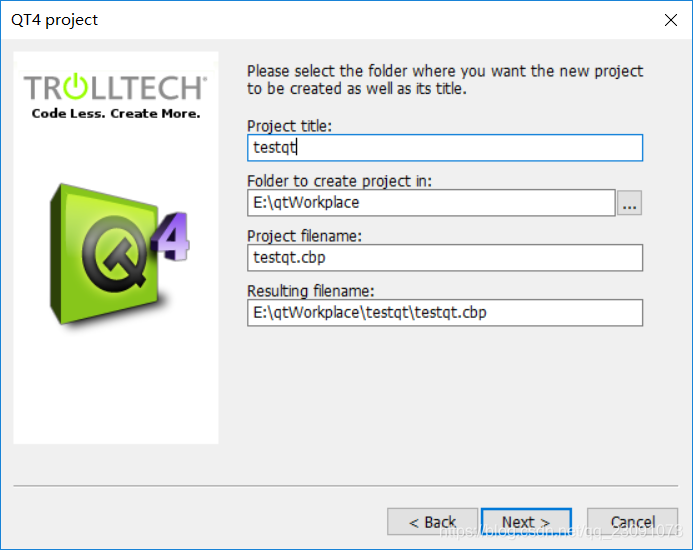
- 选择工程名和路径
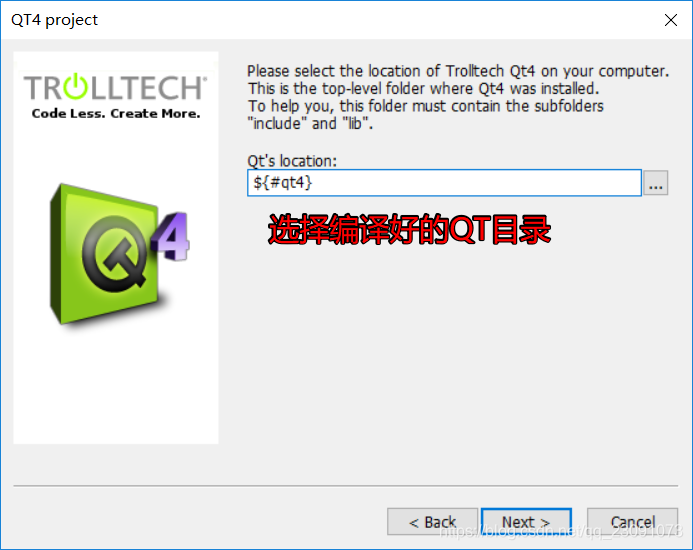
- 设置好qt 安装路径
- 配置好编译器,将默认目录的bin删掉
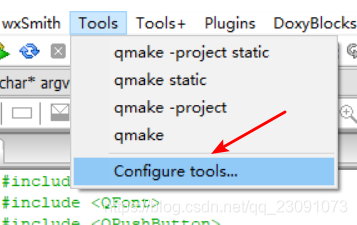
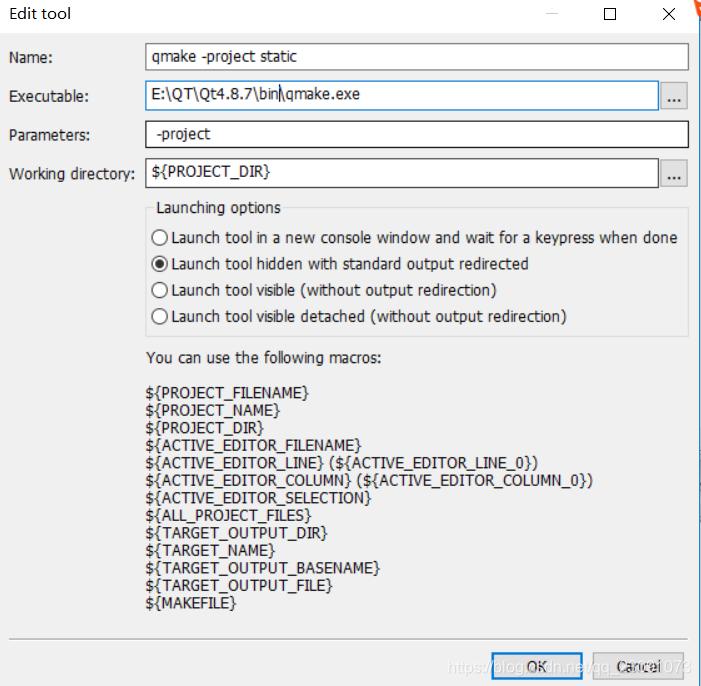
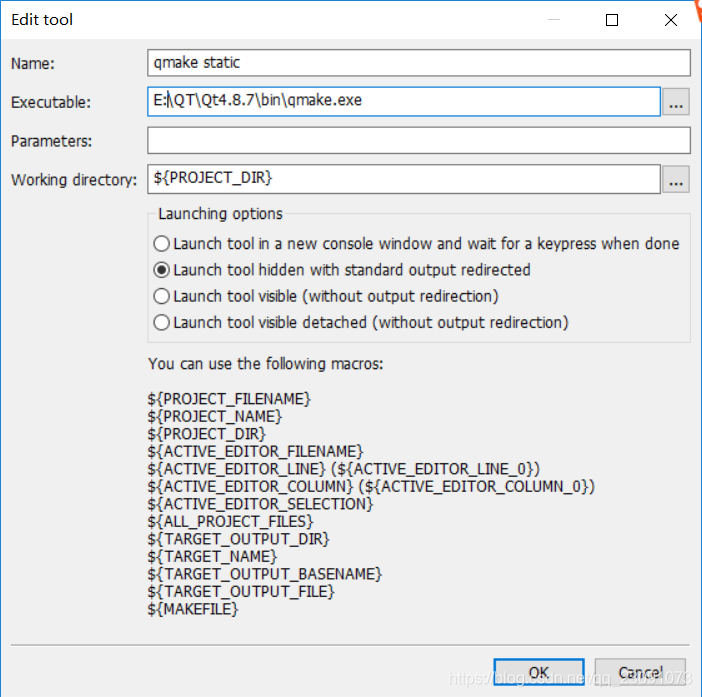
- 因为要使用qmake -project和qmake生成qt的makefile文件,所以需要先配置
- 修改工程的编译方式
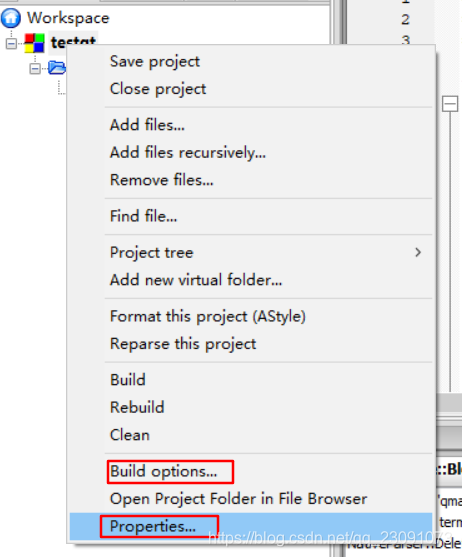
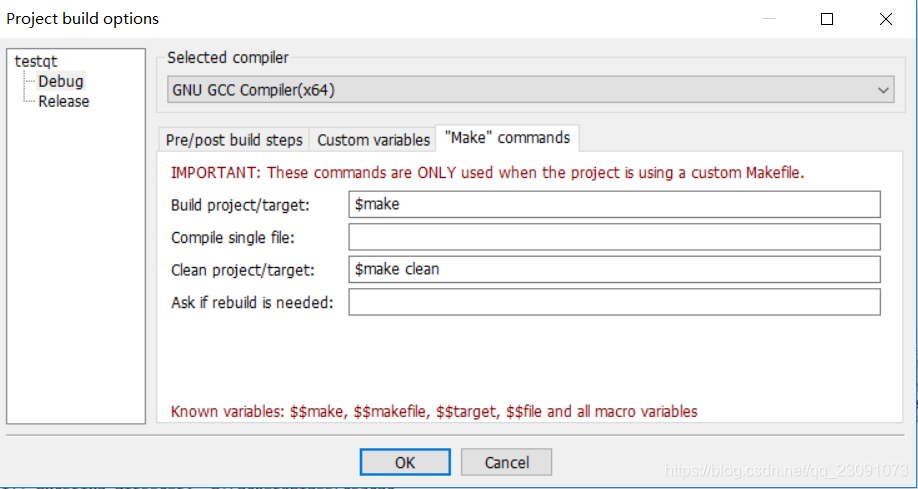
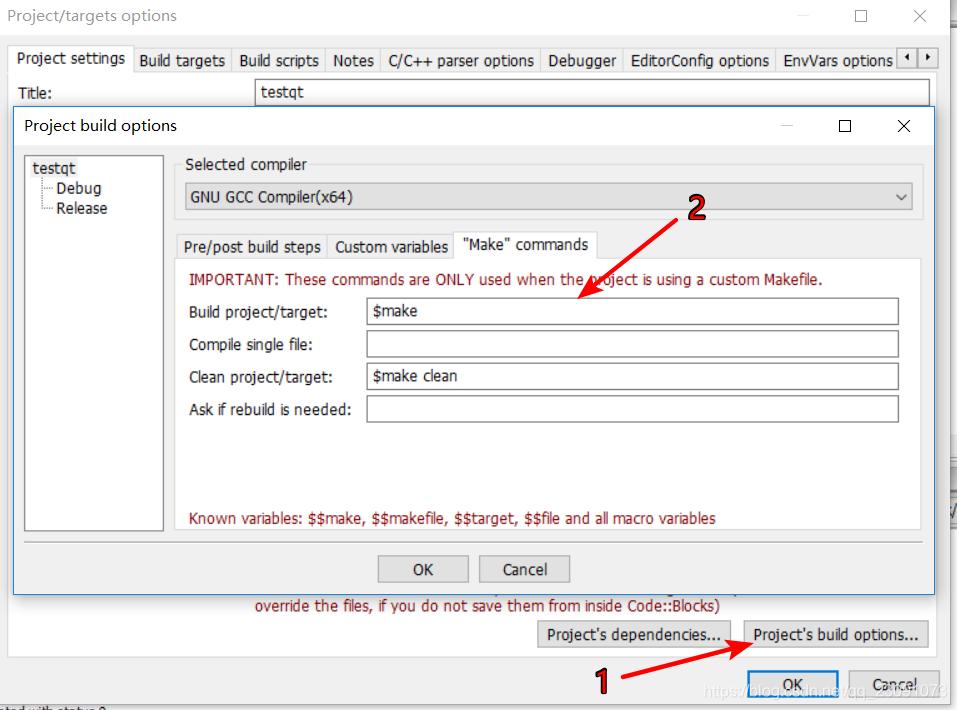
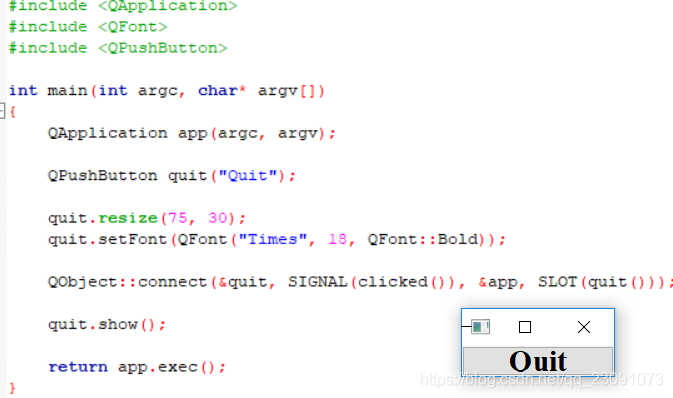
- 编译项目
先执行tool 下的qmake -project , qmake ,接着build,等待编译完成,static竟然要40s,而动态库只需2s。最后运行,搭建完成。
- 补充
如果出现以下这种错误
需要在qmake.exe同级目录下加个文件qt.conf,加入以下内容QMAKESPEC has not been set, so configuration cannot be deduced.Error processing project file: E:/qtWorkplace/testqt/testqt.pro[paths] Prefix = ..


 178
178

 被折叠的 条评论
为什么被折叠?
被折叠的 条评论
为什么被折叠?
 到【灌水乐园】发言


