


 本文档详细介绍了如何创建微服务新模块并利用Nacos进行服务发现。首先,从tdm-system模块复制内容创建student模块,修改资源配置,包括端口和服务名,以及日志路径。接着,在Nacos服务端配置网关,克隆并修改配置文件。最后,生成代码,运行SQL,并启动服务确保可正常访问。
1.新建模块
(1)添加模块,父模块为tdm-modules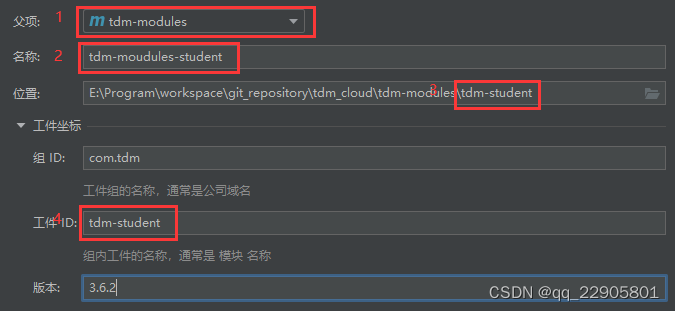
(2)复制tdm-system的pom内容到新模块的pom中,将system都修改为student
<?xml version="1.0" encoding="UTF-8"?>
<project xmlns:xsi="http://www.w3.org/2001/XMLSchema-instance"
xmlns="http://maven.apache.org/POM/4.0.0"
xsi:schemaLocation="http://maven.apache.org/POM/4.0.0 http://maven.apache.org/xsd/maven-4.0.0.xsd">
<parent>
<groupId>com.tdm</groupId>
<artifactId>tdm-modules</artifactId>
<version>3.6.2</version>
</parent>
<modelVersion>4.0.0</modelVersion>
<artifactId>tdm-modules-system</artifactId>
<description>
tdm-modules-system系统模块
</description>
<dependencies>
<!-- SpringCloud Alibaba Nacos -->
<dependency>
<groupId>com.alibaba.cloud</groupId>
<artifactId>spring-cloud-starter-alibaba-nacos-discovery</artifactId>
</dependency>
<!-- SpringCloud Alibaba Nacos Config -->
<dependency>
<groupId>com.alibaba.cloud</groupId>
<artifactId>spring-cloud-starter-alibaba-nacos-config</artifactId>
</dependency>
<!-- SpringCloud Alibaba Sentinel -->
<dependency>
<groupId>com.alibaba.cloud</groupId>
<artifactId>spring-cloud-starter-alibaba-sentinel</artifactId>
</dependency>
<!-- SpringBoot Actuator -->
<dependency>
<groupId>org.springframework.boot</groupId>
<artifactId>spring-boot-starter-actuator</artifactId>
</dependency>
<!-- Swagger UI -->
<dependency>
<groupId>io.springfox</groupId>
<artifactId>springfox-swagger-ui</artifactId>
<version>${swagger.fox.version}</version>
</dependency>
<!-- Mysql Connector -->
<dependency>
<groupId>mysql</groupId>
<artifactId>mysql-connector-java</artifactId>
</dependency>
<!-- tdm Common DataSource -->
<dependency>
<groupId>com.tdm</groupId>
<artifactId>tdm-common-datasource</artifactId>
</dependency>
<!-- tdm Common DataScope -->
<dependency>
<groupId>com.tdm</groupId>
<artifactId>tdm-common-datascope</artifactId>
</dependency>
<!-- tdm Common Log -->
<dependency>
<groupId>com.tdm</groupId>
<artifactId>tdm-common-log</artifactId>
</dependency>
<!-- tdm Common Swagger -->
<dependency>
<groupId>com.tdm</groupId>
<artifactId>tdm-common-swagger</artifactId>
</dependency>
</dependencies>
<build>
<finalName>${project.artifactId}</finalName>
<plugins>
<plugin>
<groupId>org.springframework.boot</groupId>
<artifactId>spring-boot-maven-plugin</artifactId>
<executions>
<execution>
<goals>
<goal>repackage</goal>
</goals>
</execution>
</executions>
</plugin>
</plugins>
</build>
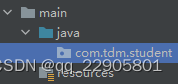
</project>(3)新模块下建包,创建启动类
@EnableCustomConfig
@EnableCustomSwagger2
@EnableRyFeignClients
@SpringBootApplication
public class TdmStudentApplication {
public static void main(String[] args) {
SpringApplication.run(TdmStudentApplication.class,args);
}
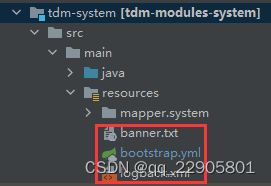
}(4)将tdm-system模块下的资源文件复制到新模块
(5)修改资源文件
①修改端口和服务名
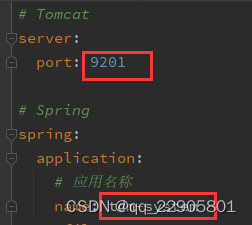
②修改日志存放路径

2.配置Nacos服务发现
(1)打开Nacos服务端 http://localhost:8848/nacos
(2)配置tdm-gateway-dev-yml,设置网关

(3)在路由最下方添加配置,点击发布
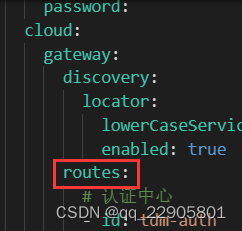
        # 学生模块
        - id: tdm-student
          uri: lb://tdm-student
          predicates:
            - Path=/student/**
          filters:
            - StripPrefix=1
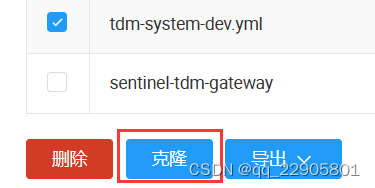
(4)克隆tdm-system-dev.yml
①设置目标空间
②设置Data ID,格式必须为 服务名-环境名.yml
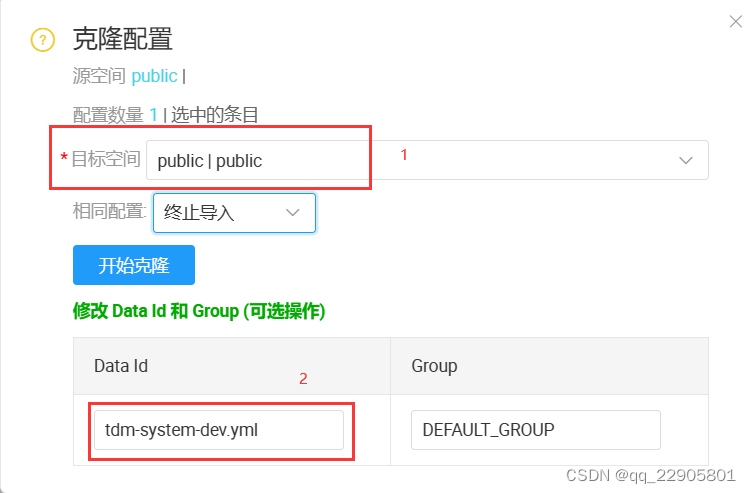
③开始克隆
(5)修改克隆后的配置
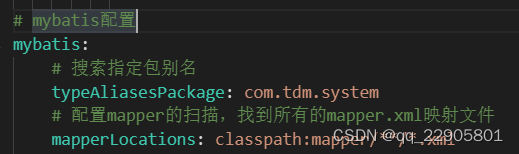
# mybatis配置
mybatis:
    # 搜索指定包别名
    typeAliasesPackage: com.tdm.student
    # 配置mapper的扫描,找到所有的mapper.xml映射文件
    mapperLocations: classpath:mapper/**/*.xml
(6)设置sentinel网关,添加配置

    {
        "resource": "tdm-student",
        "count": 1000,
        "grade": 1,
        "limitApp": "default",
        "strategy": 0,
        "controlBehavior": 0
    }
3.生成代码、运行sql,复制到项目中
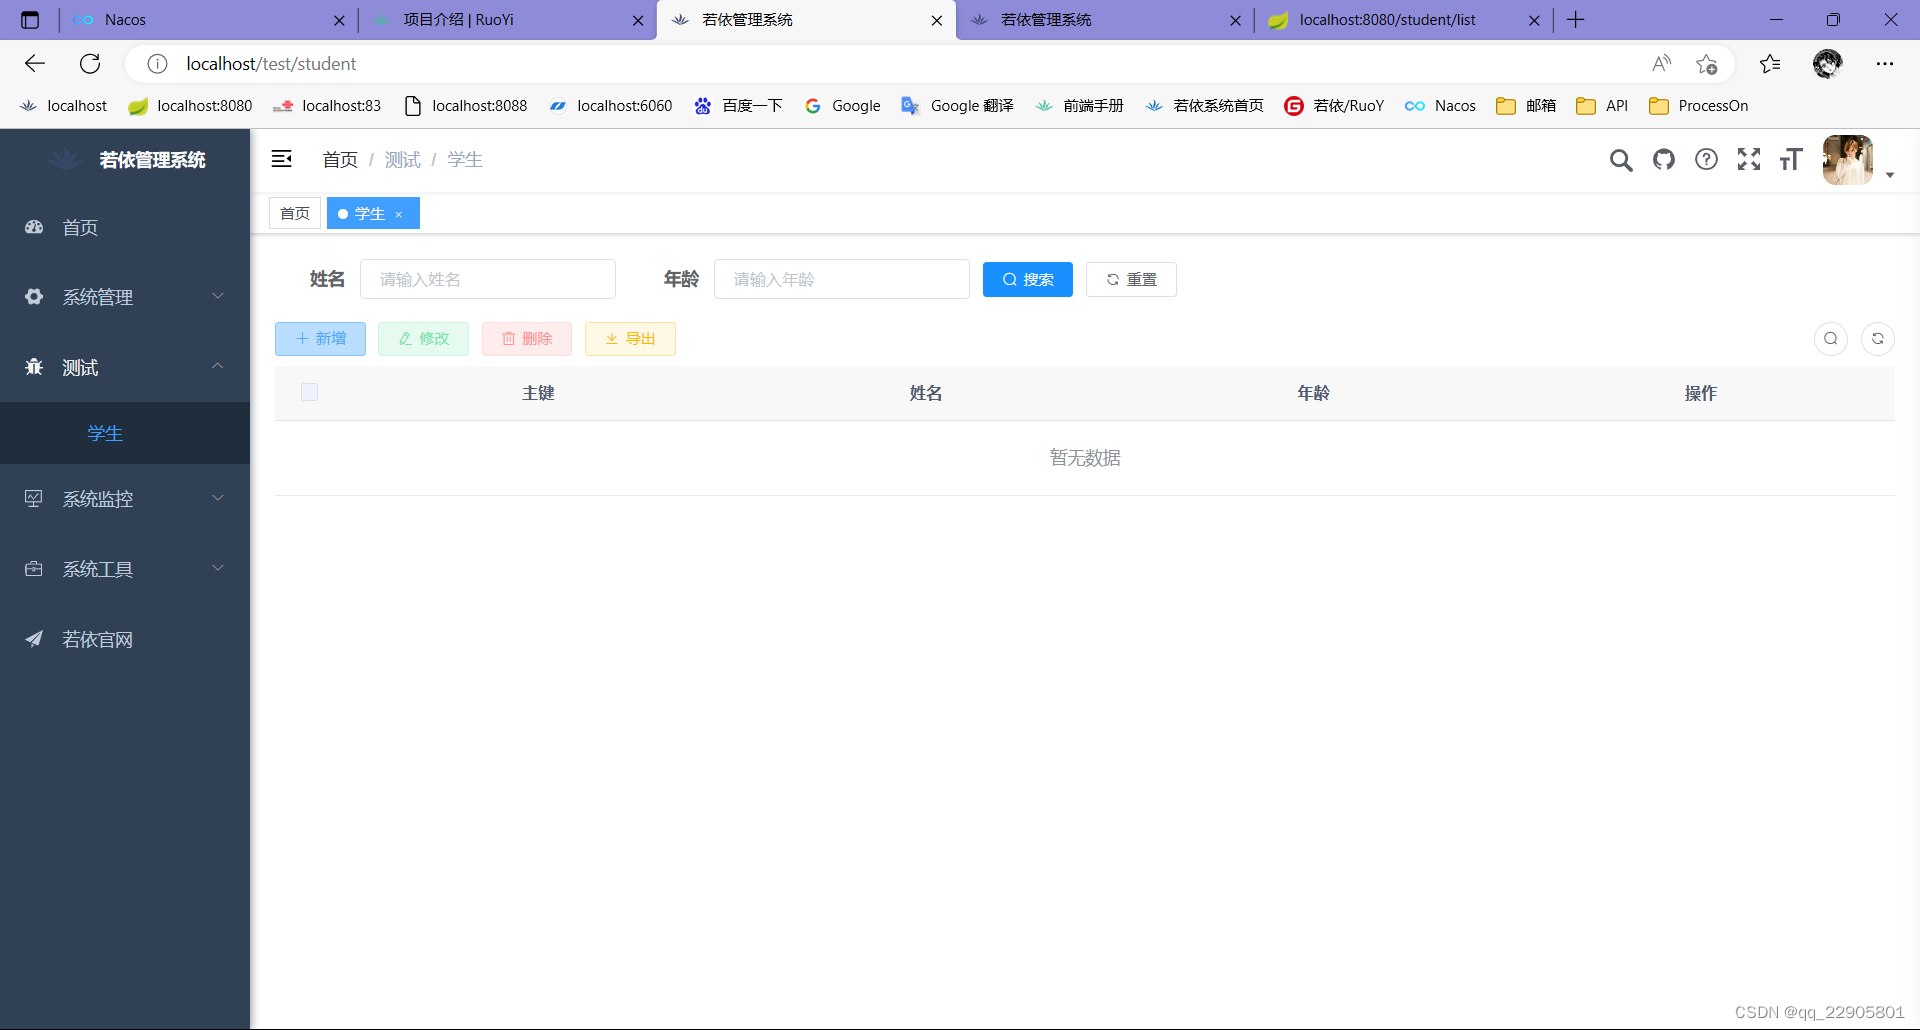
4.开启服务,可以正常访问


 4609
4609

 被折叠的 条评论
为什么被折叠?
被折叠的 条评论
为什么被折叠?
 到【灌水乐园】发言


