


 本文介绍了一种使用HTML、CSS及jQuery实现的轮播图组件。该组件通过动态调整图片位置来达到平滑过渡的效果,并提供了导航点以便于用户手动切换图片。文章详细解释了轮播图的工作原理和代码实现细节。
<!DOCTYPE html>
<html lang="en">
<head>
    <meta charset="UTF-8">
    <meta name="viewport" content="width=device-width, initial-scale=1.0">
    <meta http-equiv="X-UA-Compatible" content="ie=edge">
    <title>Document</title>
    <style type="text/css">
        *{
            margin: 0%;
            padding: 0%;
        }

        body{
            margin: 50px;
            background: #7f8c8d;
            text-align: center;
            font-family: "Helvetical Neue";
            color: rgba(255,255,255,.7);

        }

        h1{
            font-size:42px;
	        margin:30px auto;
        }
        #slideshow{
            width: 980px;
            height: 450px;
            /*overflow: visible;*/
            overflow: hidden;
            position: relative;

            margin: 0 auto;


        }

        #slideshow ul, #slideshow ul li, #slideshow-nav{
            list-style:none;
            position:absolute;
        }
        /*slideshow-nav 代表了图像轮播的导航区域,文明将在后续的js代码中插入span
        这样的点来作为图片的导航。导航将以小圆点的形式出现,在轮播区域底部居中出现,通过原点背景色
        的变换来显示当前播放的进度

        */

        #slideshow-nav{
            /*定义大小为100%,并定位*/
            width: 100%;
            text-align: center;
            bottom:20px;
        }

        #slideshow-nav span{
            width: 15px;
            height: 15px;
            border-radius: 50%;
            background: rgba(255,255,255,.3);
            margin:0 7px;
            /*d定义字体大小为0*/
            font-size: 0;
            /*类似于导航栏的效果,display设置为inline-block*/
            display: inline-block;
            /*起先设置动画不能被选中*/
            user-select: none;
            /*定义动画*/
            transition: all .5;
            /*设置手势*/
            cursor: pointer;
        }

        /*当前轮播被选中时,span改变为纯白色*/
        #slideshow-nav span.active{
            background: white;
        }

    </style>

</head>
<body>
<!--
第一个div是图像轮播组件的外部容器,其中包含了一个ul列表,以及一个
名为slideshow-nav的nav列表,
前者容纳了所有的轮播图片,后者则用于控制图像切换的导航元素

-->
<h1>Slideshow component</h1>
<div id="slideshow">
  <ul>
    <li><img src="p1.jpg"></li>
    <li><img src="p2.jpg"></li>
    <li><img src="p3.jpg"></li>
    <li><img src="p4.jpg"></li>
  </ul>
  <div id="slideshow-nav"></div>
</div>

<script type="text/javascript" src="jquery-2.1.4.min.js"></script>

<script type="text/javascript">
   $(document).ready(function() {
        var duration = 3000;
        var speed = 1000;
        var width = $("#slideshow").width();
        var curIndex = 0;
        var totalIndex = $("#slideshow > ul  > li").length;//图片的总数量
        //console.log(totalIndex); //totalIndex = 4;
        var timer; //设置一个定时器

        //利用each函数,为每一个图像设置为横向排列,并在导航栏中添加span节点
        $("#slideshow > ul > li").each(function(index){
            //console.log(index);  //0,1,2,3  -----span1 span2 span3 span4
            $(this).css("left",index*width+"px");
            $('#slideshow-nav').append("<span>"+(index+1)+"</span>");
        });
        //为每一个span节点设置索引值,并为其设置click函数
        $("#slideshow-nav > span").each(function(index){
            //index从0开始计数
            //为每个span节点添加索引值
            $(this).attr("index", index);
            console.log("index: "+ index);// 0 1 2 3
            $(this).click(function(){
                curIndex = $(this).attr("index")-1;//刷新当前图片的索引值
                console.log("qqq "+curIndex); //-1 0 1 2
                clearTimeout(timer);//清除计时
                move();//重新执行move函数以显示该图片
            });
        });


        //将图片的排列定义为1 2 3 4 1 的 格式,对第一张图片进行复制并放在最右侧,
        //并设置第一个span为active
        $("#slideshow-nav > span").eq(0).addClass("active");
        var firstChild = $("#slideshow > ul > li").eq(0).clone();//复制
        //将图片添加到列表最后边,相当于又添加了一个li
        $("#slideshow > ul").append(firstChild);
        //并将其放在最右边
        firstChild.css("left", totalIndex*width+"px");

        function move(){
            curIndex++;
            console.log("curIndex: "+curIndex); //1 2 3 4 5 2 3 4 5 2 3 4 5,5对应的是第1张图片
            if(curIndex > totalIndex){ // 5 > 4
                curIndex = 1;//表示当前正在播放第2张图片
                $('#slideshow > ul').css("left", "0px");//将图片序列重置到原点
            }
            //导航部分的变化
            //清除所有导航节点的active
            for(var i = 0; i < totalIndex; i++){
                console.log(totalIndex+"totalIndex")
                $("#slideshow-nav > span").eq(i).removeClass("active");
            }

            if(curIndex === totalIndex){ //4 = 4
                console.log("curIndex: "+curIndex+" total "+totalIndex);
                $("#slideshow-nav > span").eq(0).addClass("active");//如果当前索引值等于图片总数,则说明当前正显示第一张图片的副本,因此应激活第一个导航节点
            }
            else{
                $("#slideshow-nav > span").eq(curIndex).addClass("active");//在其余情况下,则为当前导航节点添加active类
            }

            //图片部分
            $("#slideshow > ul").animate({left:width*curIndex*-1+"px"},speed);//为图片序列创建动画
            timer = setTimeout(move, duration+speed);//设置延迟一定时间后执行move函数,延迟时间等于动画时长加上每张图片的持续显示时间
        }

        timer = setTimeout(move,duration);//设定一定的延迟时间之后执行move函数
    });
</script>
</body>
</html>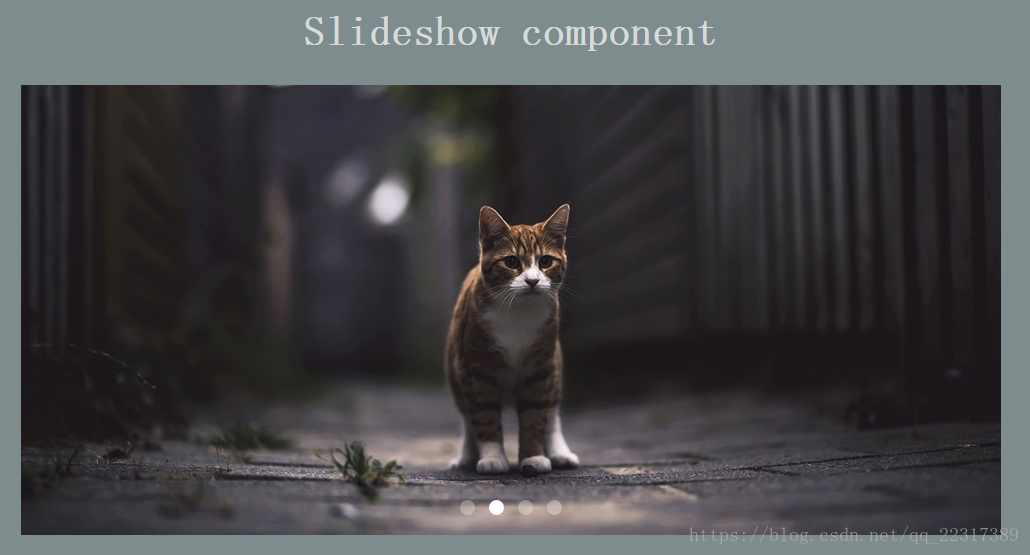
图片素材:


 3951
3951

 被折叠的 条评论
为什么被折叠?
被折叠的 条评论
为什么被折叠?
 到【灌水乐园】发言


