


 本文介绍了如何使用Maven创建一个Spring程序,添加了Spring的核心依赖,并创建了一个简单的YuanFactory类。在resources目录下配置了YuanBeans.xml以定义bean,然后通过ClassPathXmlApplicationContext加载XML配置,进行单元测试以验证bean的实例化。
我们今天写第一个spring程序
我们采用maven形式创建工程。
我们首先在pom.xml中加入引用。
<?xml version="1.0" encoding="UTF-8"?>
<project xmlns="http://maven.apache.org/POM/4.0.0"
         xmlns:xsi="http://www.w3.org/2001/XMLSchema-instance"
         xsi:schemaLocation="http://maven.apache.org/POM/4.0.0 http://maven.apache.org/xsd/maven-4.0.0.xsd">
    <modelVersion>4.0.0modelVersion>

    <groupId>org.examplegroupId>
    <artifactId>spring_demoartifactId>
<version>1.0-SNAPSHOTversion> <properties> <maven.compiler.source>8maven.compiler.source> <maven.compiler.target>8maven.compiler.target> properties> <dependencies> <!-- 添加 json依赖 --> <dependency> <groupId>org.springframeworkgroupId> <artifactId>spring-contextartifactId> <version>5.2.9.RELEASEversion> dependency> <!--https://mvnrepository.com/artifact/org.springframework/spring-core --> <dependency> <groupId>org.springframeworkgroupId> <artifactId>spring-coreartifactId> <version>5.2.9.RELEASEversion> dependency> <!--https://mvnrepository.com/artifact/org.springframework/spring-beans --> <dependency> <groupId>org.springframeworkgroupId> <artifactId>spring-beansartifactId> <version>5.2.9.RELEASEversion> dependency> <!-- https://mvnrepository.com/artifact/commons-logging/commons-logging --> <dependency> <groupId>commons-logginggroupId> <artifactId>commons-loggingartifactId> <version>1.2version> dependency> <dependency> <groupId>junitgroupId> <artifactId>junitartifactId> <version>RELEASEversion> <scope>testscope> dependency> dependencies> project> 需要spring-context,spring-core,spring-beans,commons-logging。由于需要单元测试就加入了junit。
下面开始写代码
创建bean类
package Class04;

import org.apache.commons.logging.Log;
import org.apache.commons.logging.LogFactory;

public class YuanFactory {
    private static final Log LOGGER = LogFactory.getLog(YuanFactory.class);

    public YuanFactory() {
        LOGGER.info("YuanFactory Constructor");
    }

}
很简单构造函数打印一句log
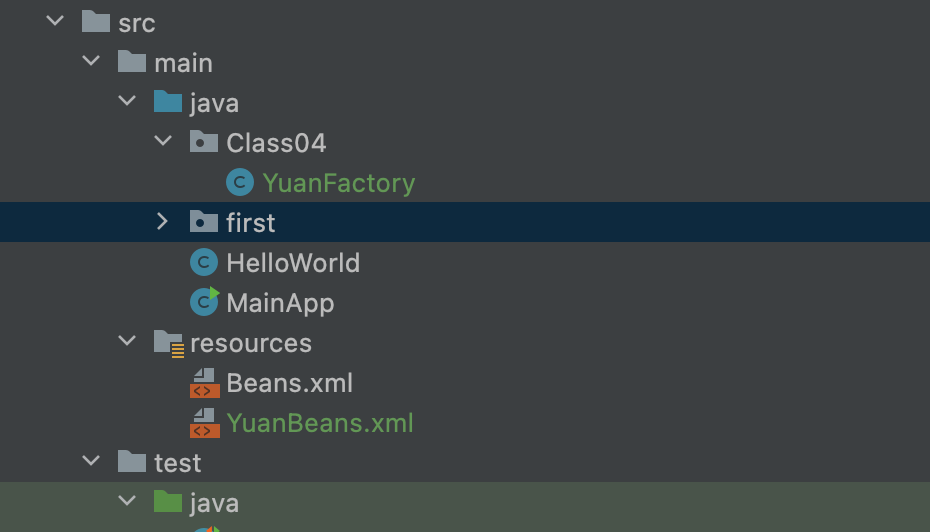
在main下创建resources
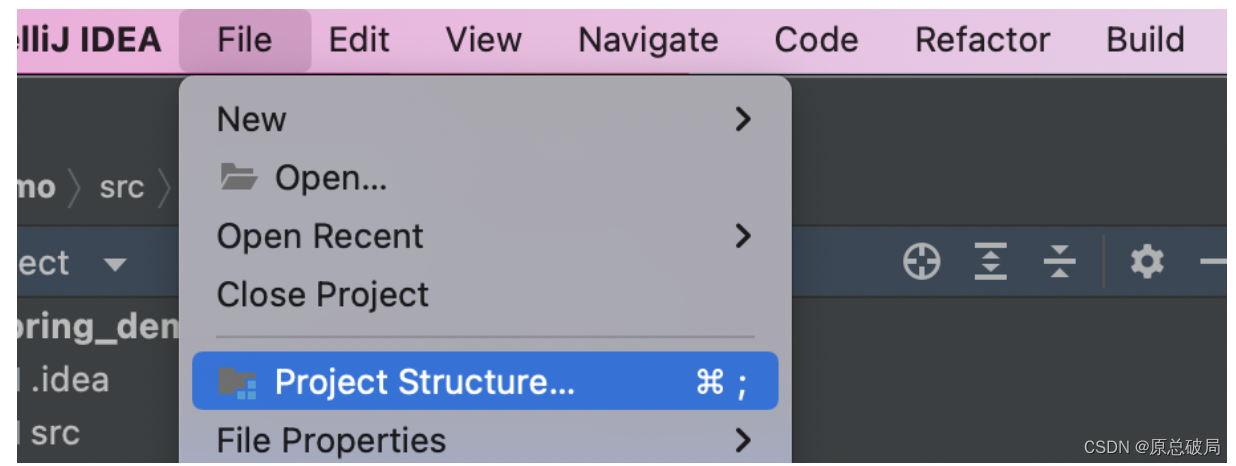
选择Project Structure
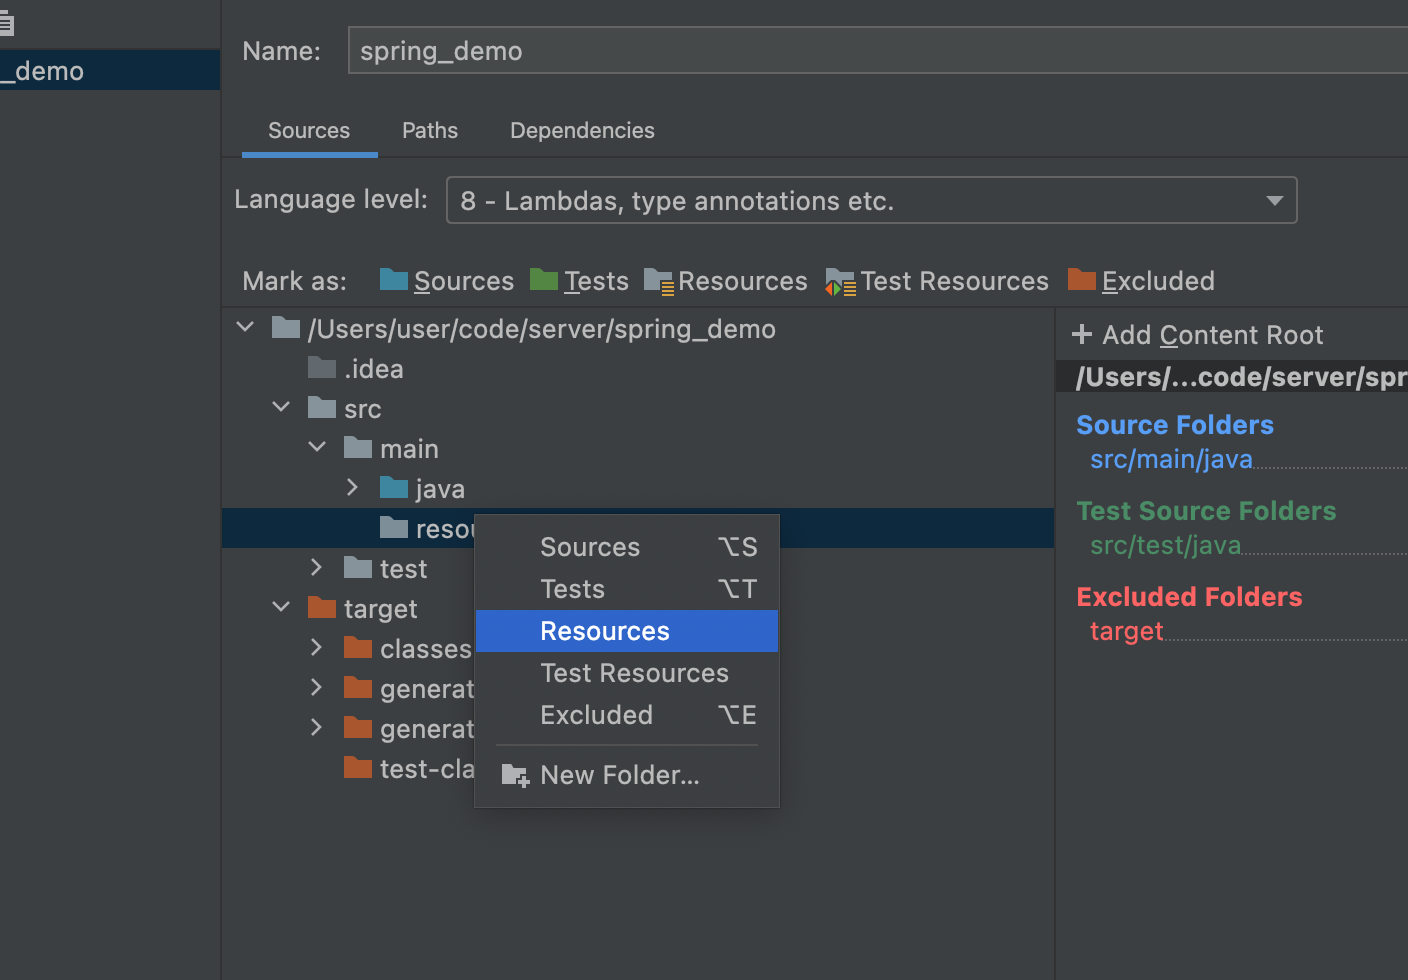
选择resources文件夹,右键标记为Resources
-
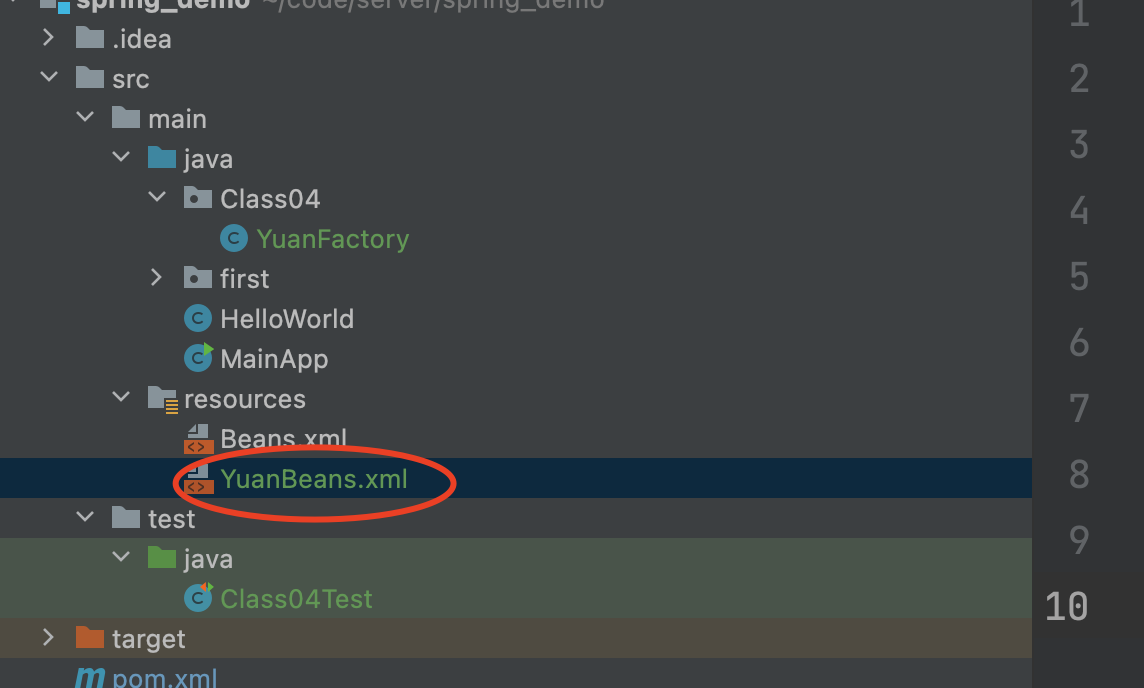
resources增加YuanBeans .xml
<?xml version="1.0" encoding="UTF-8"?>
<beans xmlns="http://www.springframework.org/schema/beans"
       xmlns:xsi="http://www.w3.org/2001/XMLSchema-instance"
       xmlns:p="http://www.springframework.org/schema/p"
       xsi:schemaLocation="http://www.springframework.org/schema/beans http://www.springframework.org/schema/beans/spring-beans.xsd">

    <bean id="YuanFactory" class="Class04.YuanFactory"/>

beans>
<bean id="YuanFactory" class="Class04.YuanFactory"/>
为"Class04.YuanFactory"做了标识"YuanFactory"
-
我们写单元测试文件
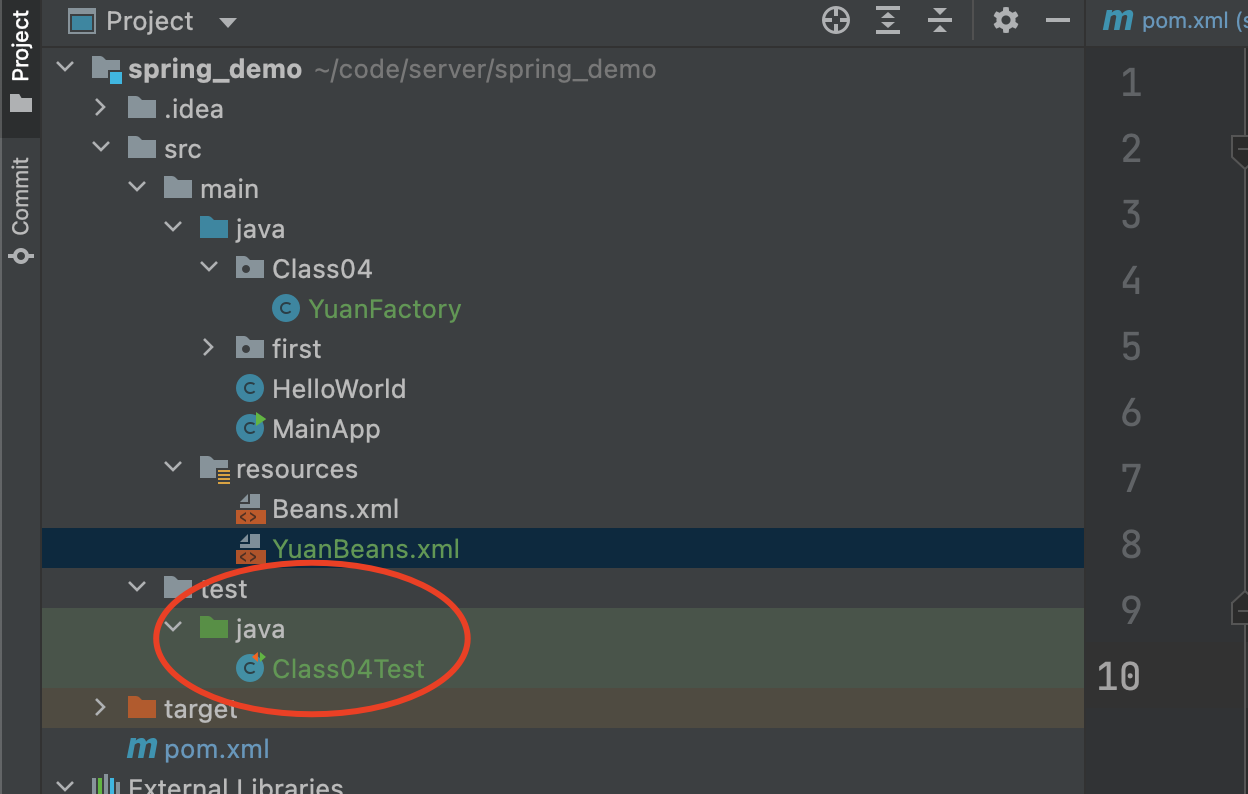
public class Class04Test {
    @Test
    public void testYuanFactory(){
        ApplicationContext context = new ClassPathXmlApplicationContext("YuanBeans.xml");
        YuanFactory factory = (YuanFactory) context.getBean("YuanFactory");

    }
}
ClassPathXmlApplicationContext 会从resources的YuanBeans.xml读取注册的bean
我们可以通过context.getBean(id)获取到我们需要的bean。id就是我们在YuanBeans.xml注册的bean id。通过上面的代码,我们可以知道bean的创建不是我们自己通过new创建出来的,而是ClassPathXmlApplicationContext创建出来的啊。
执行单元测试文件可以看到输出
六月 30, 2023 10:44:32 上午 Class04.YuanFactory <init>
信息: YuanFactory Constructor


 被折叠的 条评论
为什么被折叠?
被折叠的 条评论
为什么被折叠?
 到【灌水乐园】发言


