


 本文介绍了如何在Apache服务器上配置mod_xsendfile模块,以实现通过X-Sendfile技术优化大文件下载,提升服务器效率。详细步骤包括在Windows和Linux环境下下载并安装模块,配置Apache配置文件,以及测试文件下载功能。
1、环境
apache2.4.39
window或linux(ubuntu16.04)
Apache mod_xsendfile:https://tn123.org/mod_xsendfile/
2、xsendfile概述
X-Sendfile 是一种将文件下载请求由后端应用转交给前端 web
服务器处理的机制,它可以消除后端程序既要读文件又要处理发送的压力,从而显著提高服务器效率,特别是处理大文件下载的情形下。
3、window配置mod_xsendfile
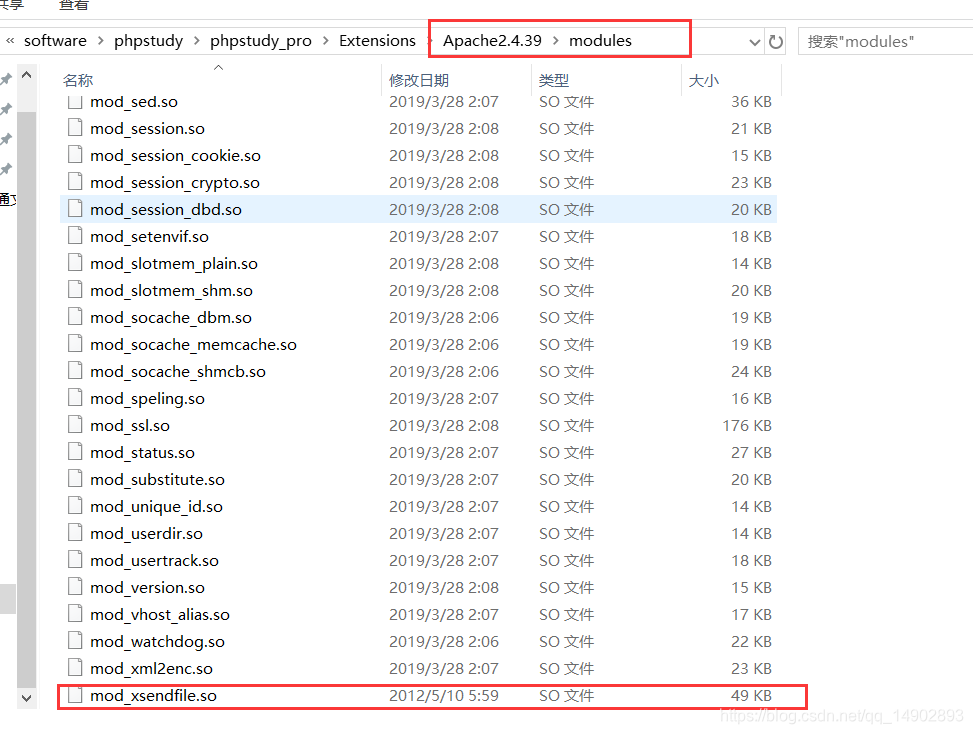
- 下载mod_xsendfile模块(必须下载与apache版本对应的模块)
https://github.com/nmaier/mod_xsendfile/tree/master/bin - 将mod_xsendfile.so放置到apache安装目录下的modules文件夹
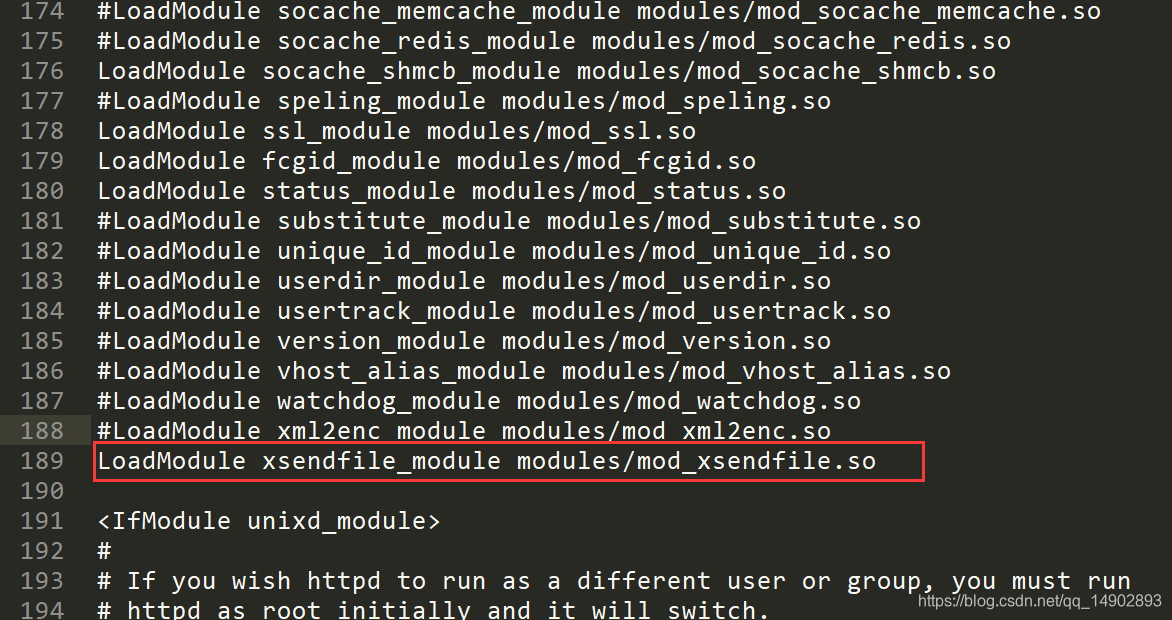
- 配置apache配置文件(httpd.conf),加入以下内容
LoadModule xsendfile_module modules/mod_xsendfile.so
- 开启xsendfile
<VirtualHost *:80>
    DocumentRoot "E:/web/download"
    ServerName 192.168.1.102
    ServerAlias
    FcgidInitialEnv PHPRC "D:/software/phpstudy/phpstudy_pro/Extensions/php/php5.6.9nts"
    AddHandler fcgid-script .php
    FcgidWrapper "D:/software/phpstudy/phpstudy_pro/Extensions/php/php5.6.9nts/php-cgi.exe" .php
  <Directory "E:/web/download">
      Options FollowSymLinks ExecCGI
      AllowOverride All
      Order allow,deny
      Allow from all
     Require all granted
	  DirectoryIndex index.php index.html
  </Directory>
  XSendFile on
  XSendFilePath E:/web/download
</VirtualHost>
主要配置
#开启XSendfile
XSendFile on
#指定文件存放的目录
XSendFilePath E:\web\download
- 重启apache,如果apache能正常启动,则xsendfile开启成功
4、linux配置mod_xsendfile
-
安装apache扩展模块的工具
sudo apt-get install apache2-dev
-
下载mod_xsendfile.c
https://tn123.org/mod_xsendfile/
-
编译mod_xsendfile模块
sudo apxs2 -cia mod_xsendfile.c
-
重启apache
sudo service apache2 restart
-
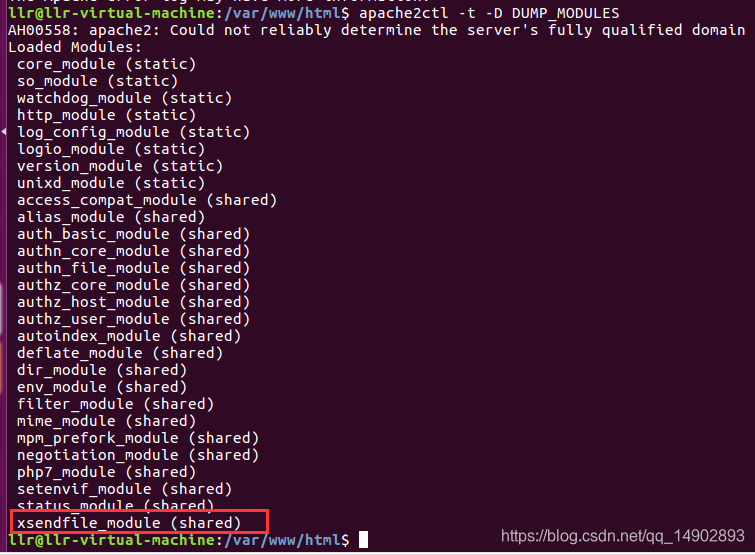
查看apache是否加载mod_xsendfile模块
apache2ctl -t -D DUMP_MODULES
-
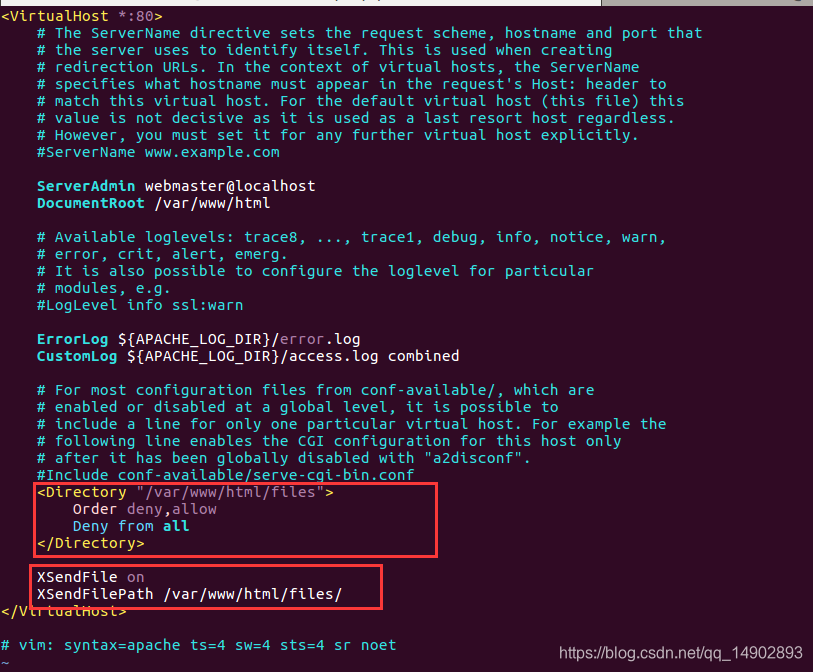
在apache配置文件或虚拟机配置文件添加以下内容
禁止直接访问下载文件目录
<Directory “/var/www/html/files”>
Order deny,allow
Deny from all
</Directory>
Xsendfile配置
XSendFile on
XSendFilePath /var/www/html
-
重启apache
sudo service apache2 restart
5、测试文件下载(以php为例 文件使用绝对路径)
	header("X-Sendfile: E:/web/download/源码.zip");
	header("Content-Type: application/octet-stream");
	header("Content-Disposition: attachment; filename=\"源码12.zip\"");
6、刷新页面下载文件
文件下载并不是由php处理下载,而是由php将文件下载转交给web服务器进行处理。


 349
349


 到【灌水乐园】发言


