


Nginx配置阿里云SSL证书并反向代理到前台端口
-
购买完证书后,就是验证,这一步很简单就正常的域名解析,按照要求进行操作
-
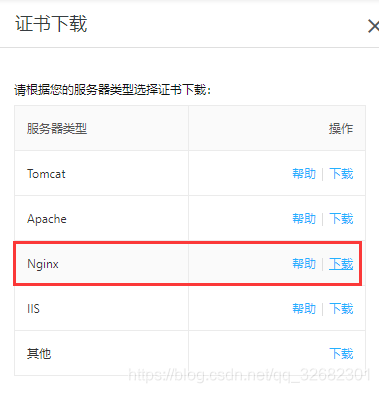
在SSL证书管理页面,点击已签发旁边的!符号,点击下载
-
下载证书
-
解压到相应目录,一般就是在Nginx的安装目录里面,我是放在nginx安装目录里面的conf文件目录下
-

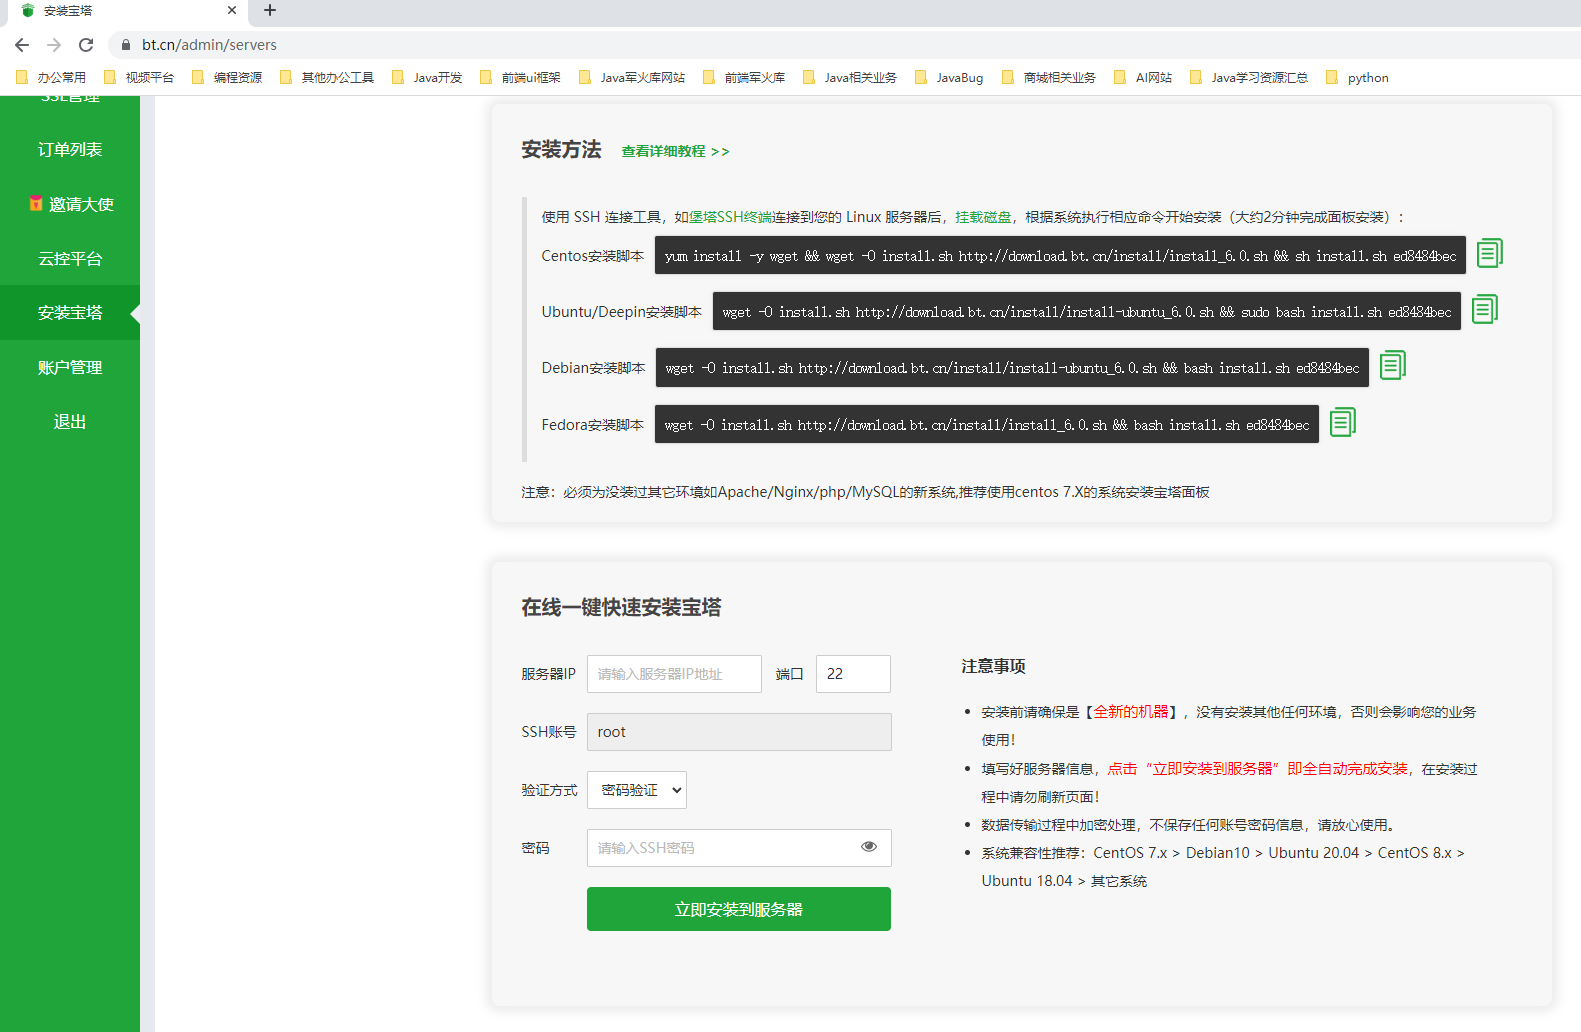
安装Nginx
一键安装宝塔,通过宝塔安装nginx,后边只需在nginx安装目录手动修改一下nginx.conf策略就可以了,也可以自己在SSH连接中使用命令下载
https://www.bt.cn/admin/servers
配置nginx
nginx的安装目录为:/www/server/nginx/。进入目录,增加cert/文件夹,把刚刚下载的两个文件上传到cert/文件夹中。
打开 Nginx 安装目录下 conf 目录中的 nginx.conf 文件,其中 80 端口、443端口配置如下
#user  nobody;
worker_processes  1;

#error_log  logs/error.log;
#error_log  logs/error.log  notice;
#error_log  logs/error.log  info;

#pid        logs/nginx.pid;


events {
    worker_connections  1024;
}


http {
    include       mime.types;
    default_type  application/octet-stream;

    #log_format  main  '$remote_addr - $remote_user [$time_local] "$request" '
    #                  '$status $body_bytes_sent "$http_referer" '
    #                  '"$http_user_agent" "$http_x_forwarded_for"';

    #access_log  logs/access.log  main;

    sendfile        on;
    #tcp_nopush     on;

    #keepalive_timeout  0;
    keepalive_timeout  65;

    #gzip  on;

    server {
        listen       80;
        server_name  localhost;

        #charset koi8-r;

        #access_log  logs/host.access.log  main;

        location / {
            root   html;
            index  index.html index.htm;
        }

        #error_page  404              /404.html;

        # redirect server error pages to the static page /50x.html
        #
        error_page   500 502 503 504  /50x.html;
        location = /50x.html {
            root   html;
        }

        # proxy the PHP scripts to Apache listening on 127.0.0.1:80
        #
        #location ~ \.php$ {
        #    proxy_pass   http://127.0.0.1;
        #}

        # pass the PHP scripts to FastCGI server listening on 127.0.0.1:9000
        #
        #location ~ \.php$ {
        #    root           html;
        #    fastcgi_pass   127.0.0.1:9000;
        #    fastcgi_index  index.php;
        #    fastcgi_param  SCRIPT_FILENAME  /scripts$fastcgi_script_name;
        #    include        fastcgi_params;
        #}

        # deny access to .htaccess files, if Apache's document root
        # concurs with nginx's one
        #
        #location ~ /\.ht {
        #    deny  all;
        #}
    }


    # another virtual host using mix of IP-, name-, and port-based configuration
    #
    #server {
    #    listen       8000;
    #    listen       somename:8080;
    #    server_name  somename  alias  another.alias;

    #    location / {
    #        root   html;
    #        index  index.html index.htm;
    #    }
    #}


    # HTTPS server
    #
    #server {
    #    listen       443 ssl;
    #    server_name  localhost;

    #    ssl_certificate      cert.pem;
    #    ssl_certificate_key  cert.key;

    #    ssl_session_cache    shared:SSL:1m;
    #    ssl_session_timeout  5m;

    #    ssl_ciphers  HIGH:!aNULL:!MD5;
    #    ssl_prefer_server_ciphers  on;

    #    location / {
    #        root   html;
    #        index  index.html index.htm;
    #    }
    #}

    server {
        listen 443;
        server_name www.tianyanld.com; #// 你的域名
        ssl on;
        root /www/server/nginx; #// 文件存放文件夹
        index index.html index.htm;
        ssl_certificate  cert/214292799730473.pem;
        ssl_certificate_key cert/214292799730473.key;
        ssl_session_timeout 5m;
        ssl_ciphers ECDHE-RSA-AES128-GCM-SHA256:ECDHE:ECDH:AES:HIGH:!NULL:!aNULL:!MD5:!ADH:!RC4;
        ssl_protocols TLSv1 TLSv1.1 TLSv1.2;
        ssl_prefer_server_ciphers on;
#        location / {
#            index index.html index.htm;
#        }
      location / {
                proxy_pass http://www.tianyanld.com:8443/;#需要转发的地址和端口
        }
    }
    server {
        listen 80;
        server_name www.tianyanld.com;#// 你的域名
        rewrite ^(.*)$ https://$host$1 permanent;#// http请求转换到https
    }

}
执行命令,检测配置 nginx 知否正确,
sudo nginx -t
配置成功也会输出如下
nginx: the configuration file /etc/nginx/nginx.conf syntax is ok
nginx: configuration file /etc/nginx/nginx.conf test is successful
重启服务器后(也可重启服务器),
sudo systemctl restart nginx
访问成功
ration file /etc/nginx/nginx.conf syntax is ok
nginx: configuration file /etc/nginx/nginx.conf test is successful
重启服务器后(也可重启服务器),
sudo systemctl restart nginx
### 访问成功

再次在 `chrome` 中输入域名;即可看到安装的小锁,开启 https 访问成功。


 1649
1649

 被折叠的 条评论
为什么被折叠?
被折叠的 条评论
为什么被折叠?
 到【灌水乐园】发言


