


ConfigServer端
版本
springboot:2.1.8.RELEASE
springcloud:Greenwich.SR2
大家尽量仔细阅读,希望可以帮助到大家-------刚毕业一年的小白
pom文件引入
首先在pom.xml中引用
// configserver的pom
<dependency>
    <groupId>org.springframework.cloud</groupId>
    <artifactId>spring-cloud-config-server</artifactId>
</dependency>
//这是在cloud2.0之后新增的刷新接口
<dependency>
   <groupId>org.springframework.cloud</groupId>
   <artifactId>spring-cloud-config-monitor</artifactId>
</dependency>
//注册到eureka  也可以换成consul或zookeeper
<dependency>
   <groupId>org.springframework.cloud</groupId>
   <artifactId>spring-cloud-starter-netflix-eureka-client</artifactId>
</dependency>
//消息总线
<dependency>
    <groupId>org.springframework.cloud</groupId>
    <artifactId>spring-cloud-starter-bus-amqp</artifactId>
</dependency>
配置文件
将resources下的application.properties文件修改成application.yml。现在大部分的开发使用yml格式的更多一点,因为相对之前的properties文件,在配置上相对便捷,减少了冗余的编写。
spring:
  application:
    name: config-server  //注册到eureka服务的名称
  cloud:
    config:
      server:
        git:
          uri: https://gitee.com/用户名/项目名  //git的地址
          username: your username
          password: your password
          search-paths: config   //如果你的配置文件是放在哪个文件夹下面的话,这个就是文件夹的名称
          basedir: E:/config/config-server/   //因为config其实是将远端的git代码下载到本地,这个是指定存放路径
          default-label: master   //默认拉去的分支
  rabbitmq:      //rabbitmq的配置
    host: your ip address
    port: 5672
    username: admin
    password: admin
eureka:
  instance:
    hostname: your ip address
  client:
    service-url:
      defaultZone: http://${eureka.instance.hostname}:8761/eureka/  //注册到eureka的地址
management:
  endpoints:
    web:
      exposure:
        include: "*"    //这个是为了将配置刷新等一系列的接口暴露出来
启动
最重要的是注解
@SpringBootApplication
@EnableEurekaClient   //是为了将服务注册到eureka
@EnableConfigServer   //开启配置服务端
public class ConfigApplication {

    public static void main(String[] args) {
        SpringApplication.run(ConfigApplication.class, args);
    }

}
ConfigClient端
pom文件引入
//与服务端差不多,只不过换成了client端,这些是主要的,其他的可以根据项目来进行添加
<dependency>
    <groupId>org.springframework.cloud</groupId>
    <artifactId>spring-cloud-starter-netflix-eureka-client</artifactId>
</dependency>
<dependency>
    <groupId>org.springframework.cloud</groupId>
    <artifactId>spring-cloud-starter-bus-amqp</artifactId>
</dependency>
<dependency>
    <groupId>org.springframework.cloud</groupId>
    <artifactId>spring-cloud-config-client</artifactId>
</dependency>
配置文件
可以将resources下的application.properties文件修改成bootstrap.yml,在这里不要将bootstrap和前端的弄混淆,bootstrap的意思是启动器,也就是在加载我们远端的配置文件之前先启动,切记不要换成别的名字
eureka:
  instance:
    hostname: your ip address
  client:
    service-url:
      defaultZone: http://${eureka.instance.hostname}:8761/eureka/
spring:
  application:
    name: order  //注册到eureka的名称
  cloud:
    config:
      discovery:
        enabled: true
        service-id: CONFIG-SERVER  //这是服务端注册到eureka的名称,也就是服务端配置文件的spring.application.name的值,忽略大小写
      profile: dev    //远端配置文件的环境,默认格式为${spring.application.name}-profile  支持三种格式,config可以自主转换,yml、properties、json
    bus:
      id: space    //将不同的项目在bus中做区分
踩坑:
- eureka一定要在本地配置,不然在启动的时候就会采用默认的地址localhost:8888
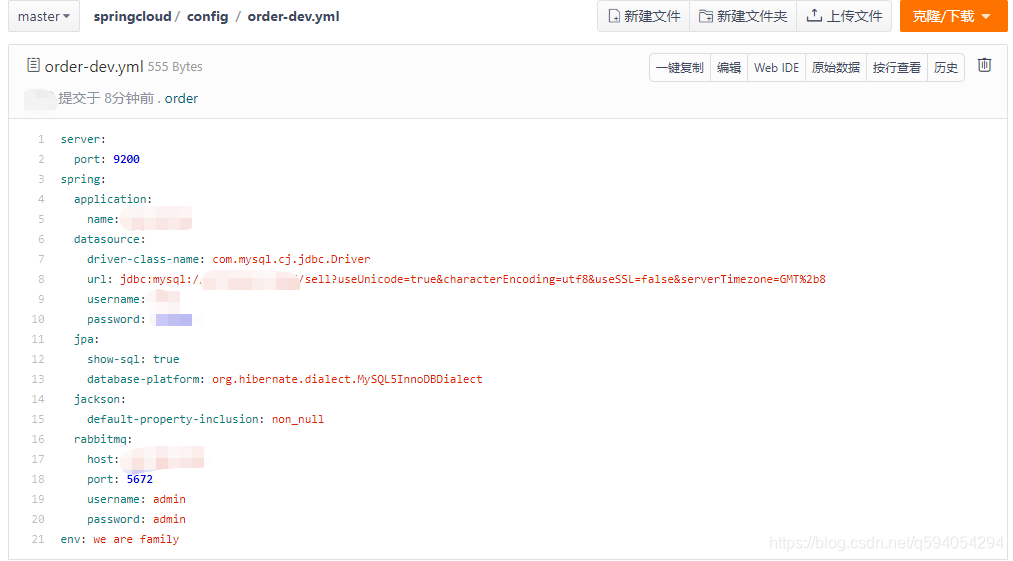
- config在读取配置文件的时候会将order.yml和order-dev.yml合并,所以我们可以把公共部分的配置写在公共的配置文件中(也就是order.yml)
- 以为我们使用了消息总线,所以我们需要配置一下rabbitmq,不然消息总线会采用默认,也就是localhost:5672,如果你的本地有rabbitmq还好,没有的话就需要配置一下,不然bus会一直报错

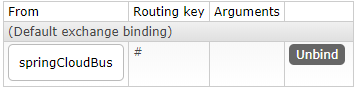
- 在启动之后消息总线会再rabbitmq中创建以springCloudBus.anonymous为前缀的队列,绑定的路由为springCloudBus
启动
@SpringBootApplication
@EnableEurekaClient   //将此项目注册到eureka上
public class OrderApplication {

    public static void main(String[] args) {
        SpringApplication.run(OrderApplication.class, args);
    }

}
WebHooks的接入
首先来到你的项目地址
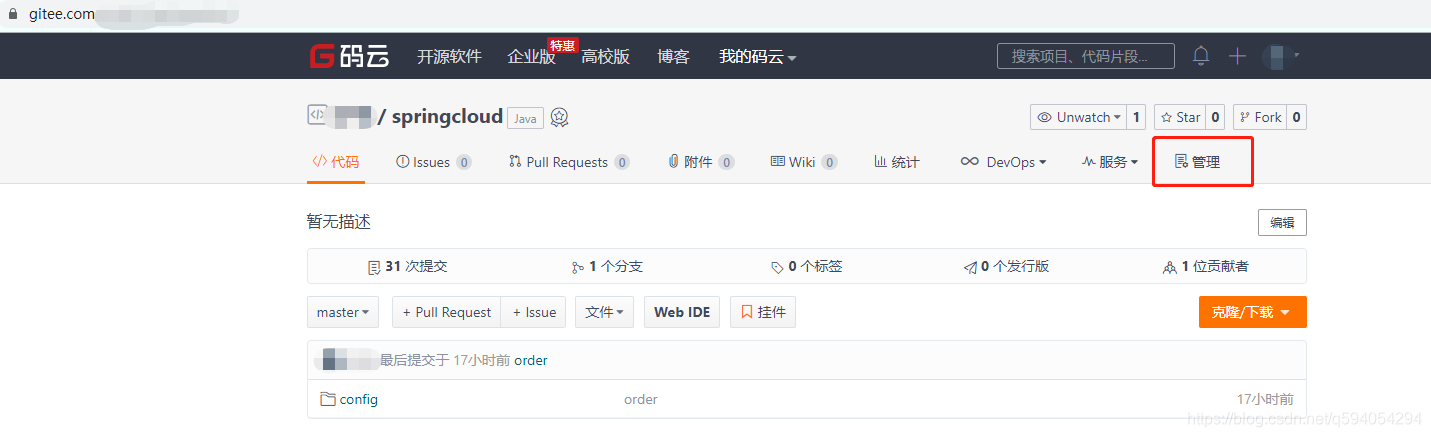
我这里用的是码云,github也是想相同的位置,只不过名字叫Setting,我们点击进去
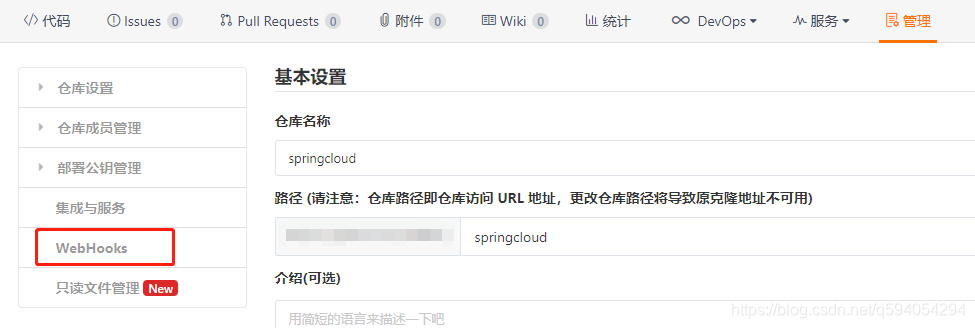
在左侧有我们需要的webhooks
因为我之前创建过,所以里面已经有一个了,你们可以点击添加
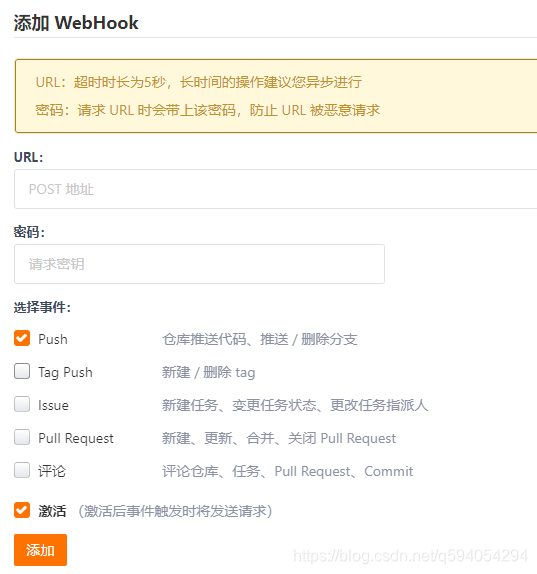
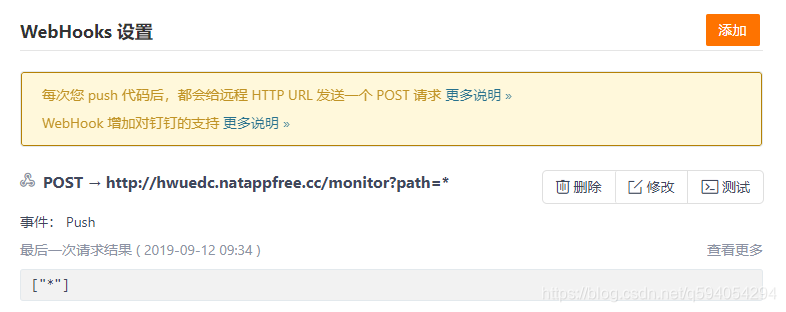
这里的post地址需要一个可以外网访问的地址(这里推荐使用natapp,大家可以上网上查看相关的教程地址:natapp地址)
在config2.0之前使用的是/actuator/bus-refresh,但是因为git在发送post的请求是会携带一个payload的字符串数据,无法解析,所以在2.0中引用了monitor组件,但是你会发现在你push的时候客户端并没有重新加载,因为我们需要在连接之后加一个传参path,http://hwuedc.natappfree.cc/monitor?path=*
当path = * 时的意思是所有的client端全部重新刷新,上面我们在config client端的配置文件中配置了bus.id的属性,在这里我们就用到了,path = space (上面的配置)是将所有id叫space的项目重新加载,同样path也支持模糊指定,path = spa* 指的就是以spa为前缀的服务
好了,第一次写博客,有什么不对的地方,大家可以指出,我会虚心接受,有什么不明白的地方也可以找我询问,但是我也是小白一枚,刚刚毕业一年,我会努力追上大佬的脚步,谢谢大家!!!!


 被折叠的 条评论
为什么被折叠?
被折叠的 条评论
为什么被折叠?
 到【灌水乐园】发言


