


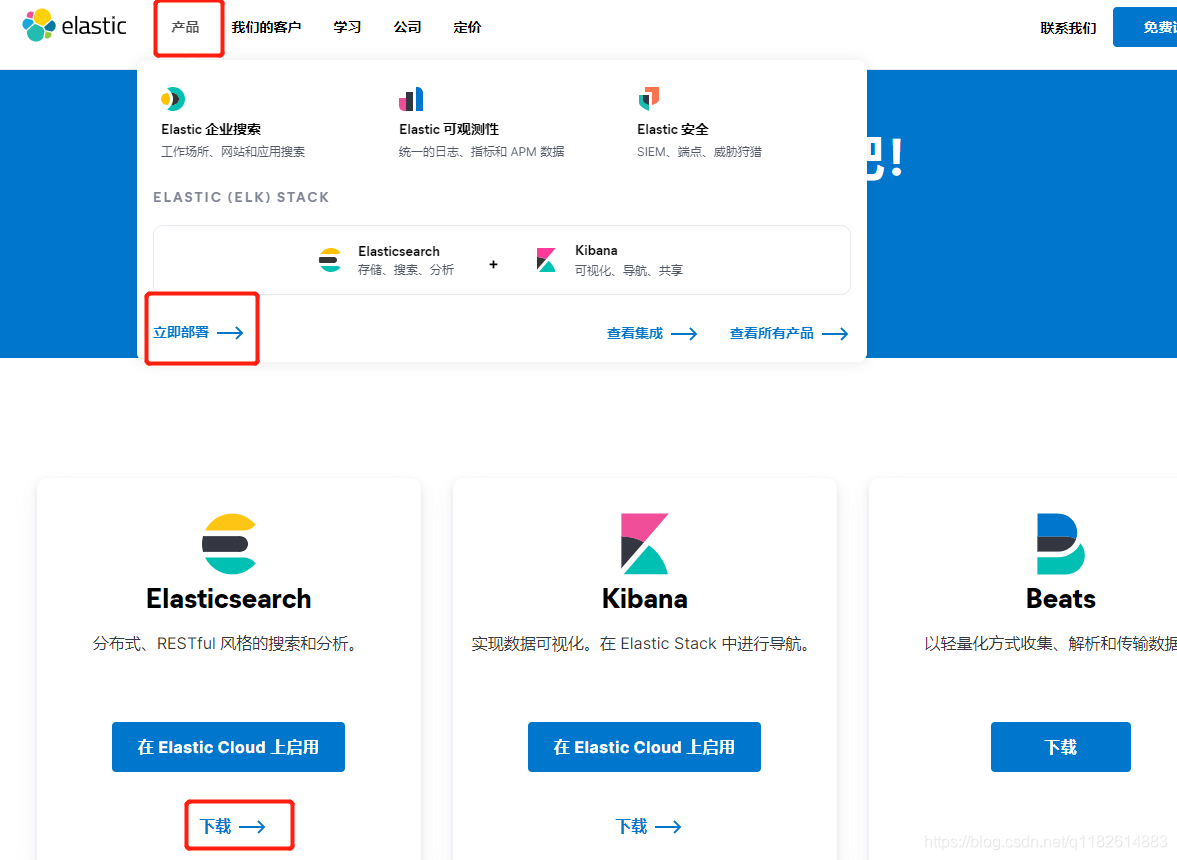
1.进入elastic官网
https://www.elastic.co/cn/downloads/elasticsearch
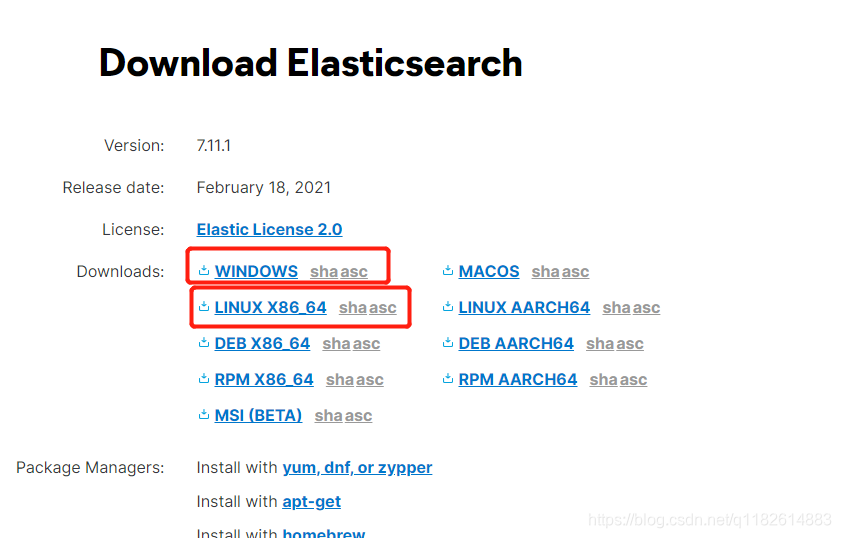
2.下载当前版本
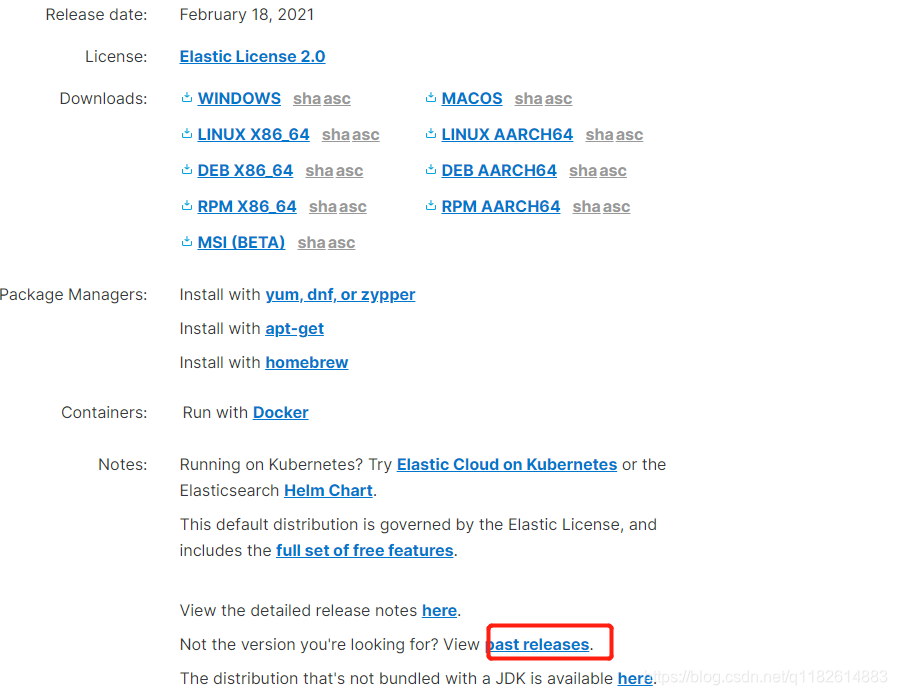
3.安装elasticSearch历史版本
4.下载elasticsearch安装包
yum -y install wget----------------------------(未安装wget请先安装)
wget https://artifacts.elastic.co/downloads/elasticsearch/elasticsearch-7.6.2-linux-x86_64.tar.gz
5.安装elasticsearch
- tar -zxvf elasticsearch-7.6.2-linux-x86_64.tar.gz
6.运行elasticsearch7.x(出现异常信息请看下面elasticsearch7.x异常信息解决 )
(bin目录下)./elasticsearch -------------------------------- (启动)
(bin目录下)./elasticsearch -d -------------------------------- (后台启动)
curl 127.0.0.1:9200 --------------------------------------------- (访问es)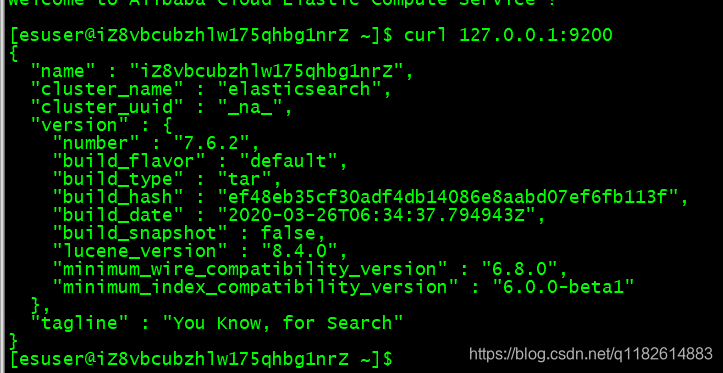
7.各种异常解决
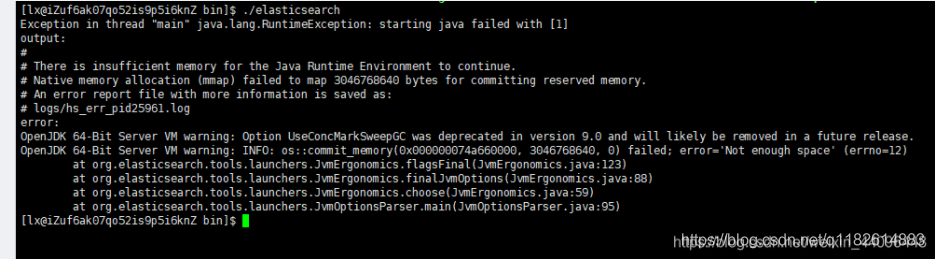
7.1 OpenJDK 64-Bit Server VM warning: INFO: os::commit_memory(0x000000074a660000, 3046768640, 0) failed; error='Not enough space' (errno=12)
错误原因jvm内存溢出,需要修改jvm.options文件的-Xms1g-Xmx1g(根据自身机器情况修改,es运行很占内存,建议虚拟机的话就多分配点内存,云服务就购买运行内存大一点的机器)
(config目录下) vim jvm.options
-Xms1g-Xmx1g(默认是1g)
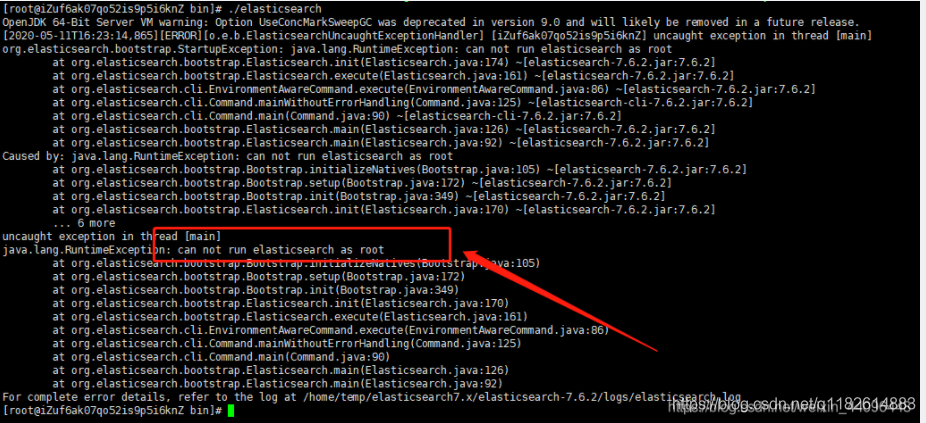
7.2 java.lang.RuntimeException: can not run elasticsearch as root
错误原因是es不能使用root用户进行启动
useradd xxx ---------------------------------------------------------- 新建用户
passwd xxx -----------------------------------------------------------设置密码
su xxx -----------------------------------------------------------切换用户
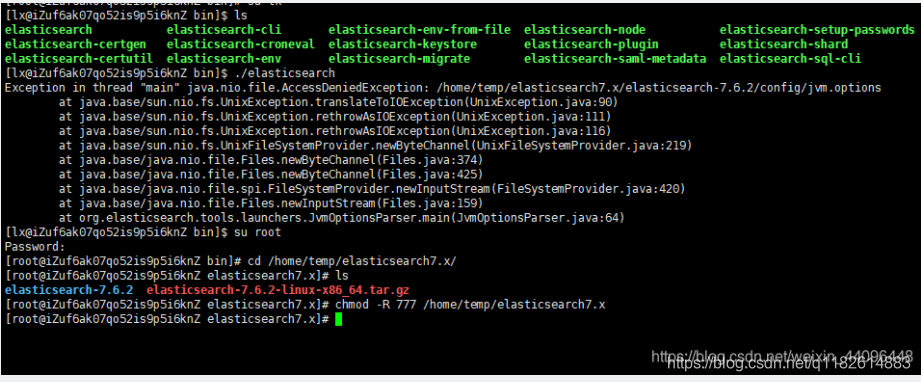
7.3 Exception in thread "main" java.nio.file.AccessDeniedException: /home/temp/elasticsearch7.x/elasticsearch-7.6.2/config/jvm.options
错误原因该用户没有可执行权限
su root ------------------------------------------------------------------ 切换回root用户
chmod -R 777 /home/temp/elasticsearch7.x ------------------ 给予执行权限
7.4 max virtual memory areas vm.max_map_count [65530] is too low, increase to at least [262144]
elasticsearch用户拥有的内存权限太小,至少需要262144;解决方法修改sysctl.conf,追加vm.max_map_count = 655360
su root ----------------------------------------------------(切换回root用户在进行操作)
vim /etc/sysctl.conf
vm.max_map_count = 655360
sysctl -p

7.5 the default discovery settings are unsuitable for production use; at least one of [discovery.seed_hosts, discovery.seed_providers, cluster.initial_master_nodes] must be configured
需要配置[discovery.seed_hosts, discovery.seed_providers, cluster.initial_master_nodes]任意一项
(config目录) vim elasticsearch.yml
cluster.initial_master_nodes: ["127.0.0.0", "[::1]"]

7.6 system call filters failed to install; check the logs and fix your configuration or disable system call filters at your own risk
(config目录) vim elasticsearch.yml
bootstrap.system_call_filter: false

8. 设置外网访问(出现异常信息请看异常信息四和异常信息五)
修改elasticsearch.yml配置
(config目录) vim elasticsearch.yml
network.host: 0.0.0.0
cluster.initial_master_nodes: ["127.0.0.0", "[::1]"]
这时候如果你是第一次安装,没有开放防火墙端口,则通过IP是无法进行连接的,阿里云配置安全组即可!!
firewall-cmd --permanent --add-port=9200/tcp --------------------(开放9200端口)
firewall-cmd --reload ----------------------------------------------------- (重启防火墙)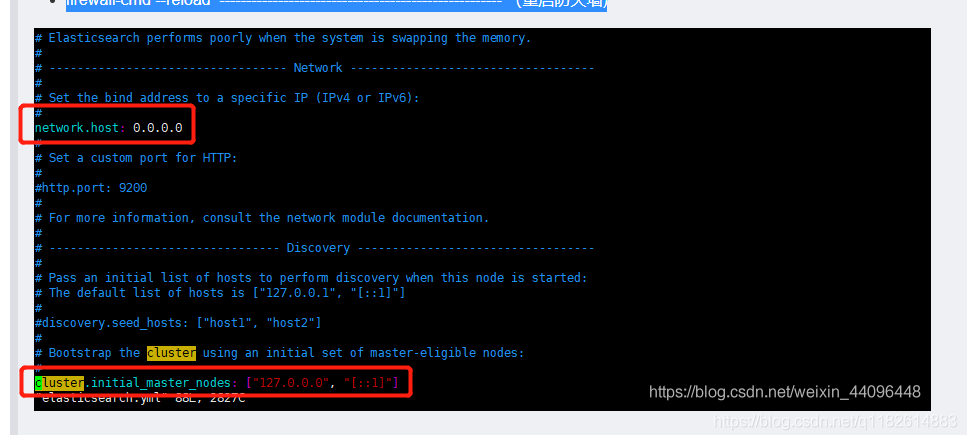


 1457
1457

 被折叠的 条评论
为什么被折叠?
被折叠的 条评论
为什么被折叠?
 到【灌水乐园】发言


