


 本文详细介绍如何在SpringBoot项目中集成Swagger2,包括添加依赖、配置Swagger2、修改Controller等步骤,提供美观的API文档界面。
1.添加pom
<!--swagger2-->
<dependency>
<groupId>io.springfox</groupId>
<artifactId>springfox-swagger2</artifactId>
<version>2.9.2</version>
</dependency>
<dependency>
<groupId>io.springfox</groupId>
<artifactId>springfox-swagger-ui</artifactId>
<version>2.9.2</version>
</dependency>
<dependency>
<groupId>com.github.xiaoymin</groupId>
<artifactId>swagger-bootstrap-ui</artifactId>
<version>1.8.7</version>
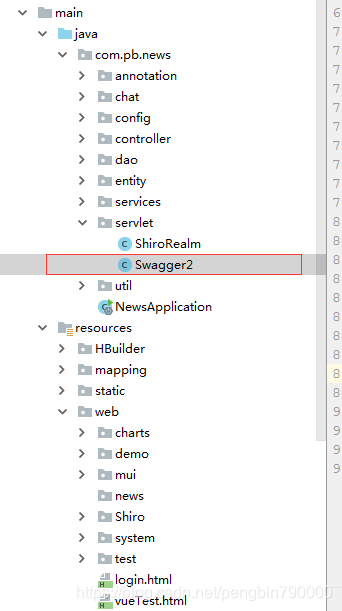
</dependency>2.创建Swagger2
package org.zyyd.base.servlet;

import com.google.common.base.Predicates;

import org.springframework.context.annotation.Bean;
import org.springframework.context.annotation.Configuration;
import org.springframework.web.servlet.config.annotation.EnableWebMvc;

import springfox.documentation.builders.ApiInfoBuilder;
import springfox.documentation.builders.PathSelectors;
import springfox.documentation.builders.RequestHandlerSelectors;
import springfox.documentation.service.ApiInfo;
import springfox.documentation.spi.DocumentationType;
import springfox.documentation.spring.web.plugins.Docket;
import springfox.documentation.swagger2.annotations.EnableSwagger2;

/**
 */
@Configuration
@EnableSwagger2
@EnableWebMvc
public class Swagger2 {
    /**
     * 创建API应用
     * apiInfo() 增加API相关信息
     * 通过select()函数返回一个ApiSelectorBuilder实例,用来控制哪些接口暴露给Swagger来展现,
     * 本例采用指定扫描的包路径来定义指定要建立API的目录。
     *
     * @return
     */


    /* * 创建该API的基本信息(这些基本信息会展现在文档页面中)
            * 访问地址:http://项目实际地址/swagger-ui.html
            * 访问地址:http://项目实际地址/doc.html(美化)
            * @return
            */


    //@ApiIgnore  //  写在某个controller上,忽略扫描该类,api

    @Bean
    public Docket encryprionDocket() {
        ApiInfo apiInfo = new ApiInfoBuilder()
                .title("base后台接口")
                .description("后台管理的接口")
                .version("V1.0")
                .contact("pb")
                .build();

        return new Docket(DocumentationType.SWAGGER_2)
                .groupName("base后台接口")
                .pathMapping("/")
                .select()
                .apis(RequestHandlerSelectors.basePackage("org.zyyd.base.controller"))
                //设置此组只匹配encryption开头的(如请求地址为/encryption/desc)
                .paths(PathSelectors.any())
                .build()
                .apiInfo(apiInfo);
    }

    @Bean
    public Docket testDocket() {
        ApiInfo apiInfo = new ApiInfoBuilder()
                .title("测试数据相关接口")
                .version("V1.0")
                .description("主要是测试数据的相关接口")
                .contact("pb")
                .build();

        return new Docket(DocumentationType.SWAGGER_2)
                .groupName("测试相关的接口")
                .pathMapping("/")
                .select()
                .apis(RequestHandlerSelectors.basePackage("org.zyyd.base.controller"))
                .paths(PathSelectors.ant("/testC/*"))
                .build()
                .apiInfo(apiInfo);
    }


    /*@Bean
    public Docket createRestApi() {
        return new Docket(DocumentationType.SWAGGER_2)
                .apiInfo(apiInfo())
                .select()
                .apis(RequestHandlerSelectors.basePackage("org.zyyd.base.controller"))
                //.paths(PathSelectors.any())   //扫描所有接口
                .paths(PathSelectors.ant("/testC/*")) // 只扫描testC接口
                .build();
    }

    *//**
     * 创建该API的基本信息(这些基本信息会展现在文档页面中)
     * 访问地址:http://项目实际地址/swagger-ui.html
     * 访问地址:http://项目实际地址/doc.html(美化)
     * @return
     *//*
    private ApiInfo apiInfo() {
        return new ApiInfoBuilder()
                .title("APIs")
                .description("所有controller的接口")
                .termsOfServiceUrl("")
                .contact("pb")
                .version("1.0")
                .build();
    }*/


}
3.修改controller
@RestController  //代表controller
@RequestMapping("/userC")
@Api(value = "用户的处理")//添加描述
public class UserController {
    @RequestMapping(value="/userLogin",method = RequestMethod.POST)
    @ResponseBody
    @ApiOperation(value = "用户进行shiro登录")//方法名称描述
    //@ApiImplicitParam(paramType = "query",name= "username" ,value = "用户名",dataType = "string")//单个参数
    //多个参数
    @ApiImplicitParams({
            @ApiImplicitParam(paramType = "query",name= "username" ,value = "用户名",dataType = "string"),
            @ApiImplicitParam(paramType = "query",name= "password" ,value = "密码",dataType = "string")
    })
    /*public  void userLogin(@RequestParam(value = "username" , required = false) String username,
                           @RequestParam(value = "password" , required = false) String password)*/
    public  void userLogin(@RequestBody JSONObject json){


    }
}
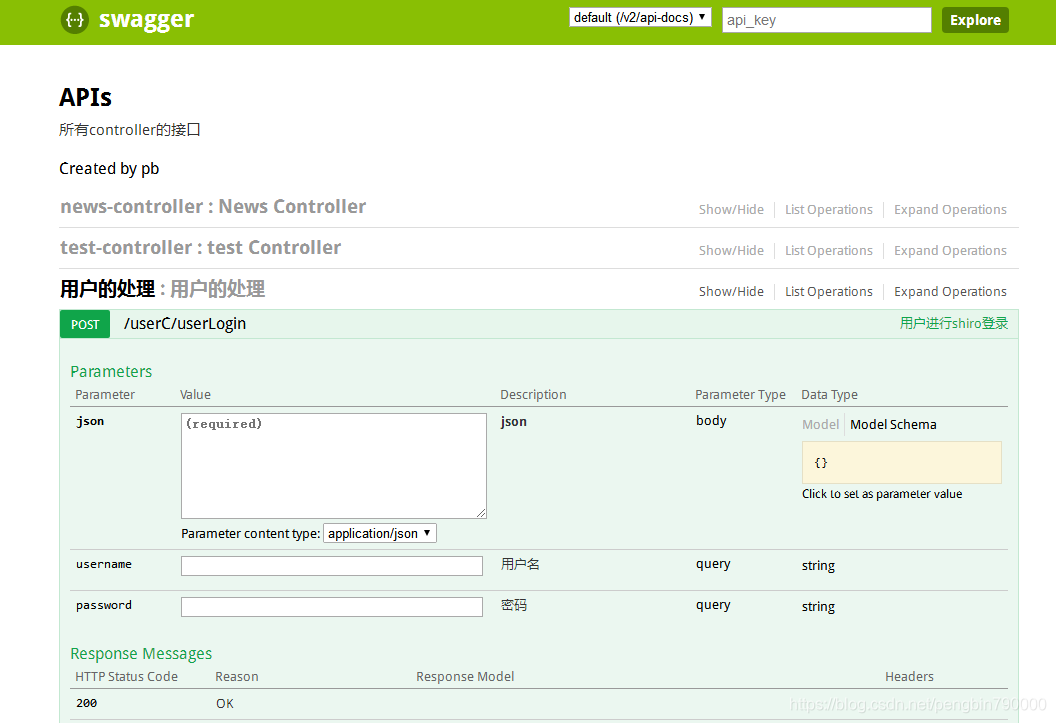
最后:
http://localhost:8090/swagger-ui.html 是标准版
http://localhost:8090/doc.html 是添加了美化的ui后首页
效果如图

参考资料:
https://blog.youkuaiyun.com/u012373815/article/details/82685962


 926
926

 被折叠的 条评论
为什么被折叠?
被折叠的 条评论
为什么被折叠?
 到【灌水乐园】发言


