1.安装swagger
$ npm install --save @nestjs/swagger swagger-ui-express


//如果使用fastify,则必须安装fastify-swagger而不是swagger-ui-express:
$ npm install --save @nestjs/swagger fastify-swagger
2.Bootstrap启动配置
import { NestFactory } from '@nestjs/core';
import { AppModule } from './app.module';
import { DocumentBuilder, SwaggerModule } from '@nestjs/swagger';

async function bootstrap() {
  const app = await NestFactory.create(AppModule);

  const options = new DocumentBuilder()
    .setTitle('测试接口')
    .setDescription('接口文档')
    .setVersion('1.0')
    .build();
  const document = SwaggerModule.createDocument(app, options);
  SwaggerModule.setup('api-docs', app, document);

  await app.listen(3000);
}
bootstrap();
3.DTO示例
import { ApiProperty } from "@nestjs/swagger";

/** */
export class LoginDto {
    @ApiProperty({
        required: true,
        description:'登录名'
    })
    readonly loginId: string;
    @ApiProperty({
        required: true,
        description:'密码'
    })
    readonly pwd: string;
}

// export interface SchemaObject {
//     nullable?: boolean;
//     discriminator?: DiscriminatorObject;
//     readOnly?: boolean;
//     writeOnly?: boolean;
//     xml?: XmlObject;
//     externalDocs?: ExternalDocumentationObject;
//     example?: any;
//     examples?: any[];
//     deprecated?: boolean;
//     type?: string;
//     allOf?: (SchemaObject | ReferenceObject)[];
//     oneOf?: (SchemaObject | ReferenceObject)[];
//     anyOf?: (SchemaObject | ReferenceObject)[];
//     not?: SchemaObject | ReferenceObject;
//     items?: SchemaObject | ReferenceObject;
//     properties?: Record<string, SchemaObject | ReferenceObject>;
//     additionalProperties?: SchemaObject | ReferenceObject | boolean;
//     description?: string;
//     format?: string;
//     default?: any;
//     title?: string;
//     multipleOf?: number;
//     maximum?: number;
//     exclusiveMaximum?: boolean;
//     minimum?: number;
//     exclusiveMinimum?: boolean;
//     maxLength?: number;
//     minLength?: number;
//     pattern?: string;
//     maxItems?: number;
//     minItems?: number;
//     uniqueItems?: boolean;
//     maxProperties?: number;
//     minProperties?: number;
//     required?: string[];
//     enum?: any[];
// }
4.控制器示例
import { Body, Controller, Get, Param, Post, Query } from '@nestjs/common'
import { ApiTags, ApiOperation, ApiQuery, ApiParam } from '@nestjs/swagger';
import { LoginDto } from '../../models/dto/customer.dto'

// import { Request } from 'express'

@Controller('customer')
@ApiTags('用户模块')
export class CustomerController {

    @Post('login')
    @ApiOperation({ summary: '登录' })
    // login(@Req() request: Request): boolean {
    login(@Body() reqBody: LoginDto): boolean {
        // console.log('query', query)
        console.log('reqBody', reqBody)

        // const query = request.query
        const loginId = reqBody.loginId
        const pwd = reqBody.pwd

        if (pwd === '123') {
            return true
        }

        return false
    }

    @Get('/getUserName/:id')
    @ApiOperation({ summary: '获取用户名' })
    @ApiParam({ name: 'id', description: '用户id', required: false })
    getUserName(@Param('id') id: string): string {
        return "这个是用户名" + id
    }

    @Get('getUserName2')
    @ApiOperation({ summary: '获取用户名' })
    @ApiQuery({ name: 'id', description: '用户id', required: false })
    getUserName2(@Query('id') id: string): string {
        return "这个是用户名" + id
    }


}
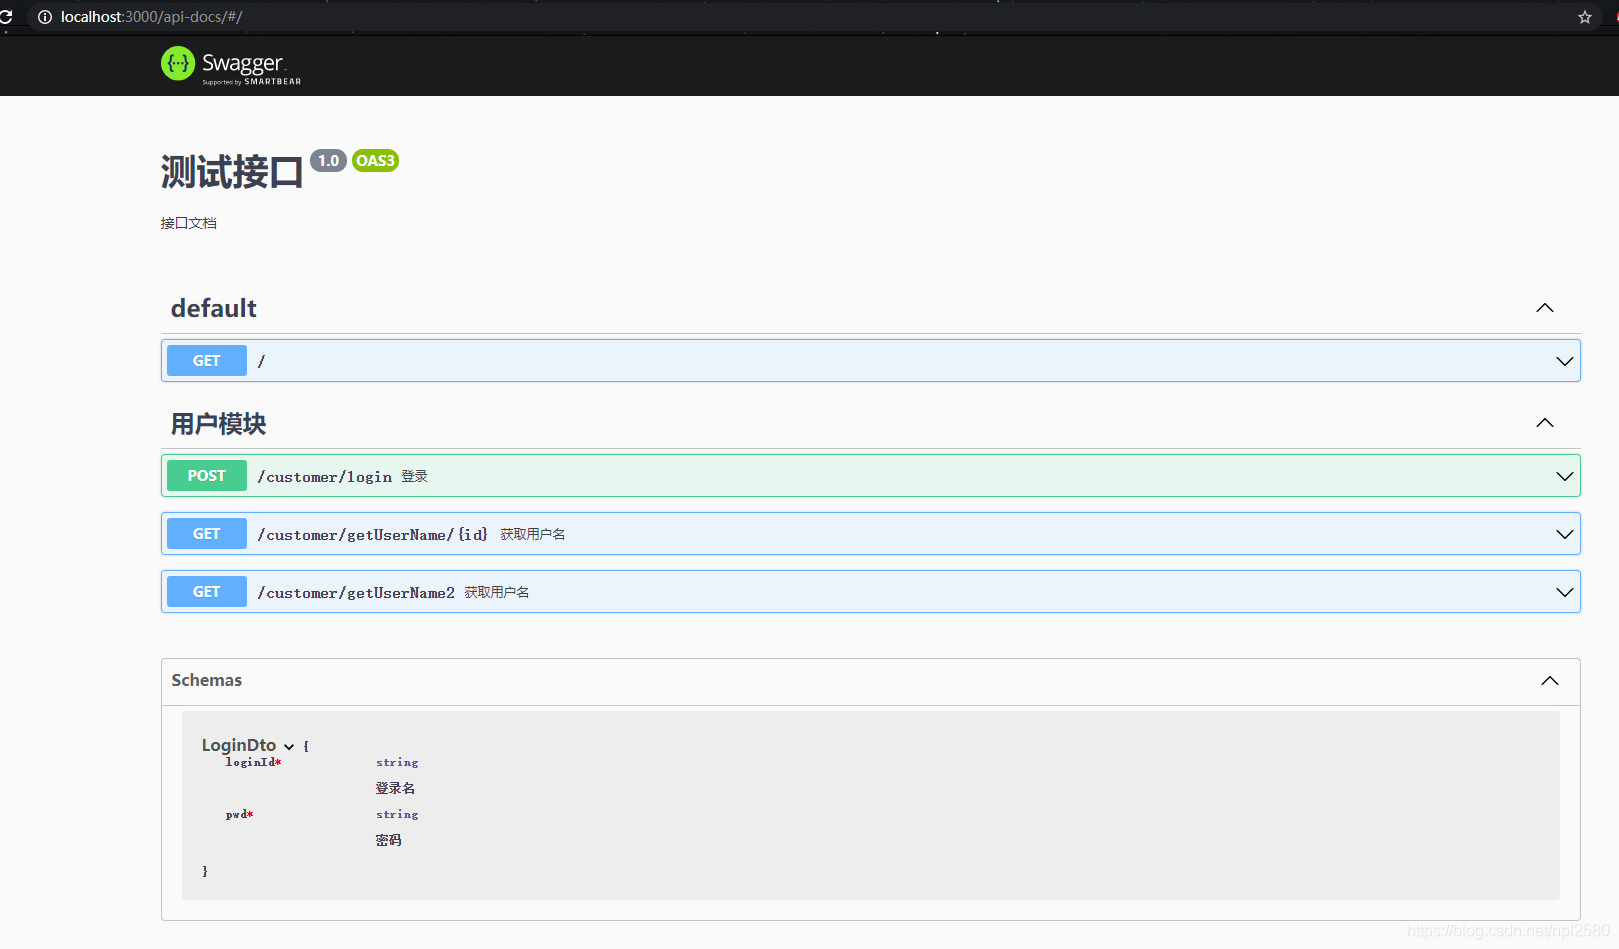
5.实际效果
npm rn start

http://localhost:3000/api-docs/


 709
709

 被折叠的 条评论
为什么被折叠?
被折叠的 条评论
为什么被折叠?
 到【灌水乐园】发言


