


一、搭建自动化测试框架的核心步骤
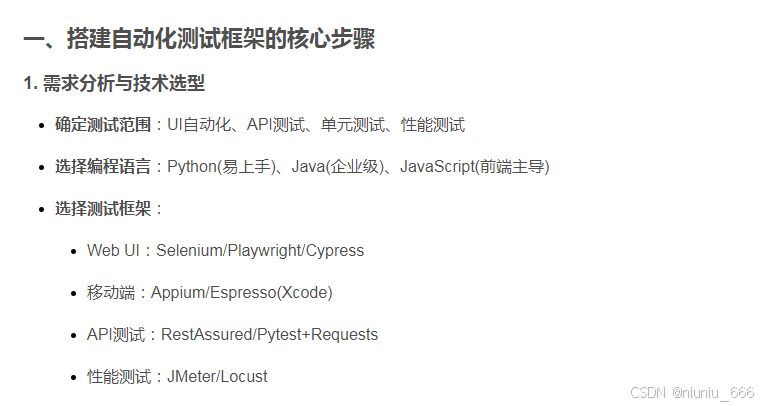
1. 需求分析与技术选型
-
确定测试范围:UI自动化、API测试、单元测试、性能测试
-
选择编程语言:Python(易上手)、Java(企业级)、JavaScript(前端主导)
-
选择测试框架:
-
Web UI:Selenium/Playwright/Cypress
-
移动端:Appium/Espresso(Xcode)
-
API测试:RestAssured/Pytest+Requests
-
性能测试:JMeter/Locust
-
2. 环境搭建
# Python示例环境
pip install selenium pytest pytest-html allure-pytest
3. 项目结构设计
复制
project/
├── config/            # 配置文件
│   ├── config.ini
│   └── dev.yaml
├── testcases/         # 测试用例
│   ├── web/
│   ├── api/
│   └── mobile/
├── page_objects/      # 页面对象模型
├── utils/             # 工具类
│   ├── logger.py
│   └── common.py
├── reports/           # 测试报告
├── conftest.py        # pytest fixtures
└── requirements.txt   # 依赖库
二、Web自动化测试实现示例
1. 基于Pytest+Selenium的UI测试
# test_login.py
import pytest
from selenium import webdriver
from page_objects.login_page import LoginPage

@pytest.fixture(scope="module")
def browser():
    driver = webdriver.Chrome()
    yield driver
    driver.quit()

def test_successful_login(browser):
    login_page = LoginPage(browser)
    login_page.open()
    login_page.enter_credentials("admin", "password123")
    assert login_page.is_logged_in()
2. 页面对象模型(POM)实现
# page_objects/login_page.py
class LoginPage:
    def __init__(self, driver):
        self.driver = driver
        self.url = "https://example.com/login"

    def open(self):
        self.driver.get(self.url)

    def enter_credentials(self, username, password):
        self.driver.find_element("id", "username").send_keys(username)
        self.driver.find_element("id", "password").send_keys(password)
        self.driver.find_element("id", "submit").click()

    def is_logged_in(self):
        return "Welcome" in self.driver.page_source
三、API自动化测试实现
1. 基于Pytest的API测试
# test_api.py
import requests
import pytest

BASE_URL = "https://api.example.com"

def test_get_user():
    response = requests.get(f"{BASE_URL}/users/1")
    assert response.status_code == 200
    assert response.json()["username"] == "testuser"

def test_create_user():
    payload = {"username": "newuser", "email": "new@example.com"}
    response = requests.post(f"{BASE_URL}/users", json=payload)
    assert response.status_code == 201
四、持续集成(CI)集成
1. GitHub Actions配置示例
yaml
复制
# .github/workflows/test.yml
name: Automated Tests

on: [push, pull_request]

jobs:
  test:
    runs-on: ubuntu-latest
    steps:
    - uses: actions/checkout@v2
    - name: Set up Python
      uses: actions/setup-python@v2
      with:
        python-version: '3.9'
    - name: Install dependencies
      run: |
        python -m pip install --upgrade pip
        pip install -r requirements.txt
    - name: Run tests
      run: |
        pytest --html=reports/report.html --self-contained-html
    - name: Upload report
      uses: actions/upload-artifact@v2
      with:
        name: test-report
        path: reports/
五、高级功能实现
1. 数据驱动测试
# test_data_driven.py
import pytest

test_data = [
    ("admin", "password123", True),
    ("wrong", "credentials", False)
]

@pytest.mark.parametrize("username,password,expected", test_data)
def test_login(username, password, expected):
    # 测试逻辑
    assert (username == "admin") == expected
2. Allure测试报告集成
# 安装Allure
pip install allure-pytest

# 运行测试生成报告
pytest --alluredir=./allure-results
allure serve ./allure-results
六、最佳实践建议
-
分层设计:遵循Page Object模式,分离测试逻辑与页面细节
-
等待策略:使用显式等待(WebDriverWait)替代sleep
-
失败处理:添加失败自动截图功能
-
并行执行:使用pytest-xdist加速测试
-
环境隔离:使用Docker容器化测试环境
-
可视化报告:集成Allure或HTMLTestRunner
-
异常处理:添加完善的异常捕获和日志记录
七、常见问题解决方案
-
元素定位问题:
-
使用相对XPath或CSS选择器
-
添加智能等待机制
-
实现元素查找重试机制
-
-
测试稳定性:
-
添加前置条件检查
-
实现测试用例之间的隔离
-
定期维护定位器
-
-
跨浏览器测试:
-
使用Selenium Grid
-
集成BrowserStack/Sauce Labs云服务
-
自动化测试框架的搭建是一个迭代过程,建议从核心功能开始,逐步扩展完善。定期评估框架效果,根据团队需求调整技术栈。


 811
811

 被折叠的 条评论
为什么被折叠?
被折叠的 条评论
为什么被折叠?
 到【灌水乐园】发言


