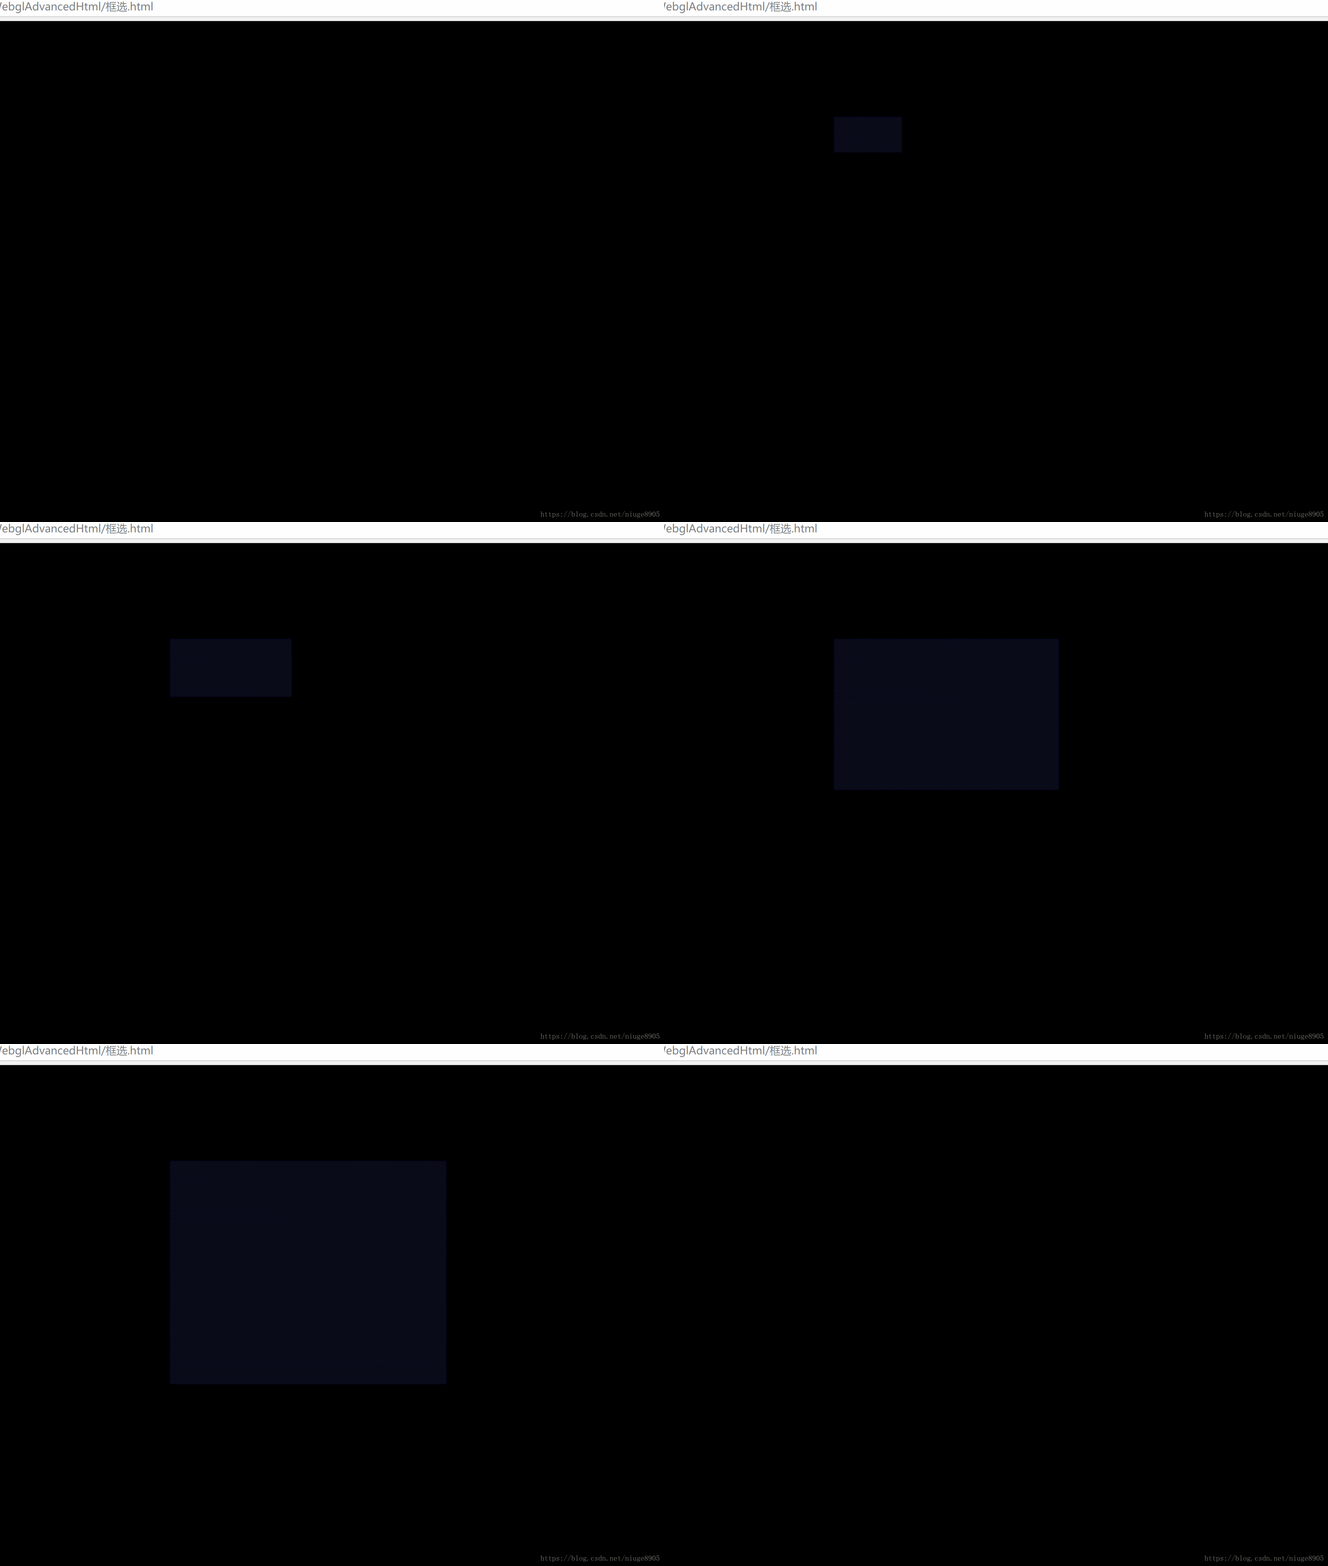
在webgl的开发中,添加一个div,可以实现框选的样式。过程很简单,直接看代码吧,这里主要实现了点击第一次的时候确定div的位置,第二次实时显示div的大小及样式。这里为了显示实在canvas上画div,将canvas设置为红色。
<!DOCTYPE HTML PUBLIC "-//W3C//DTD HTML 4.01//EN"
          "http://www.w3.org/TR/html4/strict.dtd">
<html>
<head>
    <script src="../library/three.js"></script>
    <meta http-equiv="Content-Type" content="text/html; charset=utf-8">
    <title>鼠标框选效果</title>
    <style>
        * {
            padding: 0;
            margin: 0;
        }

        #bottom {
            position: absolute;
            bottom: 0px;
            width: 100%;
            height: 40px;
            border: 1px solid #000;
            background: #000;
            color: #fff;
        }

        .tempDiv {
            border: 1px dashed blue;
            background: #5a72f8;
            position: absolute;
            width: 0;
            height: 0;
            filter: alpha(opacity:10);
            opacity: 0.1;
        }
    </style>
    <script type="text/javascript">
  window.onload = function(){
      var canvas = document.getElementById('canvas-frame');
      var gl = canvas.getContext("webgl");
      gl.clearColor(0.0, 1.0, 0.0, 1.0);
      gl.clear(gl.COLOR_BUFFER_BIT);

      document.onmousedown = function(e){
       var posx = e.clientX;
       var posy = e.clientY;
       var div = document.createElement("div");
       div.className = "tempDiv";
       div.style.left = e.clientX+"px";
       div.style.top = e.clientY+"px";
       document.body.appendChild(div);
       document.onmousemove = function (ev) {
        div.style.position = "absolute";
        div.style.left = Math.min(ev.clientX, posx) + "px";
        div.style.top = Math.min(ev.clientY, posy) + "px";
        div.style.width = Math.abs(posx - ev.clientX)+"px";
        div.style.height = Math.abs(posy - ev.clientY)+"px";
        document.onmouseup = function(){
         div.parentNode.removeChild(div);
         document.onmousemove = null;
         document.onmouseup = null;
        }
       }
      }
}
    </script>
</head>
<body>
    <!--<div id="bottom"></div>-->
    <canvas id="canvas-frame" width="1200" height="800"></canvas>
</body>
</html>
这里实现了框,具体怎么选上构件,下次补充。。。


 本文介绍如何在WebGL环境中使用HTML与JavaScript实现简单的鼠标框选功能。通过监听鼠标事件,创建并调整div元素的位置与尺寸来绘制选择框。


 8065
8065

 被折叠的 条评论
为什么被折叠?


