


安卓四个组件:内容提供器,主要用于不同应用程序之间的数据共享。比如我们可以通过一定的方式对通讯录【可以把通讯录当成是一个应用程序】进行操作。我们可以自己编写内容提供器,也可以用系统自带的【获取通讯录等等】
如果要对数据进行操作,就要借助ContentResolver类去实现。在Activity中,可以通过调用this.getContentResolver()获得该类的实例。然后再对数据进行增删改查等操作【可以把内容提供器当成是SQLiteDatabase】。
如果我们要访问其他程序提供的内容提供器,则需要一个Uri对象,去指向该内容提供器。格式如下:
content://com.android.contacts/data/phones	// 手机通讯录的
content://com.example.myapplication/tableName // 自己定义的
产生Uri对象的方式【得到手机通讯录的Uri】:
Uri uri = Uri.parse("content://com.android.contacts/data/phones");
显示手机通讯录的例子:
<uses-permission android:name="android.permission.READ_CONTACTS"/>
为该app增加访问权限
activity_main.xml:
<?xml version="1.0" encoding="utf-8"?>
<LinearLayout xmlns:android="http://schemas.android.com/apk/res/android"
    xmlns:tools="http://schemas.android.com/tools"
    android:layout_width="match_parent"
    android:layout_height="match_parent"
    android:orientation="vertical"
    tools:context="com.example.aiden.myapplication.MainActivity">

    <ListView
        android:id="@+id/listView"
        android:layout_width="match_parent"
        android:layout_height="match_parent"></ListView>
</LinearLayout>
MainActivity.java:
import android.app.Activity;
import android.database.Cursor;
import android.net.Uri;
import android.os.Bundle;
import android.provider.ContactsContract;
import android.widget.ArrayAdapter;
import android.widget.ListView;

import java.util.ArrayList;
import java.util.List;

public class MainActivity extends Activity {
    List<String> list;
    ListView listView;
    ArrayAdapter<String> arrayAdapter;

    @Override
    protected void onCreate(Bundle savedInstanceState) {
        super.onCreate(savedInstanceState);
        this.setContentView(R.layout.activity_main);

        list = new ArrayList<String>();
        listView = (ListView) this.findViewById(R.id.listView);
        arrayAdapter = new ArrayAdapter<String>(this, android.R.layout.simple_expandable_list_item_1, list);
        listView.setAdapter(arrayAdapter);
        readContacts();
    }

    private void readContacts() {
        try {
            Cursor cursor = null;
            Uri uri = Uri.parse("content://com.android.contacts/data/phones");
            cursor = this.getContentResolver().query(uri, null, null, null, null);
            while (cursor.moveToNext()) {
                String name = cursor.getString(cursor.getColumnIndex(ContactsContract.CommonDataKinds.Phone.DISPLAY_NAME));
                String phone = cursor.getString(cursor.getColumnIndex(ContactsContract.CommonDataKinds.Phone.NUMBER));
                list.add(name + "\t" + phone);
            }
        } catch (Exception e) {
            e.printStackTrace();
        }
    }
}
效果如下:
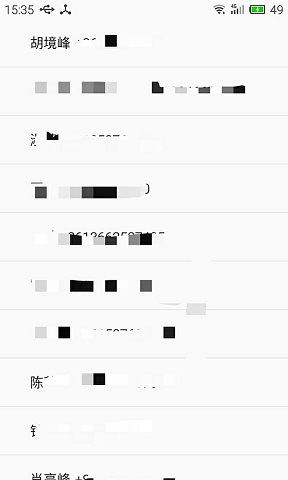
【由于个人隐私,就打上了马赛克】
上面已经涉及到了查询操作了。
还有插入操作:
ContentValues contentValues = new ContentValues();
contentValues.put("key1", "value1");
contentValues.put("key2", "value2");
this.getContentResolver().insert(uri, contentValues);
上述操作会增加(key1,value1)和(key2, value2)两个数据项
删除操作:
this.getContentResolver().delete(uri, "key = ?", new String[]{"key1"});
上述操作会删除key=key1的数据项
修改操作:
ContentValues contentValues = new ContentValues();
contentValues.put("key", "key2");
this.getContentResolver().update(uri, contentValues, "key = ?", new String[] {"key1"});
上述操作就会把key=key1数据项的key1改成key2


 被折叠的 条评论
为什么被折叠?
被折叠的 条评论
为什么被折叠?
 到【灌水乐园】发言


