


不讲卷积原理,只有python实现
这里只进行一个图像简单的卷积,用的核函数是三行三列二维矩阵:
        kernal=[[0,-1,0],
                [-1,4,-1],
                [0,-1,0]]
图像没有变成灰度图,还是用三个通道。也可以用灰度图,之前有实现,原理是一致的,灰度图卷积图像会展示在最后
为了使大小和原图保持一致,用的复制边界填充,四个角也进行了处理。
代码上尽量写清楚了步骤,有些输出代码注释了,可以用来看输出结果
#用python需实现卷积,边缘像素用边缘元素复制填充
import numpy as np
import cv2 as cv

#图像填边
def r_demo(mat):
    h,w,ch=mat.shape
    print('h=',h)
    print('w=', w)
    print('ch=', ch)
    #将newMat边缘补齐
    newMat=np.zeros([h+2,w+2,3],np.uint8)
    print("newMat.shape=",newMat.shape)
    newMat[1:h+1,0]=mat[:,0]  #将mat第一列传给newMat第一列的中间w个值
    print("mat=", mat[:,0])
    print("newMat[1:h+1,0]=",newMat[0:h+1,0])
    newMat[1:h+1,newMat.shape[1]-1]=mat[:,mat.shape[1]-1]   #将mat最后一列复制给newMat最后一列
    print("newMat[1:h+1,newMat.shape[1]-1]=", newMat[1:h+1,newMat.shape[1]-1])

    newMat[0,1:w+1]=mat[0,:]   #将mat第一行赋值给newMat第一行
    newMat[newMat.shape[0]-1,1:w+1]=mat[mat.shape[0]-1,:]   #将mat最后一行赋值给 newMat最后一行

    #接下来将newMat四角补齐
    newMat[0][0]=mat[0][0]
    newMat[0][w+1]=mat[0][w-1]
    newMat[h+1,0]=mat[h-1][0]
    newMat[h+1][w+1]=mat[h-1][w-1]

    #接下来将各个元素补齐
    newMat[1:h+1,1:w+1]=mat[0:h,0:w]

    print("newMat=",newMat)
    return newMat


#卷积函数

def r_method(image,mat):
    h,w,ch=image.shape
    h1,w1,ch=mat.shape
    finalMat=np.zeros([h-2,w-2,3],np.uint8)
    #向下,对每行来说,向右移动,x想卷后赋值给最终的矩阵
    for row in range(h-h1-1):
        for col in range(w-w1-1):
            for c in range(ch):
                # print('1=', np.array(image[row:row + 3, col:col + 3]))
                # print('2=', np.array(mat[0: 3, 0: 3]))
                # print("row=", row)
                # print("col=", col)
                finalMat[row][col][c]=np.sum(np.array(image[row:row+3,col:col+3,c])*np.array(mat))

    print(finalMat.shape)

    return finalMat


#得到一个填边图像
mat=np.zeros([3,3],np.uint8)
mat1=np.array([[1,2,3],[4,5,6],[6,7,8]],np.uint8)
print(mat1)
# Mat=r_demo(mat1)

#接下来进行卷积:模糊或者锐化

#滤波算子
r=np.array([[[0,-1,0],
            [-1,4,-1],
            [0,-1,0]]],np.uint8)
#卷积函数
# r_method(Mat,r)

#图片测试
# 测试代码
src = cv.imread(r'/Users/a58/Desktop/picture/opencv/a.jpg')
cv.imshow('src',src)

print("src=",src)

#图片填边
print(src.shape)
Mat1=r_demo(src)


#灰度
# Mat2=cv.cvtColor(Mat1,cv.COLOR_BGR2GRAY)
# print(Mat2)
# print("Mat2.shape=",Mat2.shape)


#相卷
src1=0.1*r_method(Mat1,r)
cv.imshow("t_test",src1)
cv.waitKey(0)
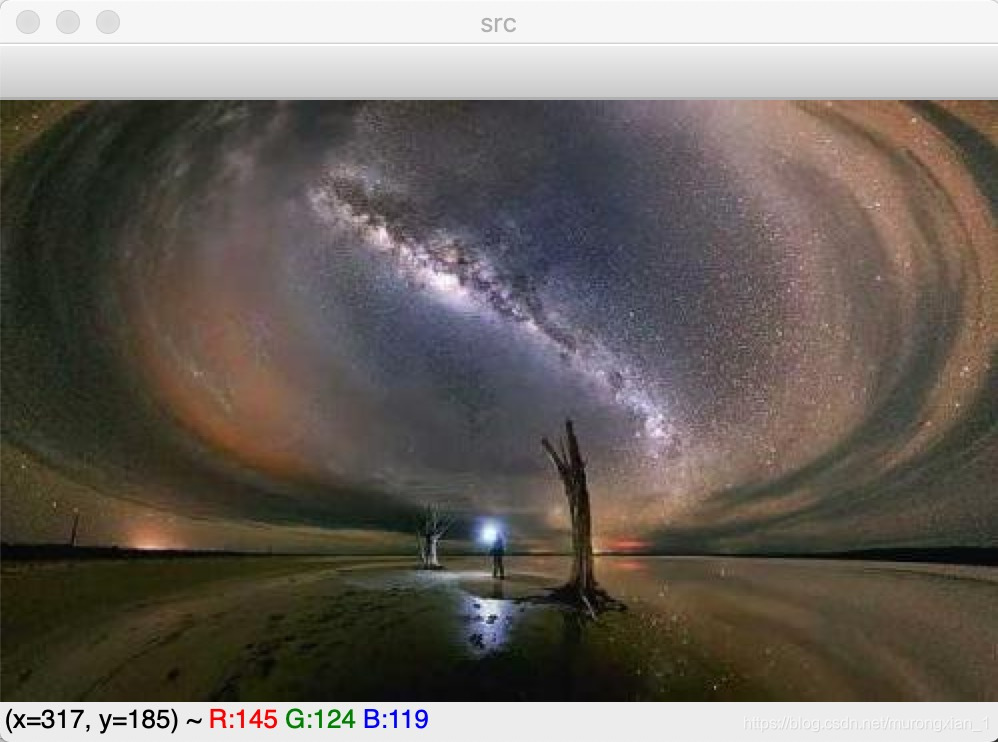
原图
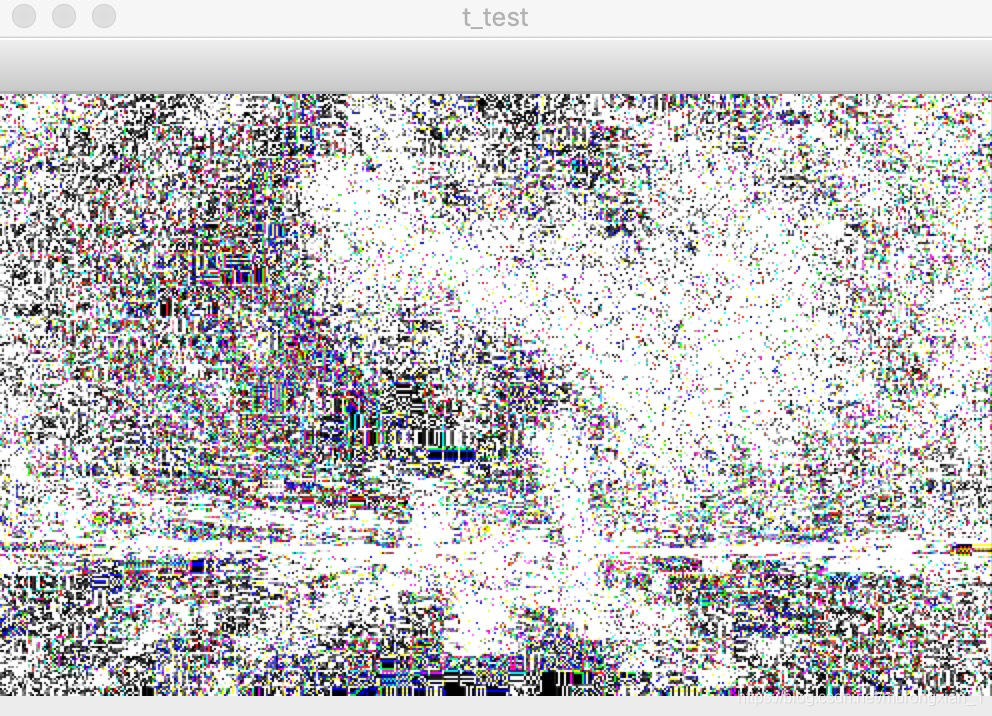
输出卷积后图像(三通道):
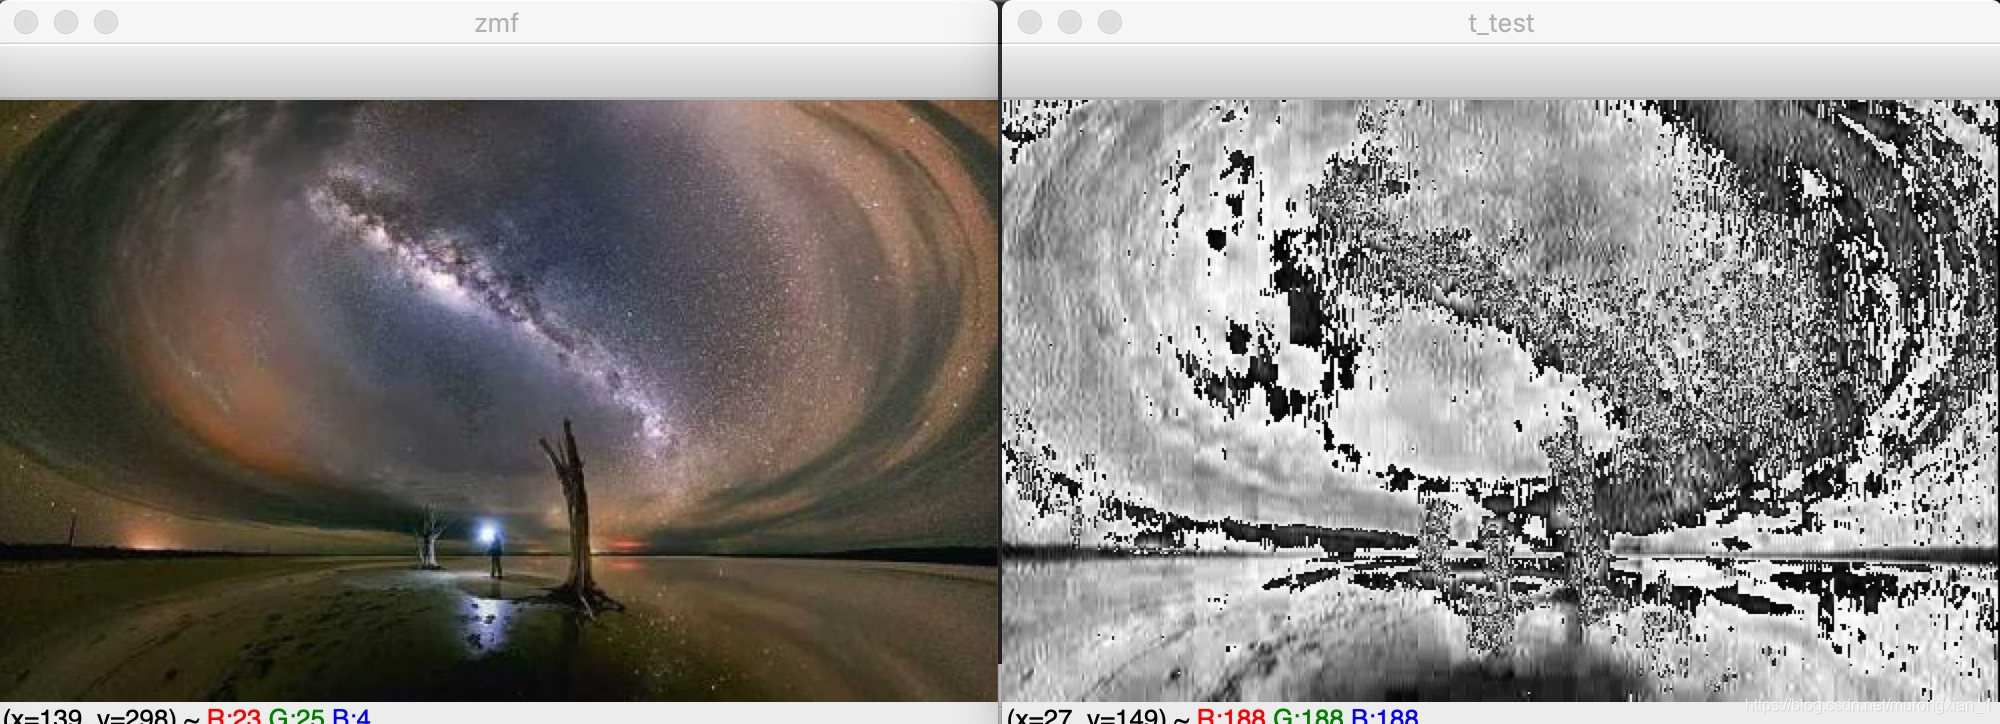
输出卷积后图像(灰度图,左边是原图):


 16万+
16万+

 被折叠的 条评论
为什么被折叠?
被折叠的 条评论
为什么被折叠?
 到【灌水乐园】发言


