


 本文介绍如何在Oracle Linux 8中使用Cockpit Web控制台管理虚拟机,包括安装Cockpit及其虚拟机模块,创建、启动虚拟机,以及添加远程服务器进行监控。通过Web浏览器访问Cockpit,用户可以执行多种虚拟机操作,如选择安装介质、指定磁盘大小和内存分配。
Managing Virtual Machines from the Oracle Linux 8 Web Console-Cockpit tool (文档 ID 2571668.1)
APPLIES TO:
Linux OS - Version Oracle Linux 8.0 to Oracle Linux 8.0 [Release OL8]
Linux x86-64
PURPOSE
Managing Virtual Machines from the oracle Linux 8 Web Console-Cockpit
SCOPE
- Installing the Cockpit Virtual Machines Module
- Creating a Virtual Machine in Cockpit
- Starting the Installation
- Add other servers in Cockpit to montior
DETAILS
The Web Console is installed by default on Oracle Linux 8 installations, unless you do a minimal installation.
The Web Console is not started by default, so the first step is to enable it with this command:
# systemctl enable --now cockpit.socket
If cockpit is not installed then you can install using command:
# yum install cockpit
# systemctl enable --now cockpit.socket
By default, the virtual machines module is not included in a standard Cockpit installation.
We then need to install some additional packages, starting with the cockpit-machines package, which enables managing virtual machines from the Web Console:
# yum install cockpit-machines
The next step is to open a web browser, cockpit use port: 9090 for example:
To access the cockpit Web Console example: https://<host-ip>:9090
Log in to the Web Console with the root account, or with another users account.
If using another account which has sudo access setup, you can check the "Reuse my password for privileged tasks" box in order to have the Web Console use sudo for privileged tasks.
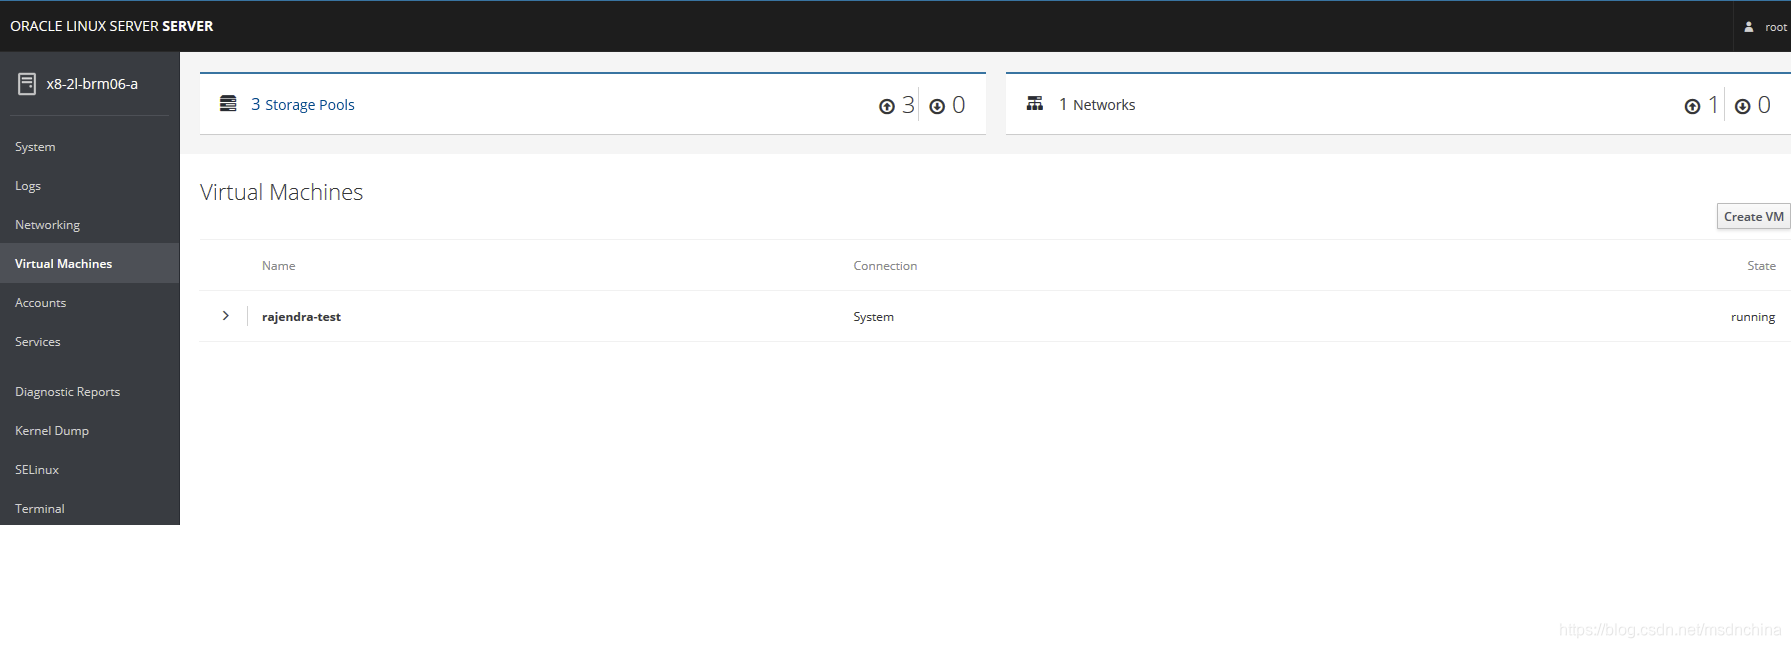
Once logged in, click on the Virtual Machines option in the menu on the left. If you don’t see this option listed in the menu, verify that you installed the cockpit-machines package as previously covered.
To create a virtual machine in Cockpit, s click on the Create New VM button
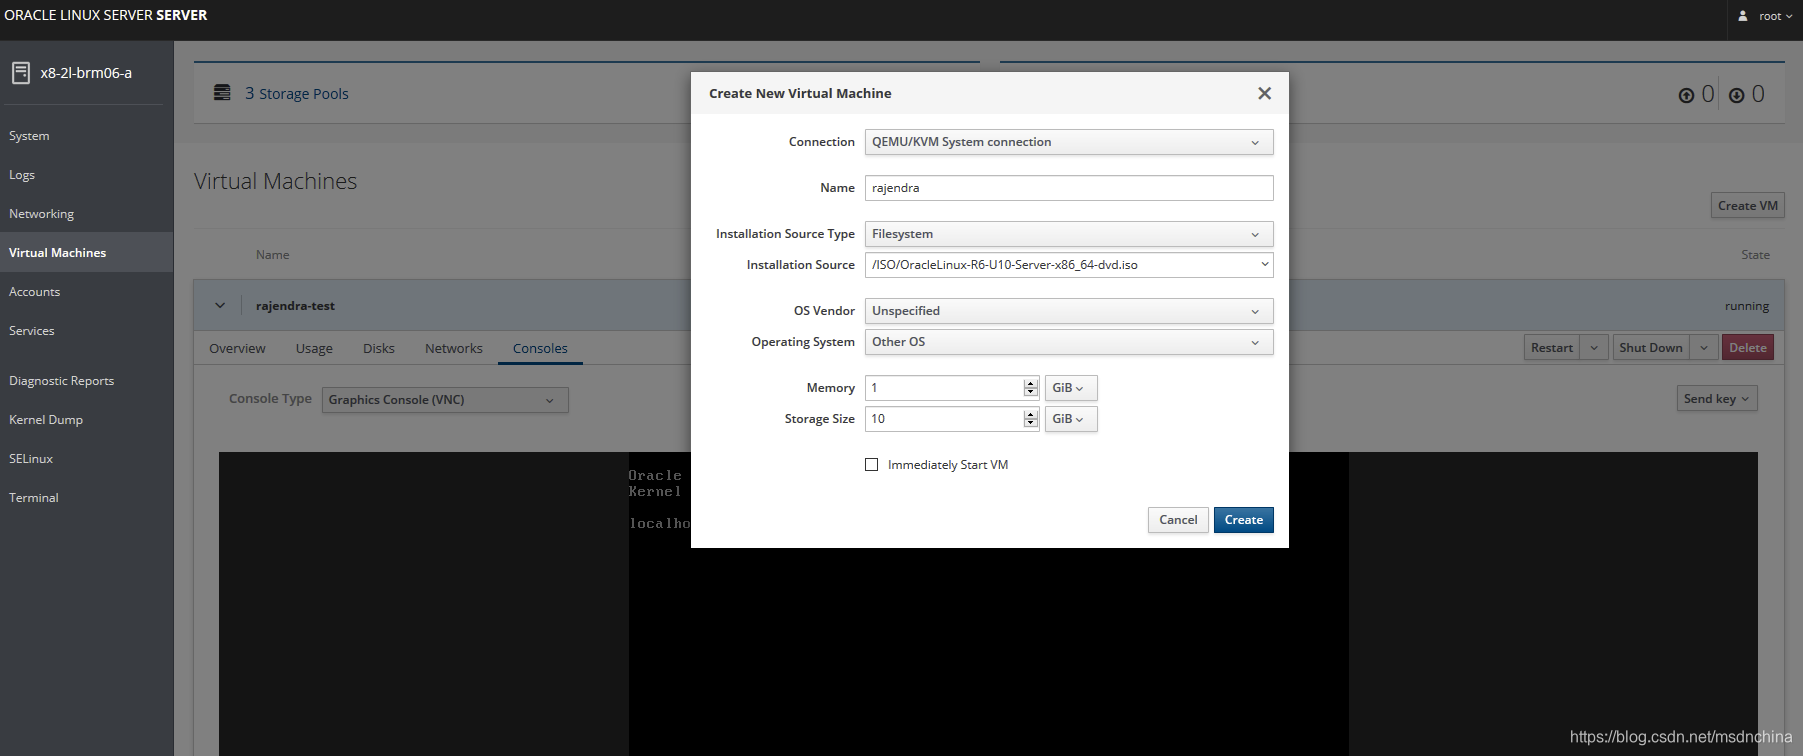
Within the dialog, enter a name for the machine and choose whether the installation media is in the form of an ISO accessible via a URL or a local filesystem path.
Ideally, also select the vendor and operating system type information for the guest.
While not essential, this will aid the system in optimizing the virtual machine for the guest.
Once we click Create, the VM is automatically started since we checked Immediately Start VM, and we are taken to the console of the newly created virtual machine:
Also specify the size of the virtual disk drive to be used for the operating system installation and the amount of memory to be allocated to the virtual machine:
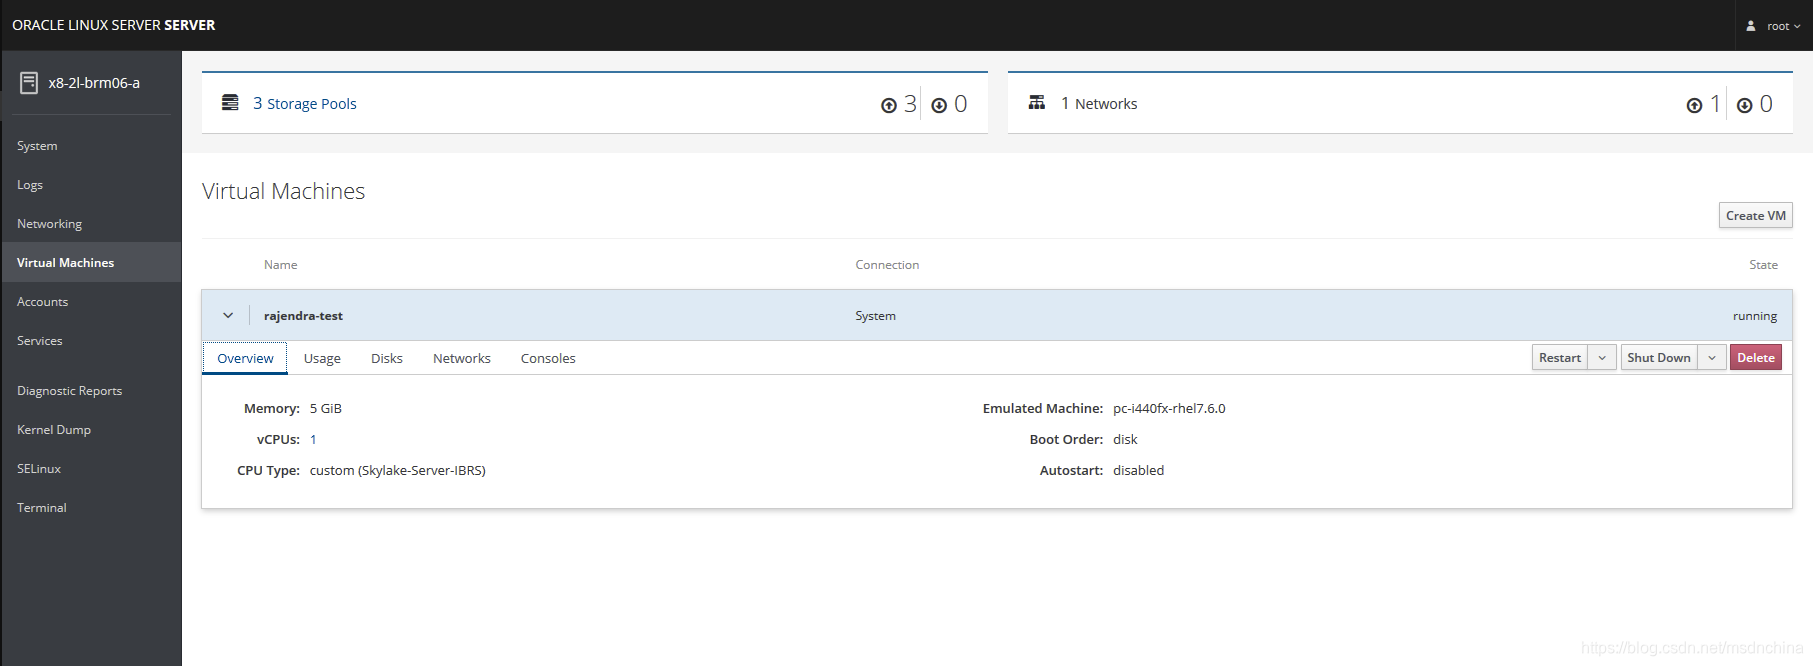
From the Overview tab we can see basic information about the virtual machine, such as the memory, vCPUs, boot order, etc:
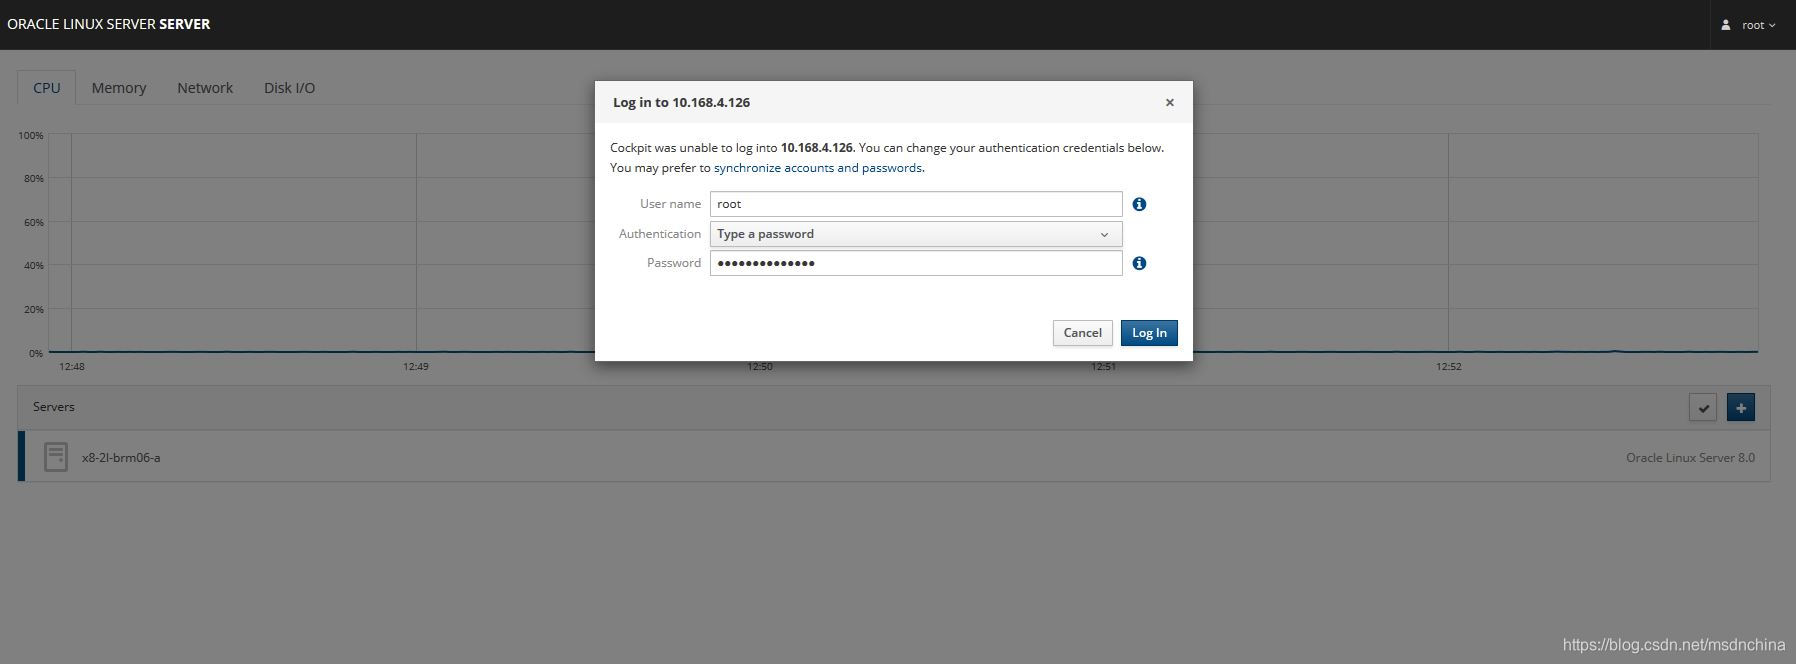
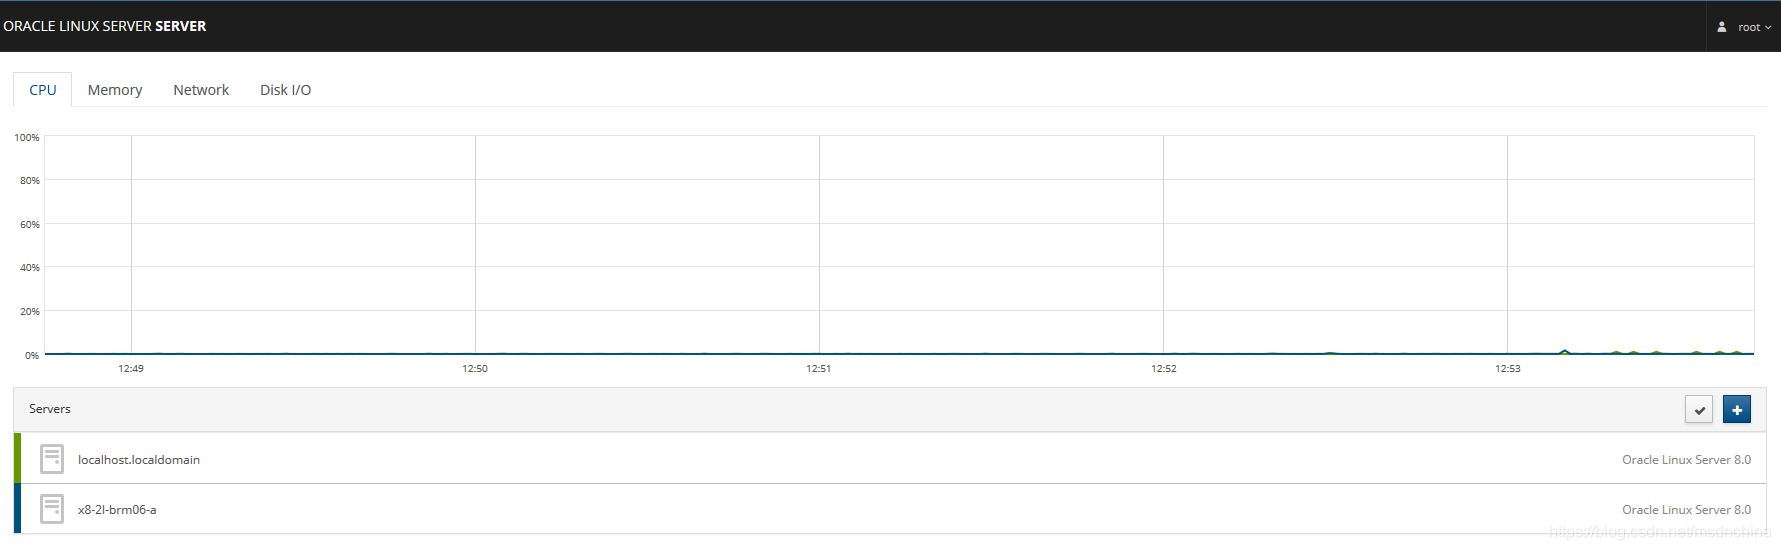
To access the remote Machine (We have to install Cockpit on all remote Linux servers in order to monitor), Cockpit can manage multiple servers at the same time. Click on the Dashboard button on the top to view the list of servers managed by Cockpit. You will see the all servers under “Servers” tab.
To add a new server, click on the + (plus) sign in the Servers tab.
Enter the IP address of your remote server that you want to monitor and click Add
Next, click Connect.
Enter your remote system’s username and password.
Congratulations! We have successfully added the our remote system. You will see the newly added systems under Servers tab in Dashboard.


 2306
2306

 被折叠的 条评论
为什么被折叠?
被折叠的 条评论
为什么被折叠?
 到【灌水乐园】发言


