


Windows部署
1. 配置seata所依赖的数据库
C:\Users\wangyifei\Desktop\工作\seata\seata-server\script\server\db
找到下载下来的seata压缩包并解压,打开script目录下的db
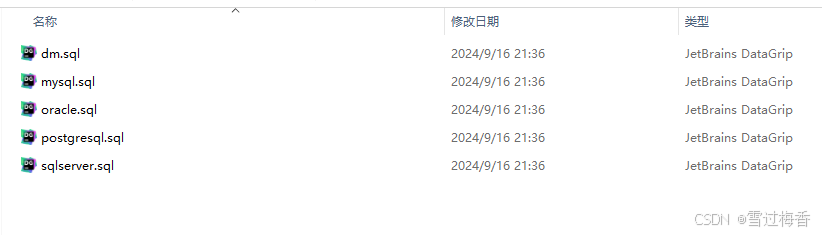
这里存放的是各个数据库支持的Seata,我用的MySQL,这个按照自己使用的数据库类型创建一个seata数据库,并执行sql文件就可以了,执行完毕结果如下:

每个Seata版本的数据库SQL文件都可能存在一些细微差距,根据自己下载的Seata版本去执行,建议完全跟我一样,用2.2.0的版本,这样可以完全一致。我
--
-- Licensed to the Apache Software Foundation (ASF) under one or more
-- contributor license agreements.  See the NOTICE file distributed with
-- this work for additional information regarding copyright ownership.
-- The ASF licenses this file to You under the Apache License, Version 2.0
-- (the "License"); you may not use this file except in compliance with
-- the License.  You may obtain a copy of the License at
--
--     http://www.apache.org/licenses/LICENSE-2.0
--
-- Unless required by applicable law or agreed to in writing, software
-- distributed under the License is distributed on an "AS IS" BASIS,
-- WITHOUT WARRANTIES OR CONDITIONS OF ANY KIND, either express or implied.
-- See the License for the specific language governing permissions and
-- limitations under the License.
--

-- -------------------------------- The script used when storeMode is 'db' --------------------------------
-- the table to store GlobalSession data
CREATE TABLE IF NOT EXISTS `global_table`
(
    `xid`                       VARCHAR(128) NOT NULL,
    `transaction_id`            BIGINT,
    `status`                    TINYINT      NOT NULL,
    `application_id`            VARCHAR(32),
    `transaction_service_group` VARCHAR(32),
    `transaction_name`          VARCHAR(128),
    `timeout`                   INT,
    `begin_time`                BIGINT,
    `application_data`          VARCHAR(2000),
    `gmt_create`                DATETIME,
    `gmt_modified`              DATETIME,
    PRIMARY KEY (`xid`),
    KEY `idx_status_gmt_modified` (`status` , `gmt_modified`),
    KEY `idx_transaction_id` (`transaction_id`)
) ENGINE = InnoDB
  DEFAULT CHARSET = utf8mb4;

-- the table to store BranchSession data
CREATE TABLE IF NOT EXISTS `branch_table`
(
    `branch_id`         BIGINT       NOT NULL,
    `xid`               VARCHAR(128) NOT NULL,
    `transaction_id`    BIGINT,
    `resource_group_id` VARCHAR(32),
    `resource_id`       VARCHAR(256),
    `branch_type`       VARCHAR(8),
    `status`            TINYINT,
    `client_id`         VARCHAR(64),
    `application_data`  VARCHAR(2000),
    `gmt_create`        DATETIME(6),
    `gmt_modified`      DATETIME(6),
    PRIMARY KEY (`branch_id`),
    KEY `idx_xid` (`xid`)
) ENGINE = InnoDB
  DEFAULT CHARSET = utf8mb4;

-- the table to store lock data
CREATE TABLE IF NOT EXISTS `lock_table`
(
    `row_key`        VARCHAR(128) NOT NULL,
    `xid`            VARCHAR(128),
    `transaction_id` BIGINT,
    `branch_id`      BIGINT       NOT NULL,
    `resource_id`    VARCHAR(256),
    `table_name`     VARCHAR(32),
    `pk`             VARCHAR(36),
    `status`         TINYINT      NOT NULL DEFAULT '0' COMMENT '0:locked ,1:rollbacking',
    `gmt_create`     DATETIME,
    `gmt_modified`   DATETIME,
    PRIMARY KEY (`row_key`),
    KEY `idx_status` (
最低0.47元/天 解锁文章


 106
106

 被折叠的 条评论
为什么被折叠?
被折叠的 条评论
为什么被折叠?
 到【灌水乐园】发言


