


1、关闭服务器的防火墙,设置selinux为disabled状态
● firewalld.service - firewalld - dynamic firewall daemon
     Loaded: loaded (/usr/lib/systemd/system/firewalld.service; enabled; preset: enabled)
     Active: active (running) since Tue 2024-10-29 14:47:48 CST; 3min 59s ago
       Docs: man:firewalld(1)
   Main PID: 884 (firewalld)
      Tasks: 2 (limit: 204940)
     Memory: 37.0M
        CPU: 467ms
     CGroup: /system.slice/firewalld.service
             └─884 /usr/bin/python3 -s /usr/sbin/firewalld --nofork --nopid

10月 29 14:47:47 zabbix systemd[1]: Starting firewalld - dynamic firewall daemon...
10月 29 14:47:48 zabbix systemd[1]: Started firewalld - dynamic firewall daemon.
[root@zabbix ~]# systemctl disable firewalld
Removed "/etc/systemd/system/multi-user.target.wants/firewalld.service".
Removed "/etc/systemd/system/dbus-org.fedoraproject.FirewallD1.service".
[root@zabbix ~]# systemctl stop firewalld
[root@zabbix ~]# setenforce 0
[root@zabbix ~]# getenforce
Permissive
[root@zabbix ~]# vim /etc/sysconfig/selinux
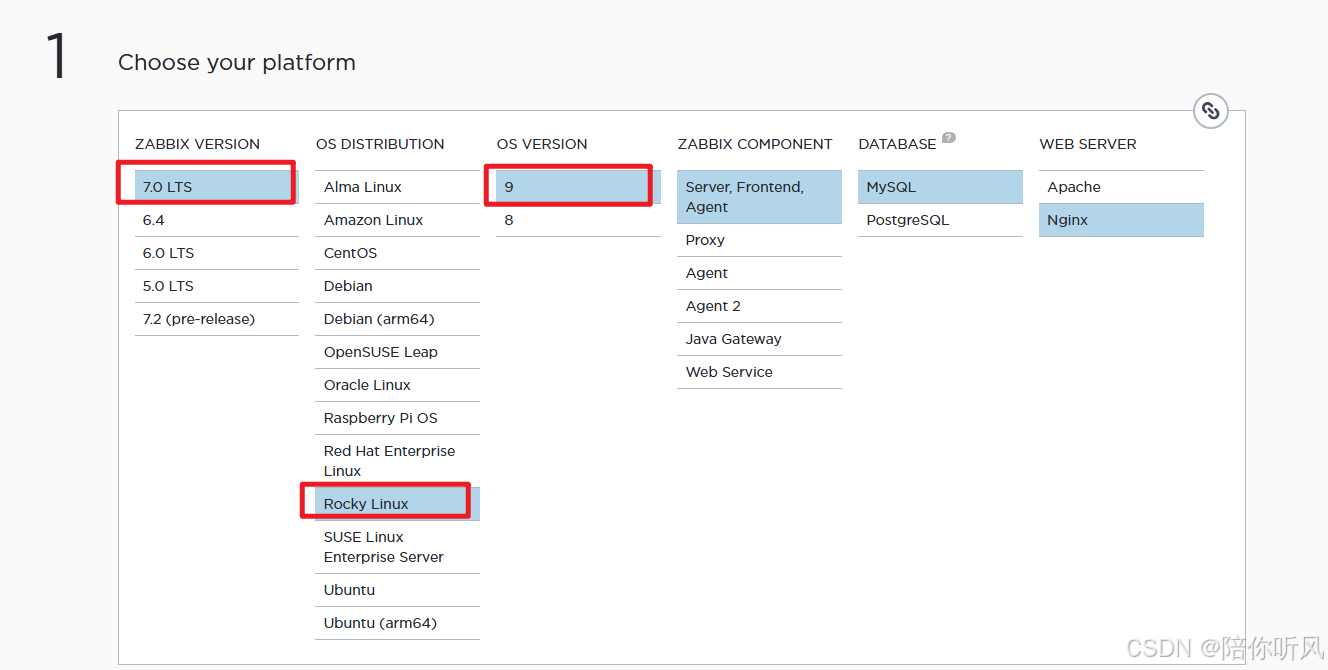
2、打开zabbix官网https://www.zabbix.com/download,根据指引,查看要安装的版本和对应的操作系统。
3、按照提示配置yum源,首先要关闭服务器自带的zabbix源,这里看到本机自带的源没有需要安装的软件,可以忽略。
[root@zabbix ~]# yum list |grep zabbix
pcp-export-pcp2zabbix.x86_64                         6.2.0-5.el9_4                       appstream
pcp-export-zabbix-agent.x86_64                       6.2.0-5.el9_4                       appstream
如果自带的yum源中含有的话,按照下图关闭对应的zabbix源即可。

4、安装官方的zabbix源
rpm -Uvh https://repo.zabbix.com/zabbix/7.0/rocky/9/x86_64/zabbix-release-latest.el9.noarch.rpm
dnf clean all
5、安装对应的软件,Zabbix server, frontend, agent
dnf install zabbix-server-mysql zabbix-web-mysql zabbix-nginx-conf zabbix-sql-scripts zabbix-selinux-policy Zabbix-agent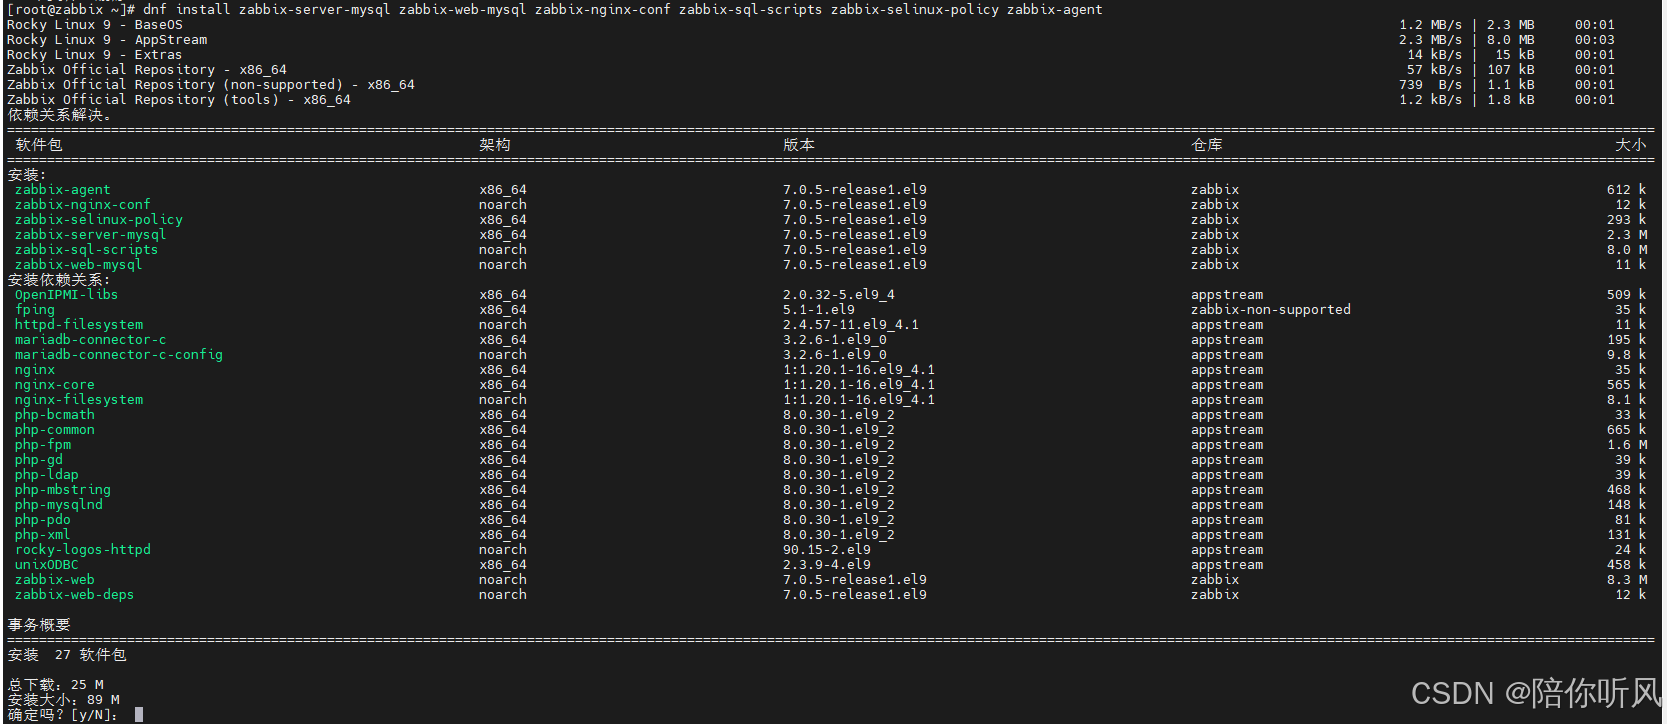
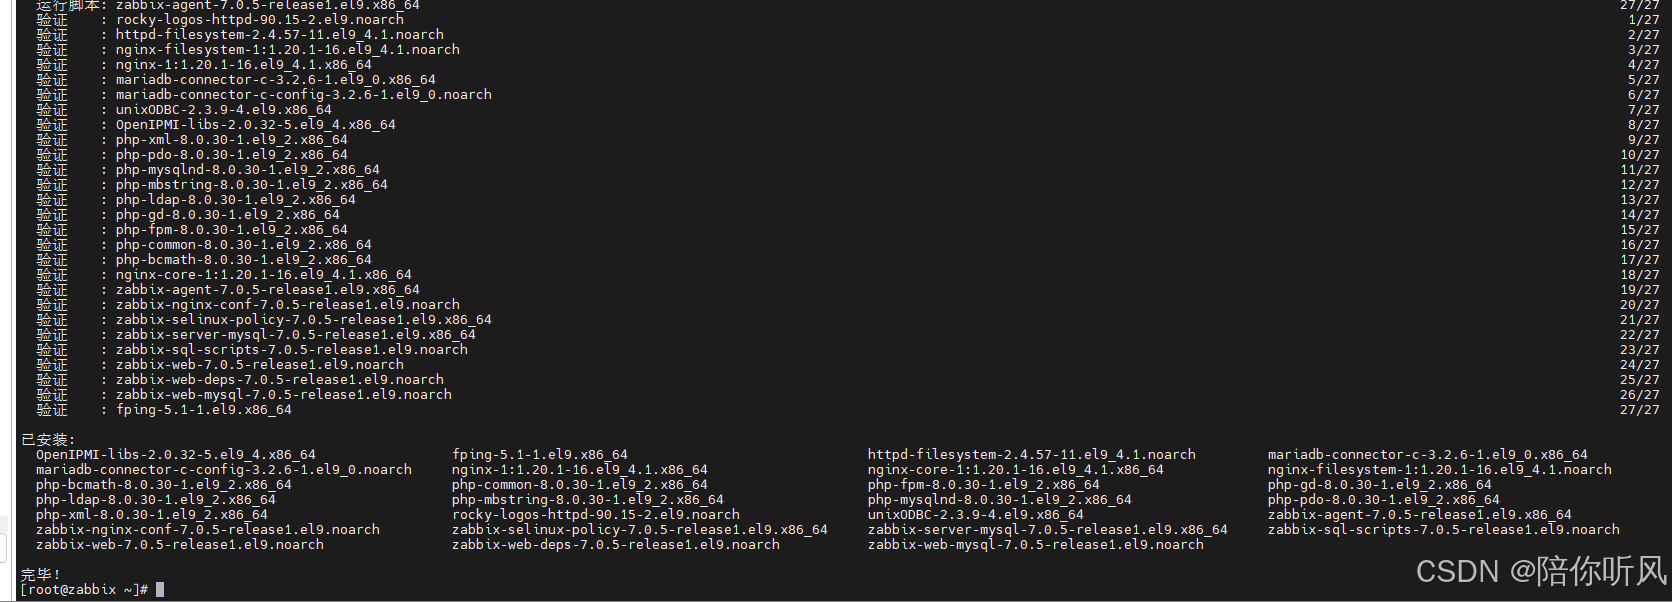
6、zabbix软件安装完毕,后续进行配置。
7、安装配置mysql数据库
rpm -Uvh  https://repo.mysql.com//mysql84-community-release-el9-1.noarch.rpm
yum install -y mysql-community-server
systemctl start mysqld
systemctl enable mysqld

[root@zabbix ~]# grep 'temporary password' /var/log/mysqld.log
2024-10-29T07:11:46.786090Z 6 [Note] [MY-010454] [Server] A temporary password is generated for root@localhost: M0af6ww8gM+L

#修改mysql的默认密码:
mysql -uroot -p
alter user root@'localhost' identified by 'Aaa12345678!';
flush privileges;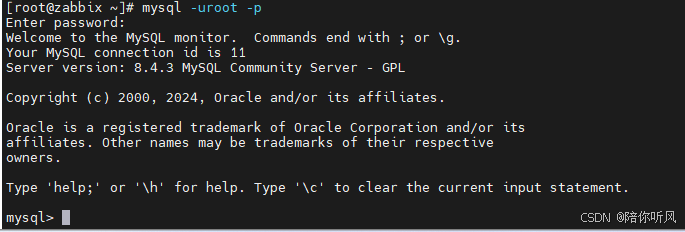
mysql> create database zabbix character set utf8mb4 collate utf8mb4_bin;
mysql> create user zabbix@localhost identified by 'password';
mysql> grant all privileges on zabbix.* to zabbix@localhost;
mysql> set global log_bin_trust_function_creators = 1;
mysql> quit;
导入mysql数据,耐心等到导入完成即可。
zcat /usr/share/zabbix-sql-scripts/mysql/server.sql.gz | mysql --default-character-set=utf8mb4 -uzabbix -p zabbix再次修改mysql的配置
# mysql -uroot -p
password
mysql> set global log_bin_trust_function_creators = 0;
mysql> quit;
8、修改zabbix的配置文件
[root@zabbix ~]# vim /etc/zabbix/zabbix_server.conf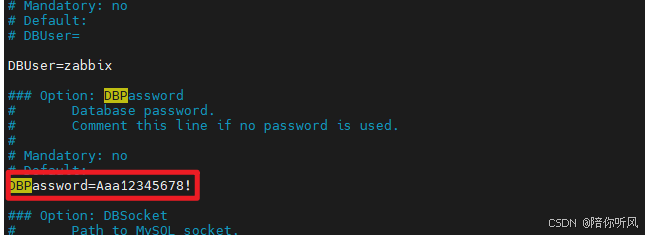
配置php配置文件
[root@zabbix ~]# vim /etc/nginx/conf.d/zabbix.conf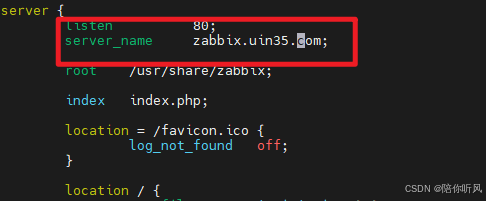
9、启动zabbix相关服务
systemctl restart zabbix-server zabbix-agent nginx php-fpm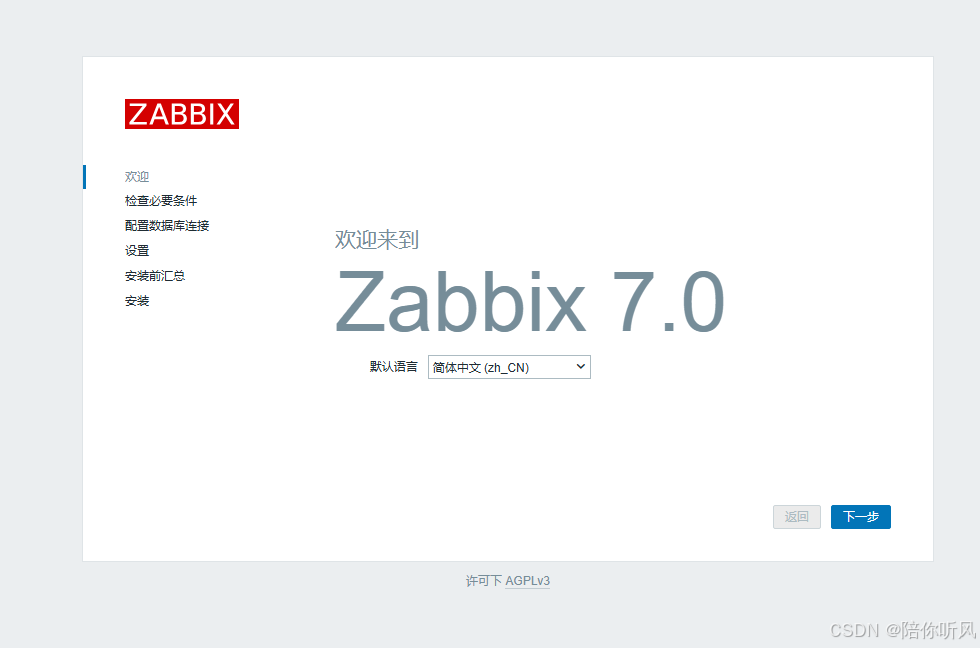
systemctl enable zabbix-server zabbix-agent nginx php-fpm10、浏览器中打开服务器地址http://192.168.0.93/进行下一步的配置
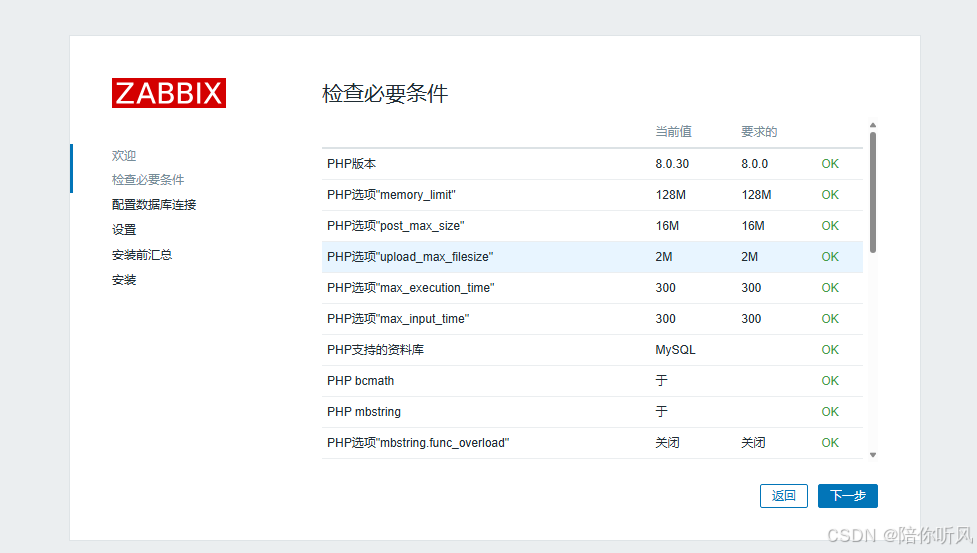
检查项全部通过
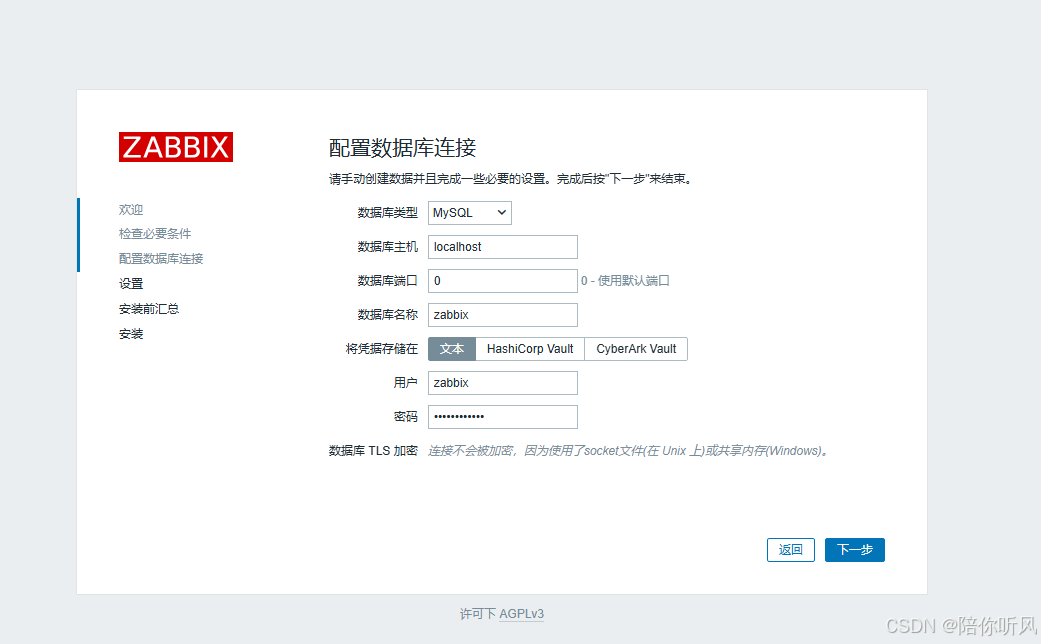
配置密码,数据库配置保持不变。
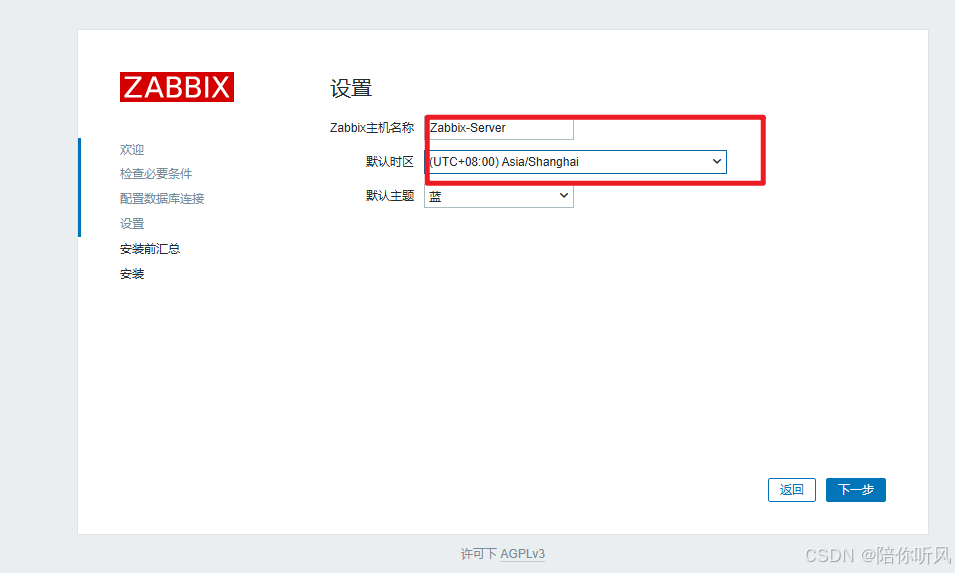
设置主机名称和时区
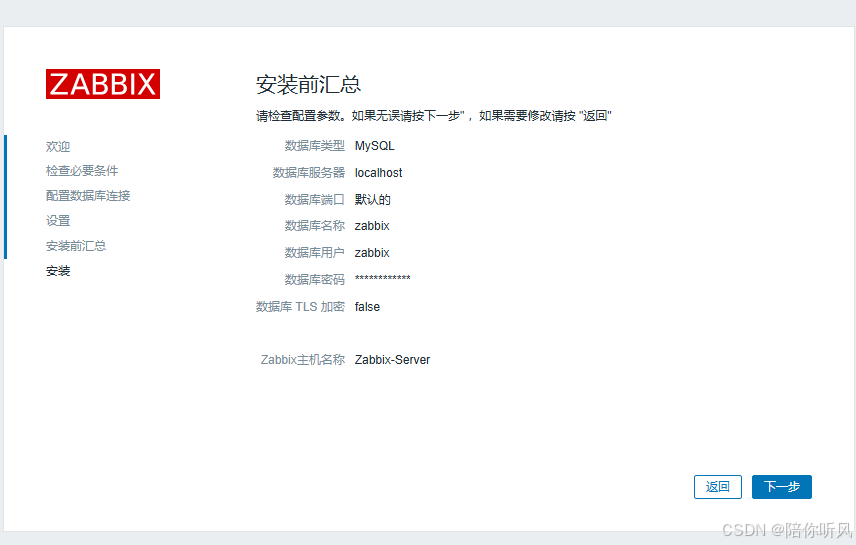
确认信息无误,进行安装

11、至此,安装完成,使用默认的账号Admin密码zabbix登录即可。

12、若中文字体出现乱码,下载中文字体到/usr/share/zabbix/assets/fonts目录,执行下述命令即可。
unlink graphfont.ttf
ln -sv OPPOSans4.0.ttf graphfont.ttf


 953
953

 被折叠的 条评论
为什么被折叠?
被折叠的 条评论
为什么被折叠?
 到【灌水乐园】发言


